Creating Elastic Motions
In addition to applying Elastic Motion Template, you are allowed to create custom elastic motions with Cartoon Animator.
-
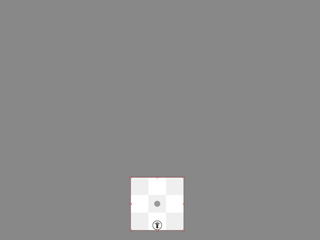
Create a neutral prop.
 Note:
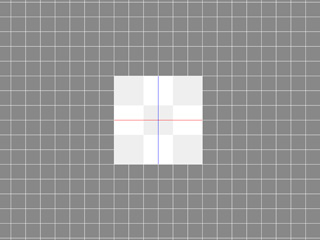
Note:Make sure that the prop's pivot is in the center of it. You can switch to the Composer mode to move the sprite to the world origin position (0, 0).
-
Click the Prop Key Editor button on the Toolbar.

-
Set Transform and Deform keys (sprite-level) in different time frames to generate key-frame animation of the prop (in this case, a jump and distortion animation).
Make sure that the keys are set to the sprite-level tracks (*_T, *_S, *_D, *_O).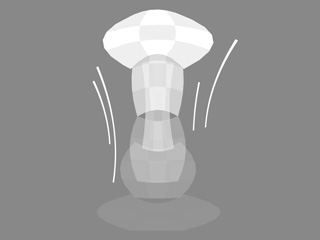

 Note:
Note:Make sure the sprite starts and ends the animation at the same position to ensure that the prop correctly falls within the start and end points (blue and black bounding box) when the animation is converted into an Elastic Motion.
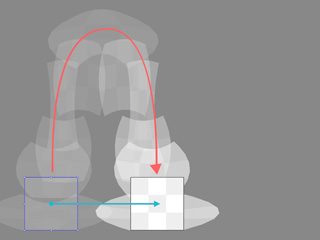
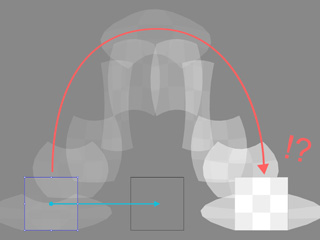
The animation starts and ends at the same position
The end position offsets when the animation ends
-
Open the Collect Clip track and make a range to include this data.
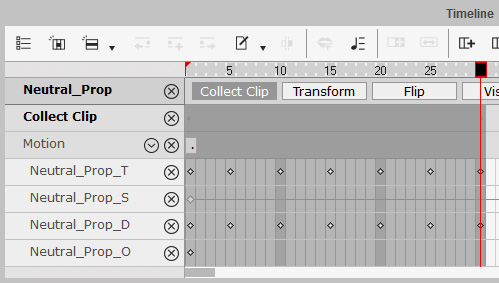
-
Right-click on the Collect Clip track in the range, select the Export item in the menu.
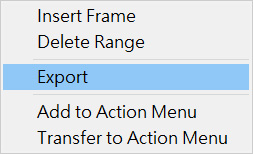
This step saves the data as a prop animation file (in *.ctAnim format). -
Drag and drop the animation onto a prop (it is suggested to use this prop), you will see an animation clip on the Motion track of the prop.

-
Right-click on the clip and select the Convert to Elastic Motion item in the menu.
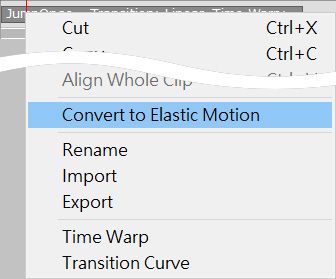
The clip will turn green.
- Edit the clip with the Elastic Motion Editor.
- Make sure that the clip on the track is selected.
- Open the Content Manager and switch to the Elastic Motion library.
- Click on the Add button to add the selected clip into an Elastic Motion template (*.ctElastic).
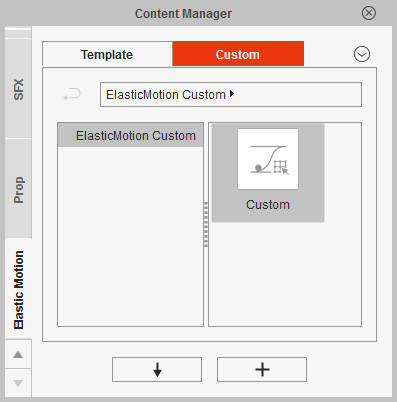
- You can then apply this template to any other props.
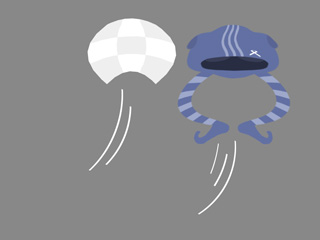
 Note:
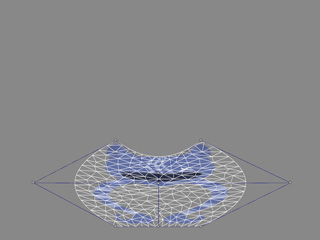
Note:In order to see the Deform effect working on another prop, you must select the prop, open the Prop Key Editor, switch to the Deform mode and activate the Smooth Deformed Object box in order to subdivide the prop.
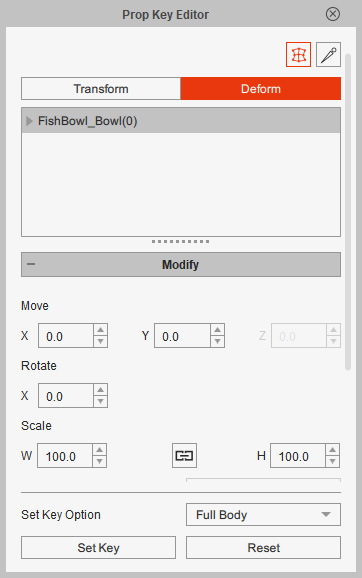
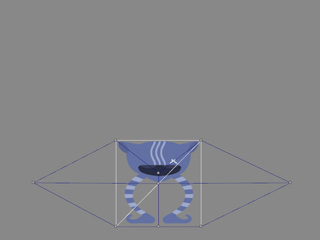
Smooth Deformed Object is OFF
Smooth Deformed Object is ON


