Sharing Content Among a Workgroup
For corporate and studio users, you can install all content packs in a corporate server and share them across teams, saving significant hard drive space on each workstation in a workgroup. Team members, on the other hand, can also share their content creations by storing them on a network drive. In this way, you can consolidate purchased assets and your own creations in a central location, efficiently download, view, search, organize assets via the Content Manager and greatly accelerate your production.
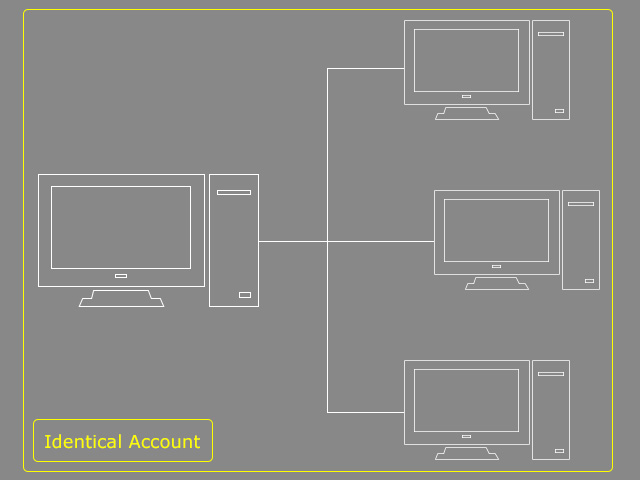
* These computers in the workgroup must have either iClone or Character Creator installed with purchased seats under the same account.
By utilizing the Multiple Drive feature, you can share installed content with team members in a workgroup.
- The administrator of the server sets the hard disk as the Network Disk (for example, K:\cnt) with the authorization as read and write for the administrator and read only for the users.

- Install all templates on the network disk of the source computer.
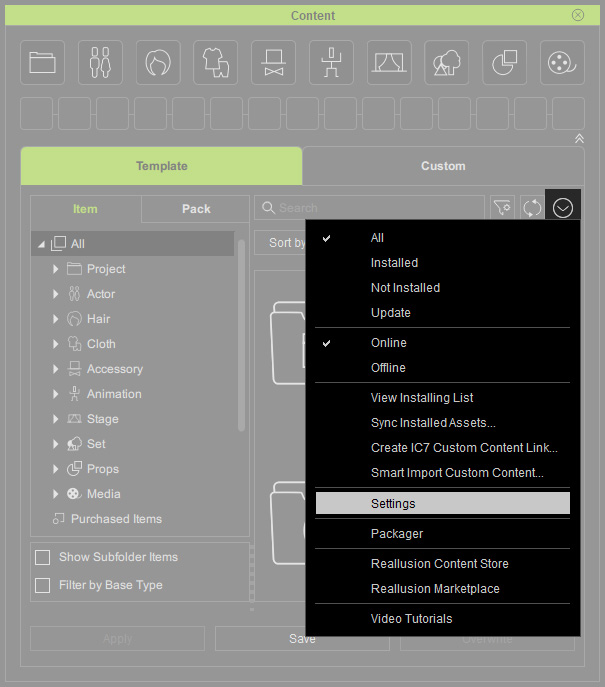
- On a client computer within the Workgroup, execute Content Manager Menu > Settings.
- Add a new Template Folder by clicking the + button.
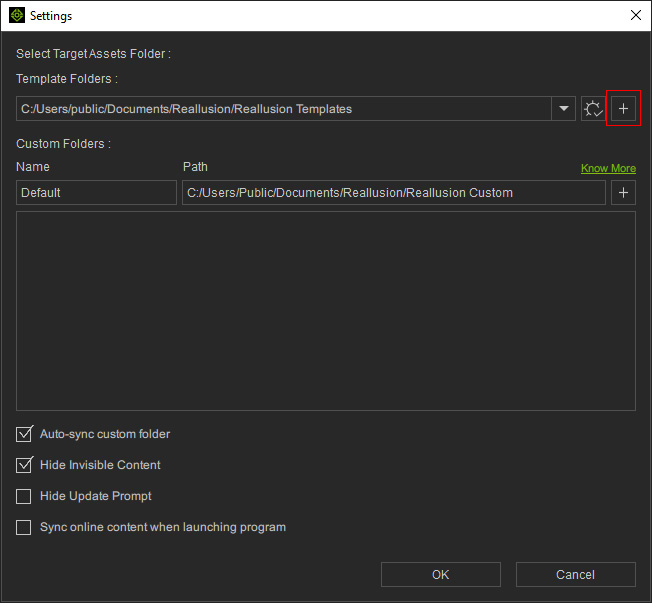
- A popup will confirm that the migrated asset folder will be referenced by all associated programs.
Click OK.

- Select the network folder that was used to install the templates onto the server in Step 1 (K:\cnt).
Click OK.

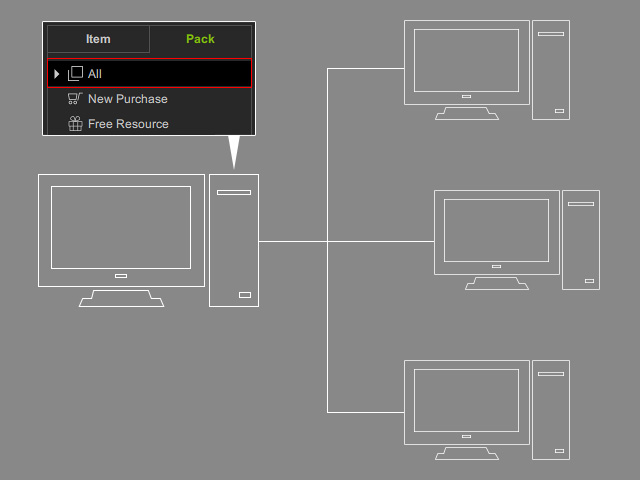
- Switch to the workgroup from the drop-down list (or use the All Assets default).
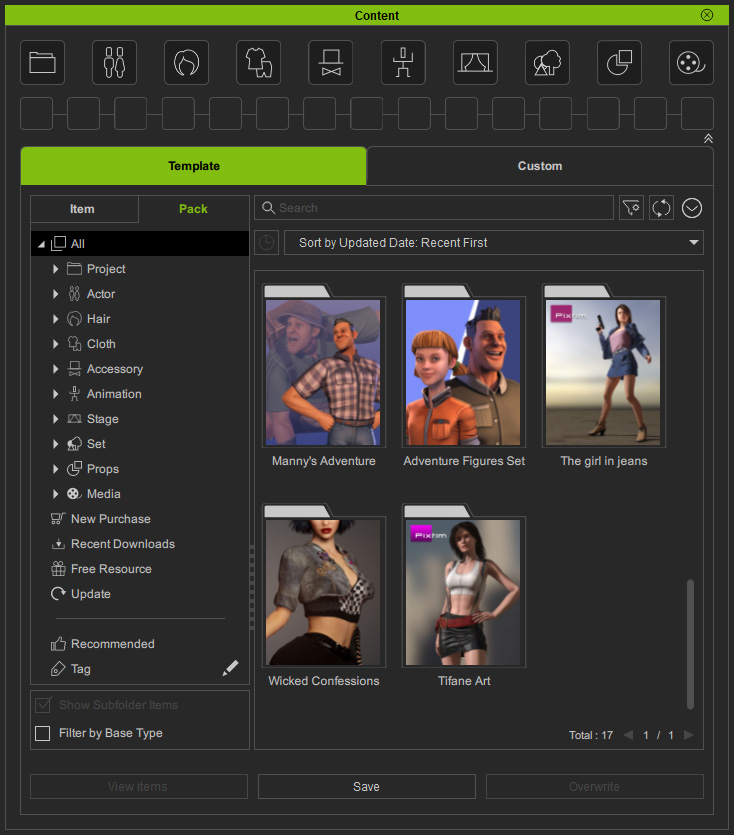
Click the Refresh
 button under the Template tab to manually synchronize the workgroup assets and the local library on the server.

- The template assets stored in the network folder will be retrieved and displayed on the client computer.

- Double-click to download and install all the content packs onto the client.
- Team members can now access the content on their own computers.
For sharing the custom contents among machines on an intranet, you can use the Multiple Drive feature. DRM authorization behaves the same across all computers in a workgroup using the same account.
- On the source computer, click the Content Manger Menu and choose the Settings command.
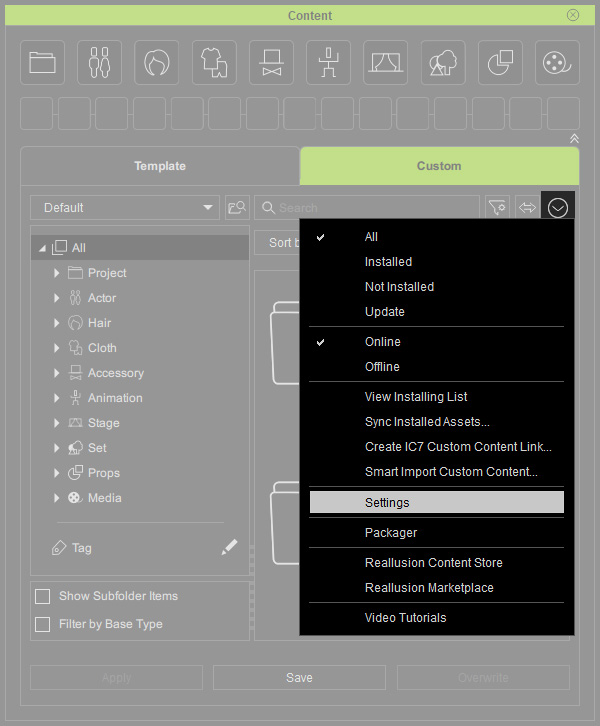
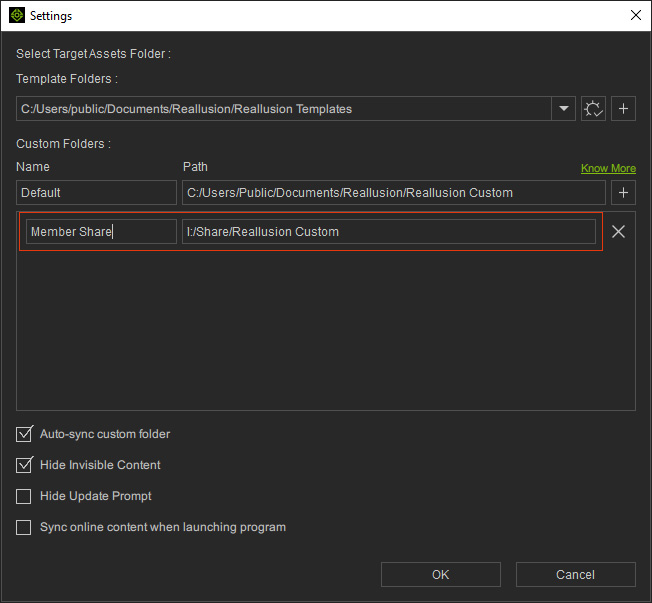
- The Settings panel will show with the default custom folder for saving your contents.
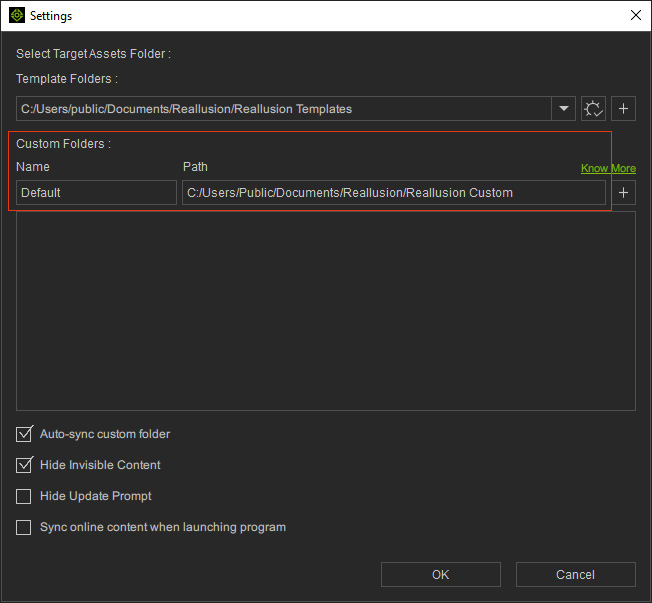
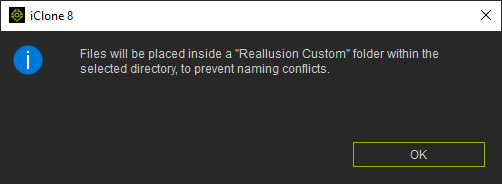
- Click the adjacent + button to add a custom folder.
A message will appear saying that a Reallusion Custom folder will be created in your target directory.
Click the OK button.
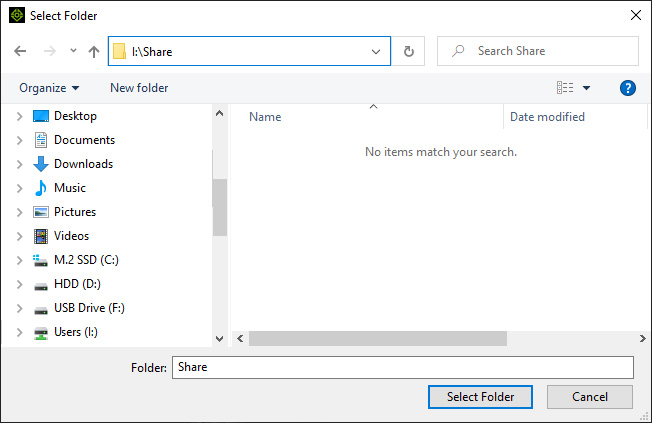
- Pick a folder on the network drive as the destination (in this case, Share).
Click the Select Folder button.
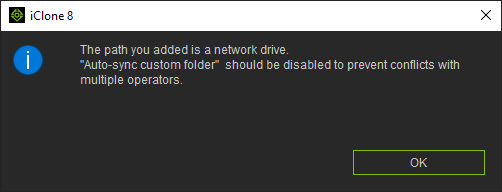
- A message will appear saying that you can disable the Auto-sync custom folder checkbox to prevent conflicts with multiple operators.
Click the OK button.
- The folder name and folder path will show in the list.
Rename the folder to Member Share in this case.
Click the OK button.
* You can keep the Auto-sync custom folder checkbox enabled if performance is not an issue.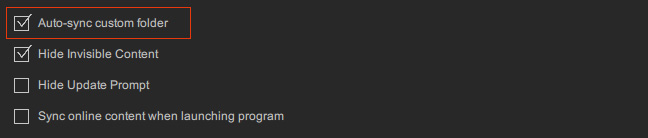
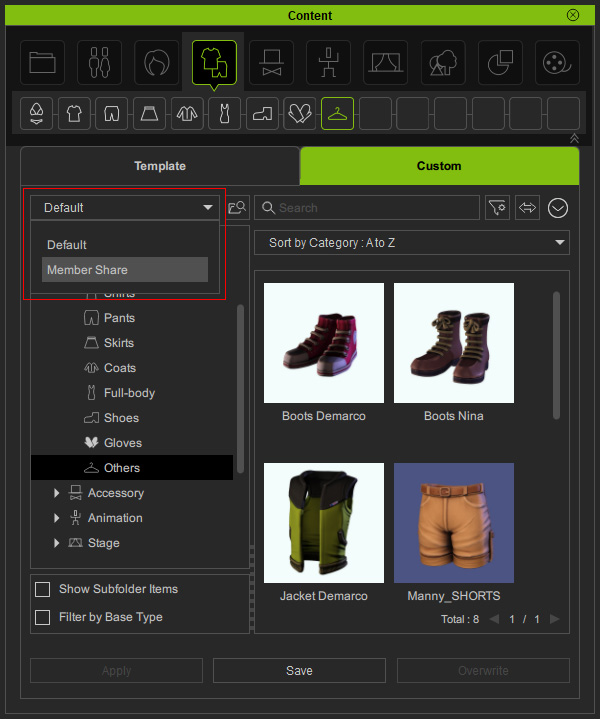
- Pick the custom folder on the network drive from the drop-down list.
Save content or import content to this folder.
- On another computer in the workgroup, click the Content Manager Menu and choose the Settings command.
- Repeat the same steps from 2 to 6 to add the custom folder on the network drive.
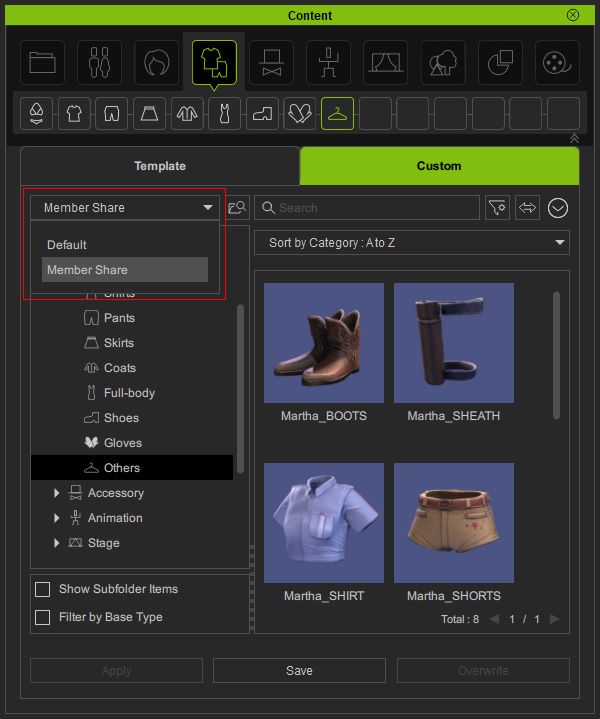
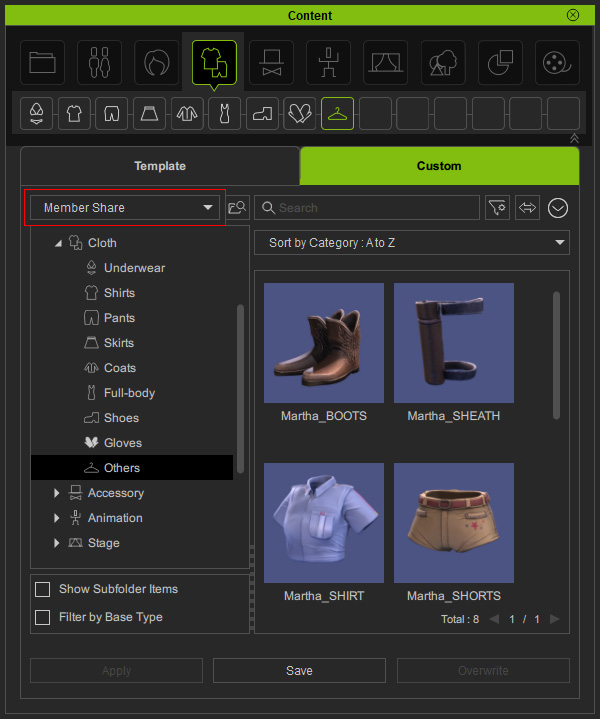
- Pick the custom folder on the network drive from the drop-down list.
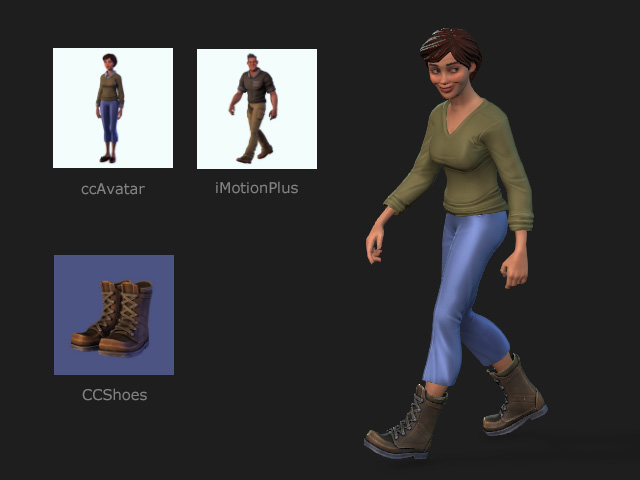
- As you can see, the custom content, stored on the network drive, appear inside.
- You can now use the custom content shared by the member.