Facial Mocap with Body Movements
During the facial mocap, you can add some upper body motions to a virtual actor, by capturing your head movements.
With the motion smoothing optimizations, you can create more realistic-looking animations in real-time.
( Watch Tutorial - Head Driven Body Movements )
* This function is available for G3 360 / G3 Human and Animals, and Spine or Wings with a talking head only.
- Apply and select a character in Cartoon Animator.
-
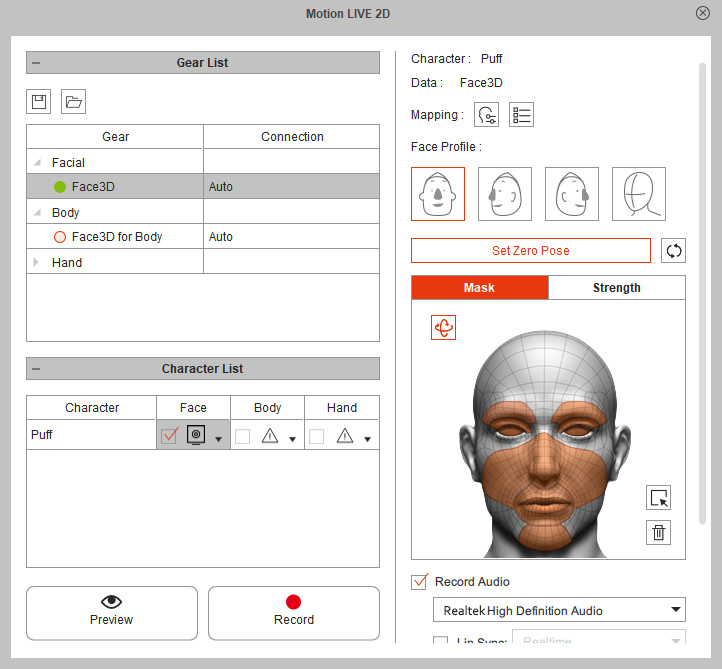
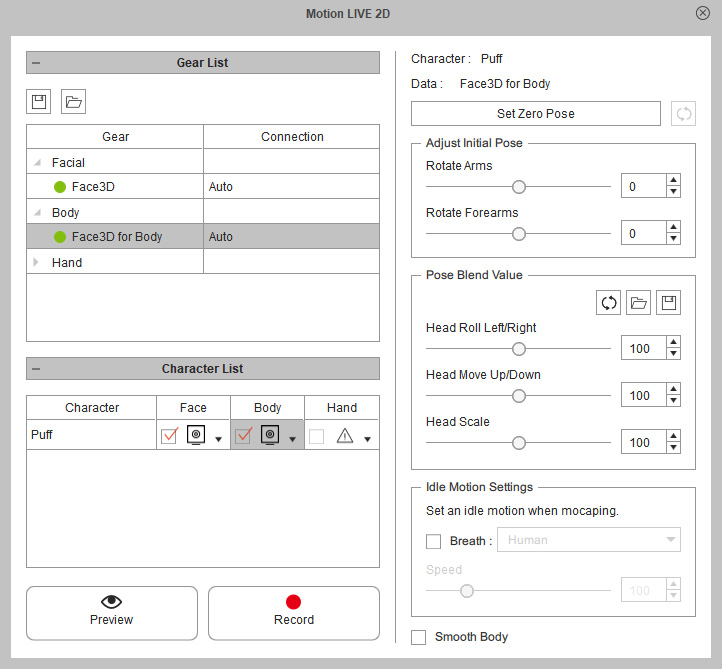
Follow the workflow of facial mocap to connect the gear or device (in this case, Face3D) to the Motion LIVE 2D.
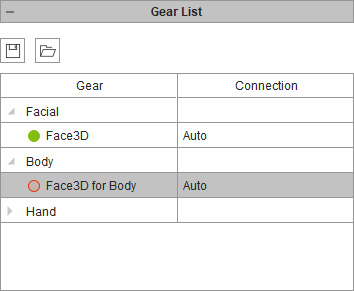
- In the Gear List, find the Face3D for Body device with a red hollow circle under the Body group.
- Click on the hollow circle to activate it.
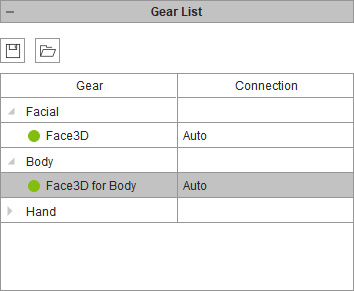
The circle will turn to be a solid green one, which indicates that the device is now connected to Motion LIVE 2D.
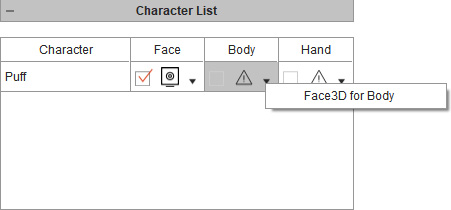
- In the Character List, click the drop-down button beside the Exclamation button in the Body column to assign a gear.
- Select the Face3D for Body device from the list.
You will see the icon of the gear shown in the cell.
Note
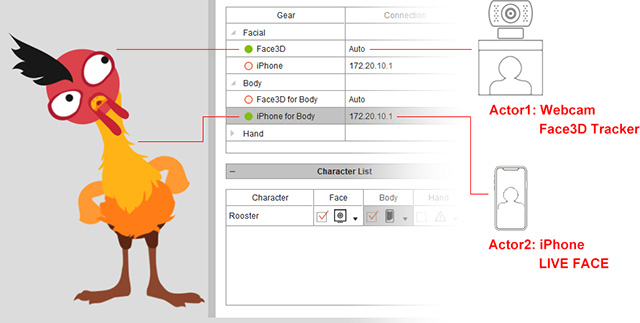
With the flexibility of the Motion LIVE 2D, you can control one character with different gears and capture facial expressions and head motions from different actors. Mount different mocap gears or devices on your computer or any computer on the intranet and verify that these devices are capable of detecting and capturing the actors' facial expressions and head motions.
-
Click the Preview button, and press the Space Bar to see how your head movements trigger the upper body on the virtual character (Shortcut: Space bar).
For better capture results, click the Set Zero Pose button to initialize the head movements,
and manually correct the initial arms position.
- Click the Record button and press the Space Bar to start recording.
Once the mocap recording is finished, you can collect and export the motion clip in Cartoon Animator, then apply to other characters.
-
Open the Timeline panel (F3) and click the Motion button,
you can find the recorded body movements data stored in a clip form in the Motion track.
-
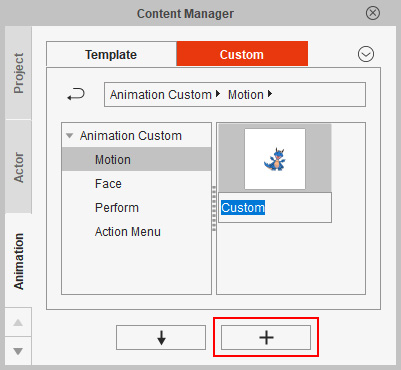
Make sure the character or the motion clip is selected.
Go to the Content Manager > Animation > Motion folder and click the Add button to save the clip (in *.ctBMotion format) under the Custom tab.
-
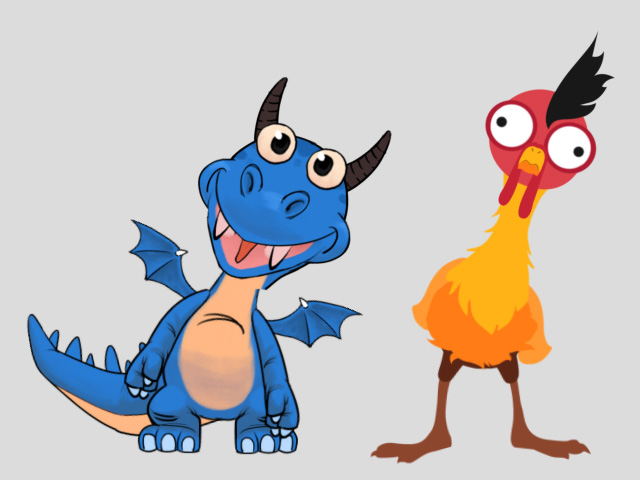
Drag the saved motion clip onto the desired character and watch it move.
If you want to further adjust the captured body motion clip, then please refer to the Seven Ways to Generating Body Movements section for more information.