Creating Body Parts with the Layer Manager
Body parts can be set to different layers in the Layer Manager, to ensure the front-and-back relations between them. To do this, you can create layer-changing animations by setting layer keys. It also guarantees that parts of the image are only influenced by bones in the same layer, rather than using pins to set fixed areas.
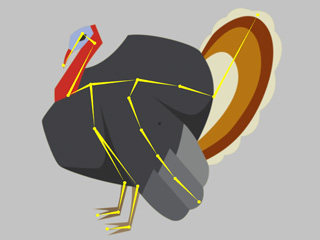
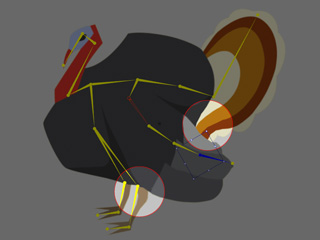
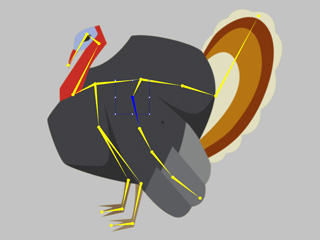
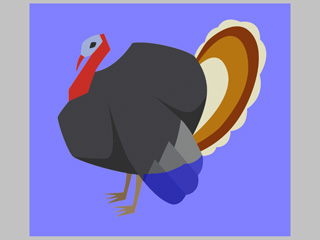
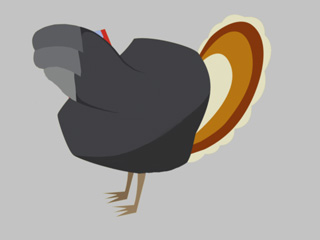
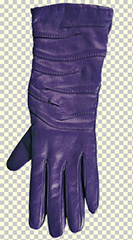
For the example in the illustration, the wing of the turkey cannot move without driving the other parts in the image to move. In this case, the best solution is to set the wing and the bones that control it to an individual layer.
|
|
| Free bone character created without setting any layer | The body part animates with irrelevant areas in the image, being driven to move with them in spite of numerous pins being utilized. |
-
Select the character and enter the Composer mode.
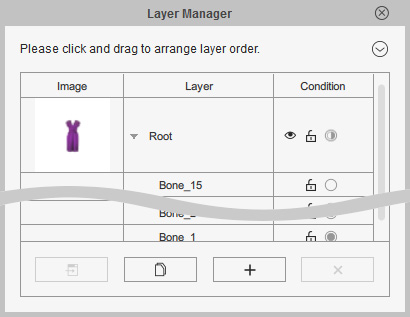
- Open the Layer Manager.
- Select the sub-root bone that will control the wing with its sub bones.
- Click on the Duplicate Layer button at the bottom of the Layer Manager.

- You will be asked if you wish to modify the mask of the new layer.
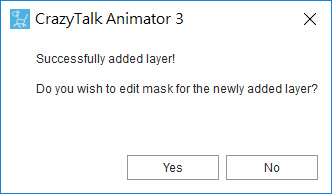
- Click the No button to skip the mask-editing step. You can do it later.
 Note:
Note:You can click on the Yes or the No buttons.
- If you click the No button, then a new layer containing the selected sub-root bone, with its child bones and the original image will be created.
- If you click the Yes button, then you will need to modify the mask first and then a new layer containing the selected sub-root bone. Its child bones and a masked image will be created.
- A new layer will be created which includes the sub-root bone, its child bones and the original image.
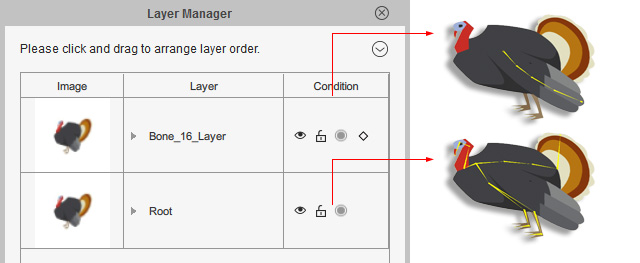
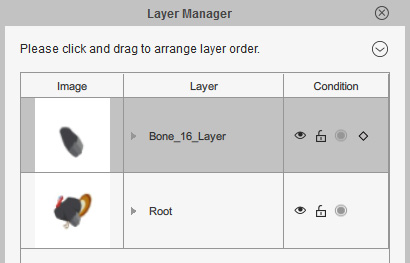
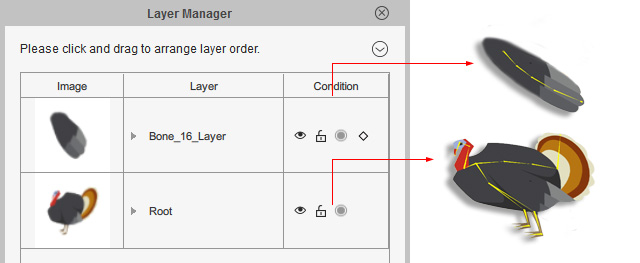
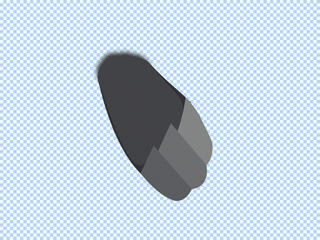
- Select the newly created layer (in this case, Bone_16_Layer) and click the Mask Editor button.

- Cut out the wing with the mask (the area in purple is covered with the mask).

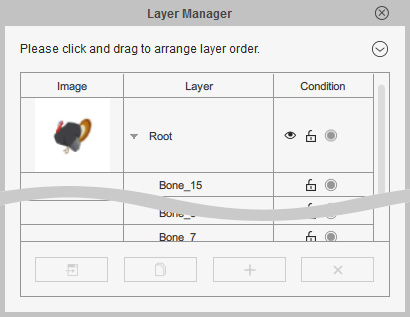
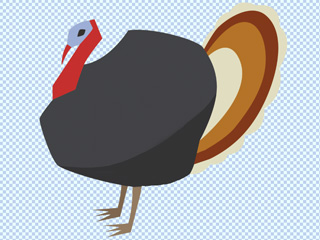
- Close the Mask Editor. The new layer in the Layer Manager will change its thumbnail because only the cut out body part can be seen.
-
Select the Root layer in the Layer Manager and use the Mask Editor again to trim its shape.
- The layers in the Layer Manager now have different thumbnails.
- Press down the Preview button and animate the wing by IK or FK methods. The animation of the new layer will not influence the image in the other layer.

- Optionally, you can edit the image in the Root and new layers with the external image editor to remove the part that is already moved to the new layer to fix the visual flaw.
- Go back to Stage and animate the new character with layers.
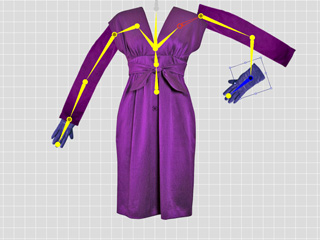
If you have prepared several images and you wish to combine them together in Cartoon Animator to generate a free bone character, then use the Insert Image feature of the Layer Manager panel.
|
|
|
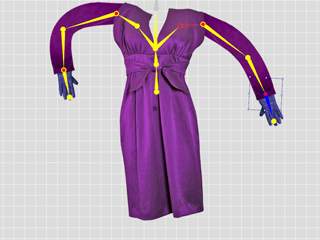
-
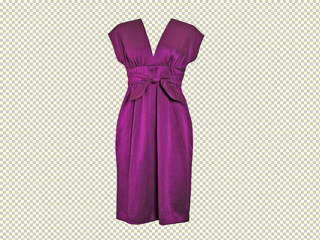
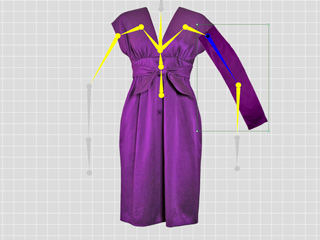
Click the Create Free Bone button on the Toolbar.

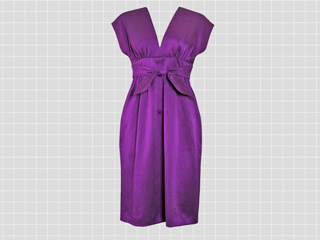
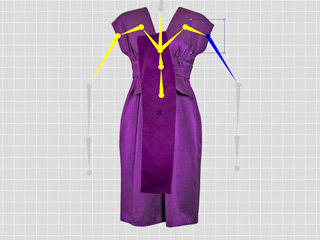
- Load the main image (in this case, the dress). Cartoon Animator will automatically switch to the bone-adding mode in the Composer.
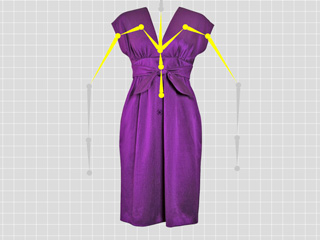
- Add bones. You can add bones outside of the image to load another prepared images.
 Note:
Note:The gray bones means that they are currently not controlling any image.
-
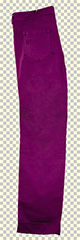
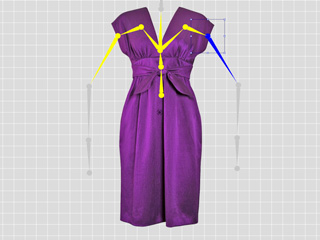
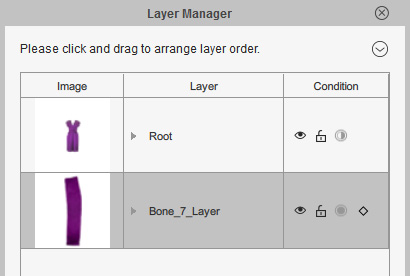
Select the bone that is supposed to be the upper arm.
- Open the Layer Manager.
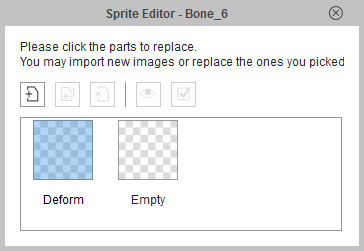
- Click on the Add Image button at the bottom of the Layer Manager.
 Note:
Note:You can use the Sprite Editor to load a new image for creating a new layer as well.
- You will be asked if you wish to modify the mask of the new layer.
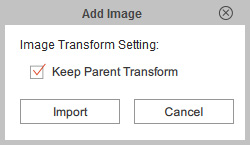 Note:
Note:You can click on the Yes or the No buttons.
- If you click the No button, then a new layer containing the selected sub-root bone, with its child bones and the original image will be created.
- If you click the Yes button, then you will need to modify the mask first and then a new layer containing the selected sub-root bone, its child bones and a masked image will be created.
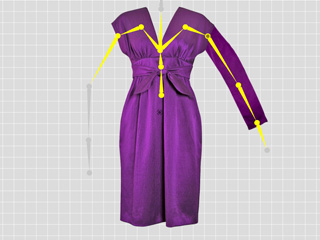
- Load another prepared image.
- You maybe need to adjust the sprite image with the Transform Sprite tool.
- A new layer will be created.
 Note:
Note:You maybe need to change the layer order by drag-and-dropping on the layers.
- Adjust the positions of the bones if necessary.
- Repeat the same steps to load prepared images for creating more layers.
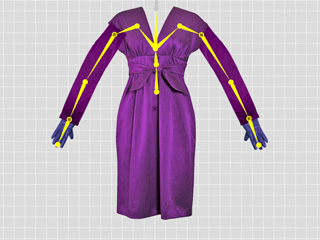
- Press down the Preview button to view the animation result with the IK or FK methods.
 Note:
Note:If you encounter the issues as show below, please activate the Double Bind radio button of the layers.