


Creating G3 Template Bone Characters with PSD Editor (New for v4.1) 
By working with image editors, you can turn any PSD images into a G3 Template Bone character in Cartoon Animator. The converted character can then be animated with tons of motion templates from the Animation libraries.
The following steps will describe how to create a G3 template bone character with a PSD editor,
and then bring it into Cartoon Animator for animation.
- Please refer to the Creating G3 and Free Bone Characters from PSD Files section to get the PSD resource pack for creating a template bone character.
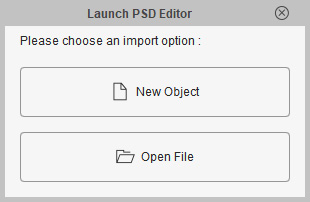
- Click the custom PSD editor button (in this case, Photoshop) on the toolbar,
and then click the Open File import option in the following dialog to locate the downloaded PSD file (Human_G3_360_Full_Side_45_Template.psd in this case)
and load it into the custom PSD editor.
 Note:
Note:If you want to create a synced relationship with Cartoon Animator, you have to click the Open File option in this dialog.
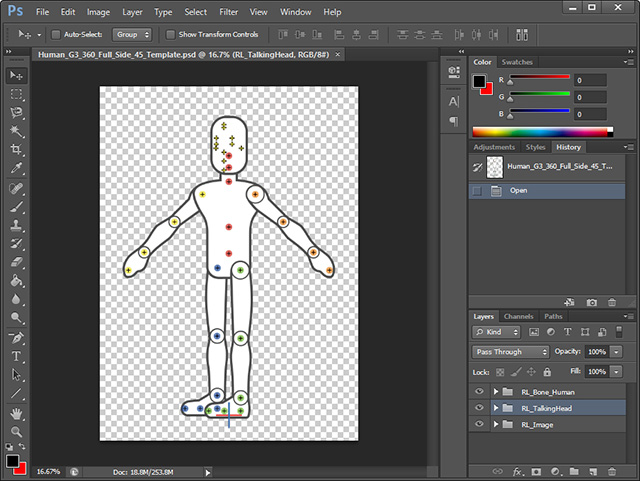
- The PSD editor will be automatically launched with the file tab.
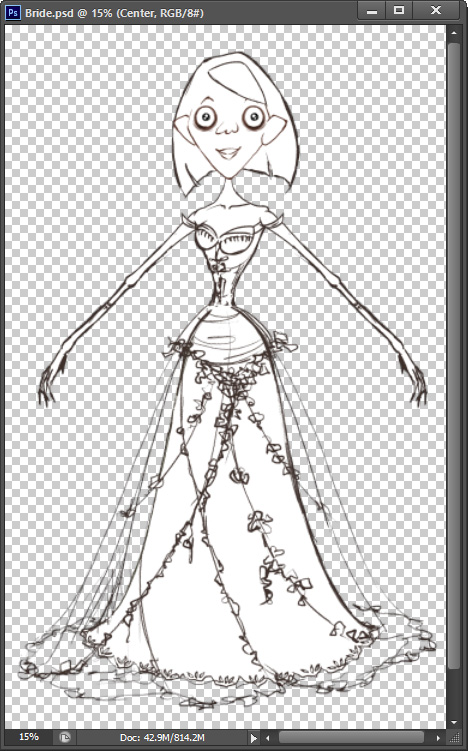
- Open the prepared PSD image file for head and body parts (the Ghost Bride in this case).
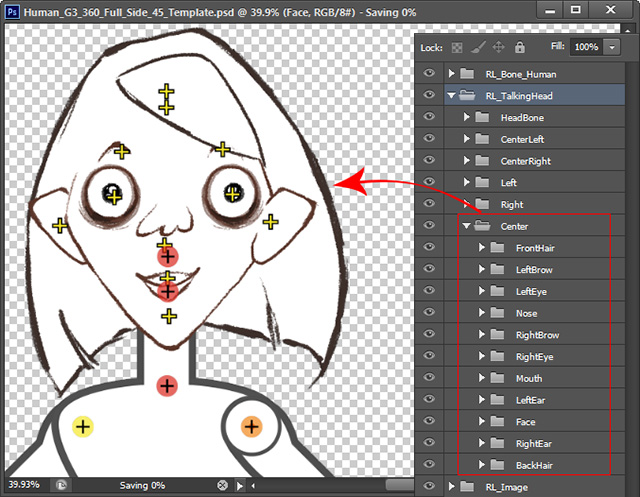
- Refer to the G3 White Paper for character creation inside the PSD resource pack to replace the separate image layers in the RL_TalkingHead folder with custom ones for head creation.
Remember to move the pivots in the HeadBone sub-folder to align with the facial features.
- When you are satisfied with current result, press the hot keys: Ctrl + S in the PSD editor to send the image to Cartoon Animator.
The standard G3 character with the custom Talking Head images will be created, synchronizing with the image editor.
You can find this new character item under the G3 Actor group in the Scene Manager.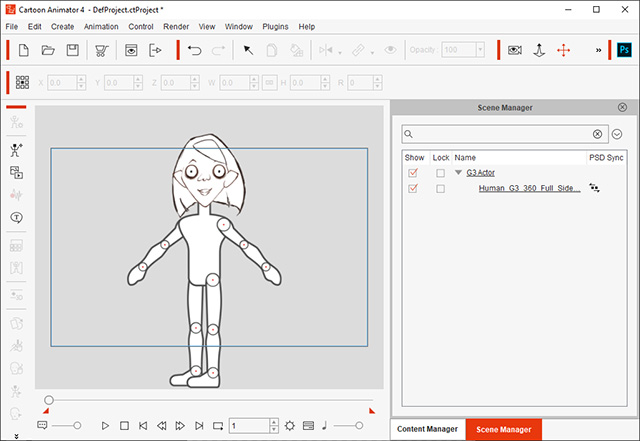 Note:
Note:The PSD Sync
 icon indicates that this object is currently synced to its PSD project in the image editor.
Please refer to the Managing Multiple Projects in PSD Editor section for more information.
icon indicates that this object is currently synced to its PSD project in the image editor.
Please refer to the Managing Multiple Projects in PSD Editor section for more information.
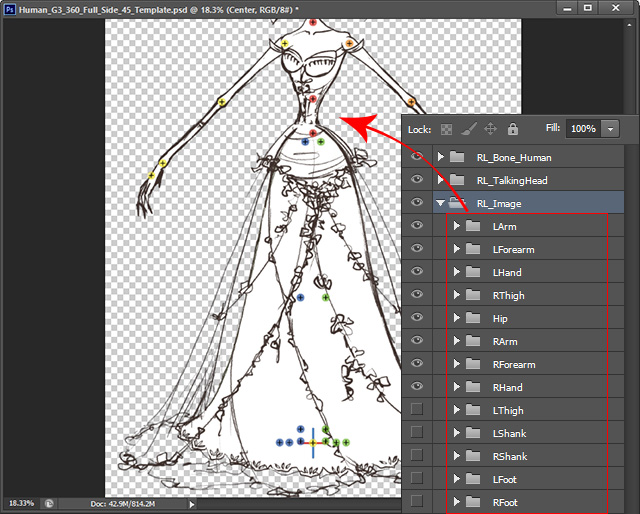
- Go to the image editor again.
Continue to replace the separate image layers in the RL_Image folder with custom ones to creating the body parts.
Remember to move the joints in the top RL_Bone_Human folder to appropriate positions of the body parts.
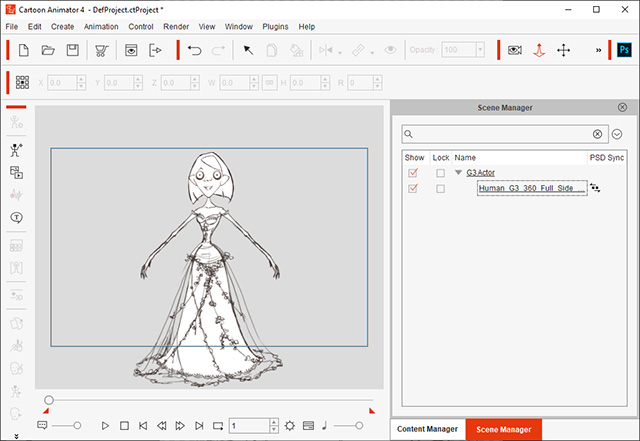
- Press the hot keys: Ctrl + S again in the image editor to update the image to Cartoon Animator.
The standard G3 character is fully created.
 Note:
Note:You can add this character into the custom Character library of Content Manager for further usage.
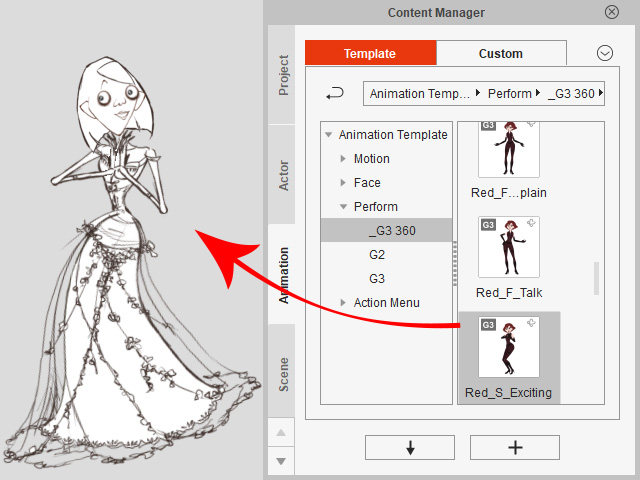
- Drag and drop a G3 Human motion template (Red_S_Exciting in this case) from the Animation library to the character,
the Ghost Bride will start to perform.
 Note:
Note:You can refer to the Applying G3 Motion Templates section for more information.
- Go to the image editor again and color the simple sketch. When you are satisfied with current result, press the hot keys: Ctrl + S in the PSD editor to update the image to Cartoon Animator.
- Playback to view the character animation.