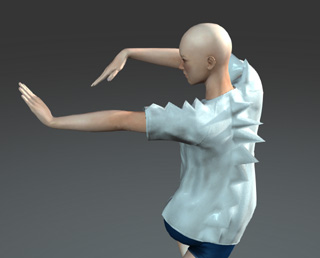
Creating Custom Clothes
In addition to deploying the embedded clothing templates, you can also generate custom clothes with your favorite 3D tools in order for more variety in your 3D wardrobe.
There are two ways to create your custom clothing.
Method 1. Modification from Existing Cloth
You can use the existing cloth templates in Character Creator as the base for modification,
turning them into custom clothing with your preferred 3D tools.

For more information, see About fbxkey file.
-
Add a clothed character to a new scene.
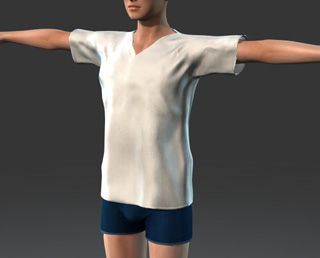
-
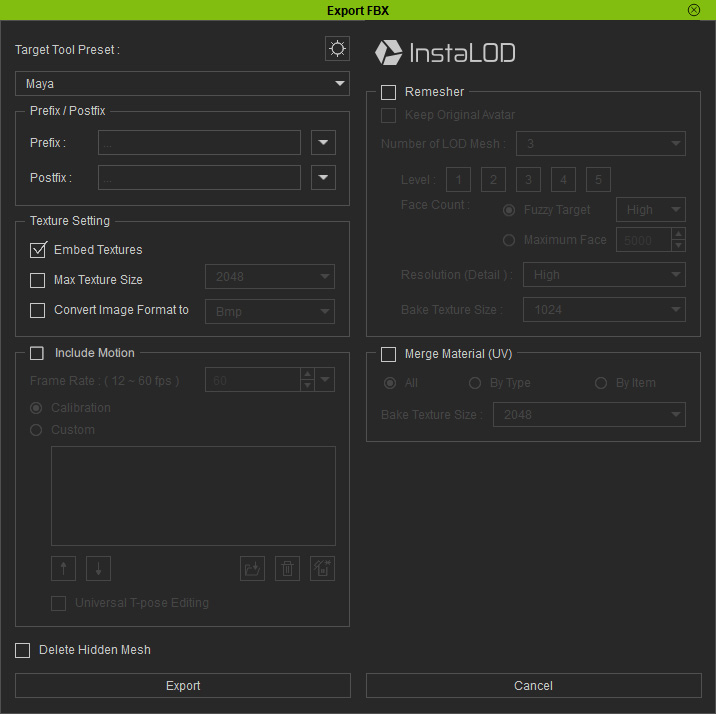
Execute File > Export to Fbx > Clothed Character.
 Note:
Note:For more information, see Exporting FBX Characters.
- Click the Export button to export the character in FBX along with its FBX key.
-
Open the FBX file in your preferred 3D tool.
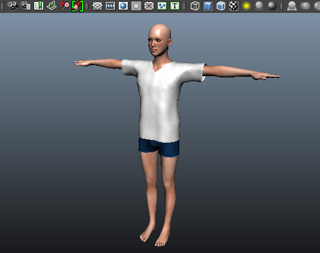
-
Modify the cloth with the features provided in your 3D application.
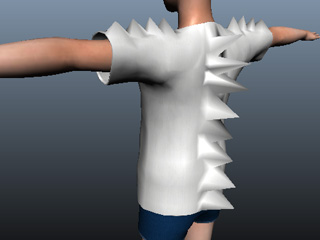
 Note:
Note:- For more information on using the nude character for creating custom clothes, see Creating Custom Clothes.
- For characters, subdividing the mesh is fine as long as the original FBX key is loaded back into Character Creator.
- For cloths, gloves and shoes, editing without changing the topology or deleting faces is allowed. However, if the mesh is subdivided, then you must manually re-bind it to the bones.
Method 2: Import Designed Assets
After creating assets (cloth, hair, etc.) using your 3D tools based on
the exported character, load them back into Character Creator to create
custom outfits or assets.
For more information, see About fbxkey file.
-
Prepare the assets, such as clothes, hair, and more.

- Export the entire character as FBX again.
-
Back in Character Createor, perform File > Import
to load the aforementioned FBX file.
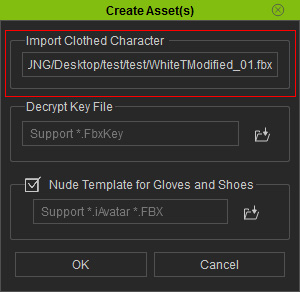
Load the Decrypt Key File, then click the OK button.
 Note:
Note:For more information on the controls in this panel, see Create Assets Panel.
-
A dialogue window will appear to verify that the FBX settings are
correct.
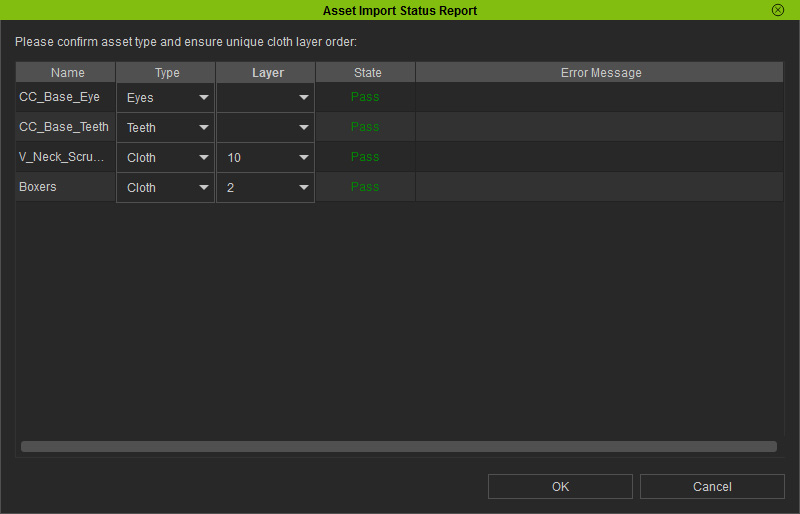
 Note:
Note:For more information on the controls in this panel, see Asset Import Status Report Panel.
-
Click the OK button to load the FBX file.
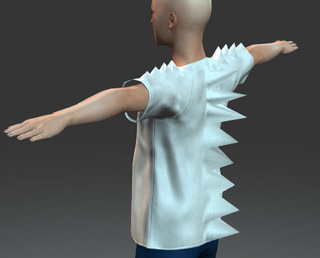
Optionally use the Calibration panel to see the clothing conform to different poses.