


Creating Creature Characters
Character Creator helps you convert bone-skinned models, with or without embedded animations, into an avatar for use with the IK and FK features in iClone. The exported avatar is called a Creature, since the bone structure and the mesh nodes totally differ from the Standard Characters in iClone.
The characters created in this section can only be animated by the commands in the right-mouse menu, or by using key-frame techniques with Motion Editor. However, if you want the converted characters to be able to utilize the Motion Puppet, Direct Puppet, Device Mocap features or use templates in the Motion Library from the Content Manager, then you need to follow the Converting Models to Humanoid Characters pipeline.
Generating Creature Character from iClone iProp or FBX File
Video Tutorial: Maya
Video Tutorial: Daz
Video Tutorial: Blender
Creature from iClone - Props
-
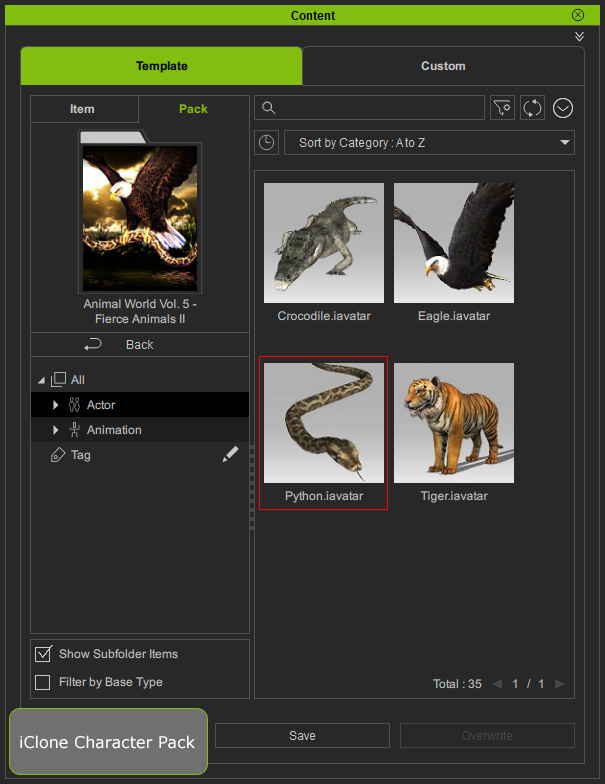
Drag and drop an iClone Prop with bones into Character Creator.
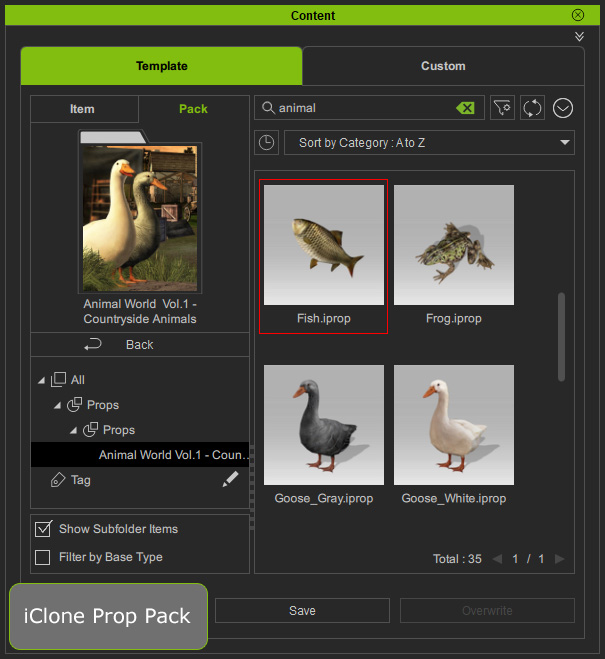
As you can see it is still a prop in Character Creator.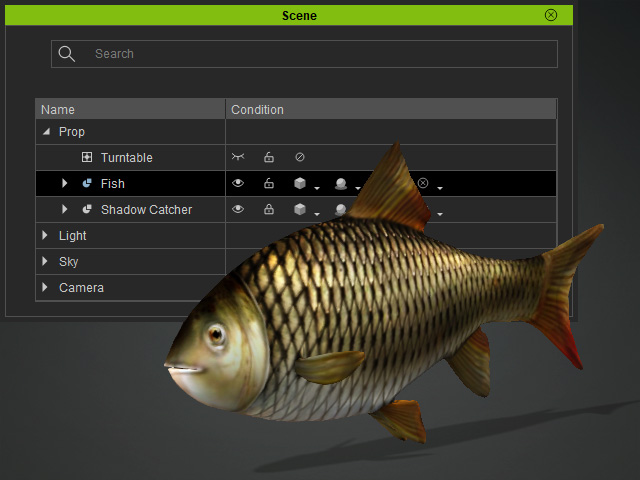
 Note:
Note:The contents of this pack can be purchased from the official website.
- Click the Convert to Creature button in the Modify panel.

- Character Creator will ask you whether to extract the prop animations and convert them into motion files (*.iMotion), click the OK button.
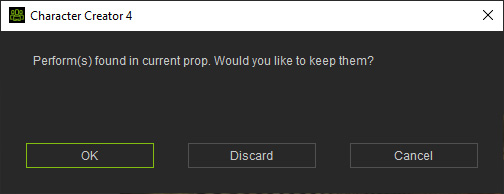 OK or Discard?
- To keep the motions,
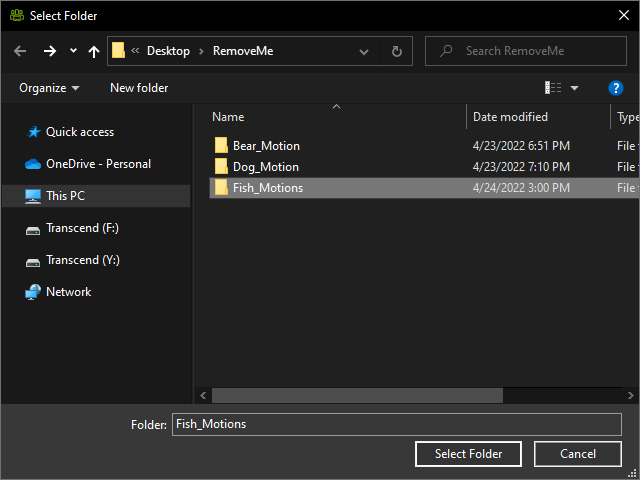
click the OK button and select a folder to save these motions.
These motions will be the source motions of the items in the Perform List.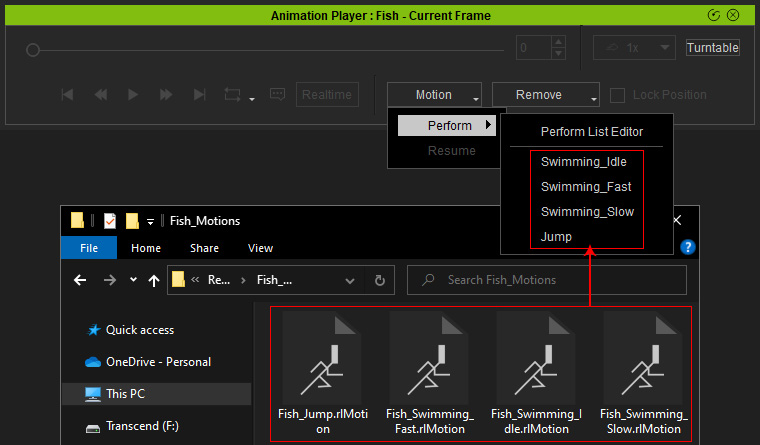
- If you want to remove all motions from the object, then click the Discard button.
- To keep the motions,
click the OK button and select a folder to save these motions.
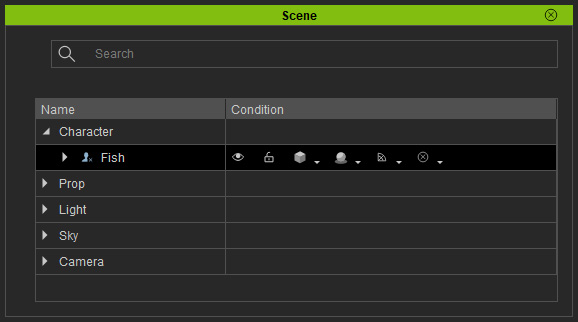
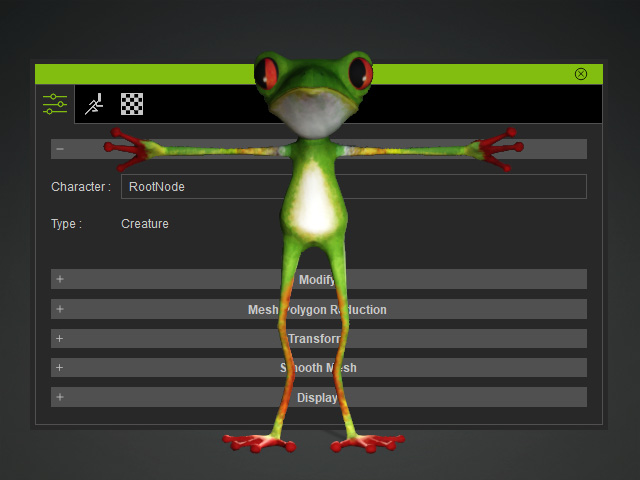
- As you can see that it is categorized as Character.
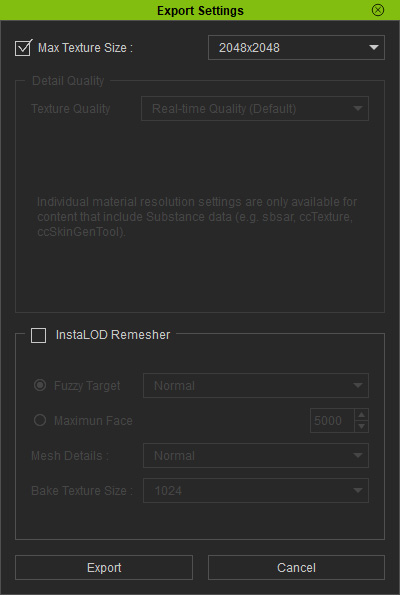
- Export the model as an avatar (.iAvatar).
Creature from iClone - Character
-
Apply a Creature with bones into iClone.
As you can see, it belongs in the Character category in iClone.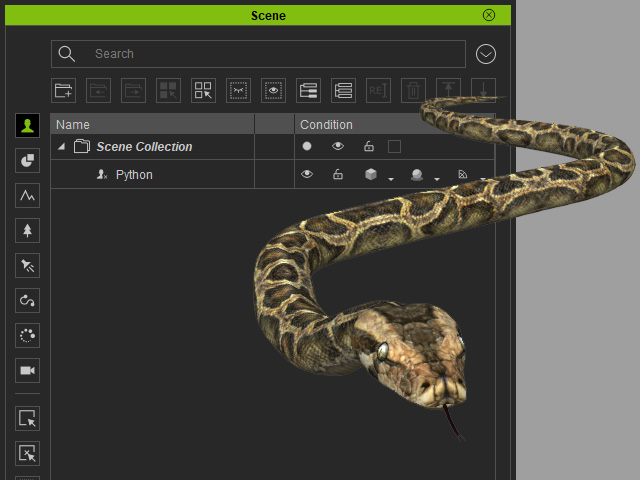 Integrating Character Motions
If you want to integrate the character's motion, then follow the steps below. However, you can also do these steps after the character is sent to Character Creator:
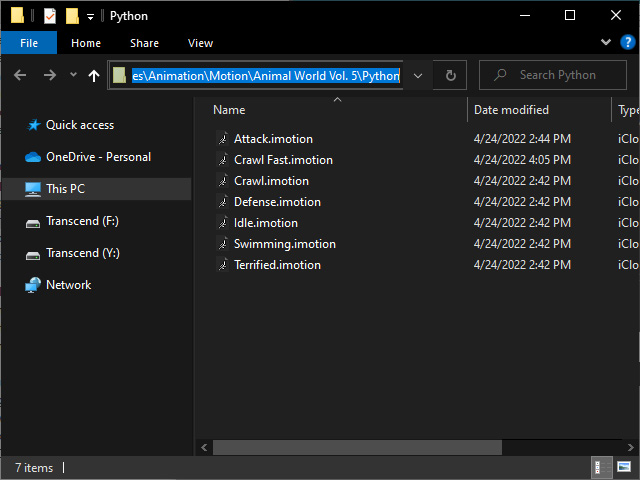
- Find the motions of the creature.
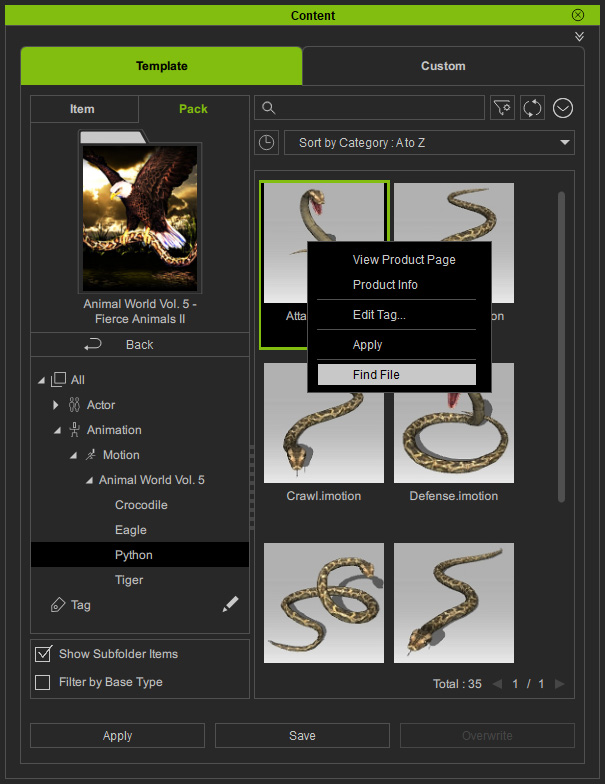
- Copy the path of the motion files.
- Right-click on the creature and choose the Perform > Perform List Editor command.
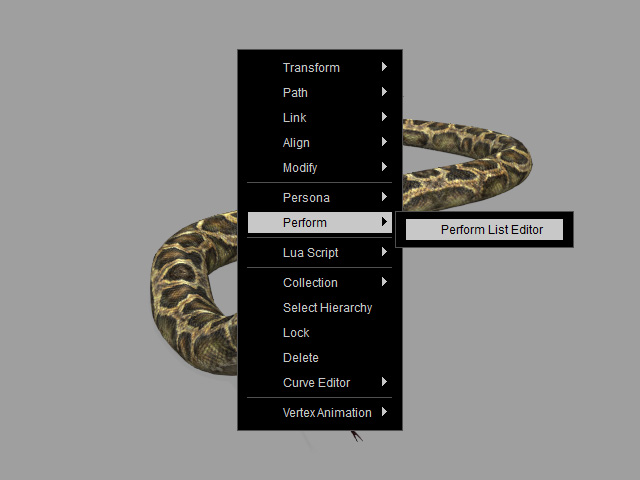
- Click the Add button and load the motions (path is copied in step 3) into the Perform List
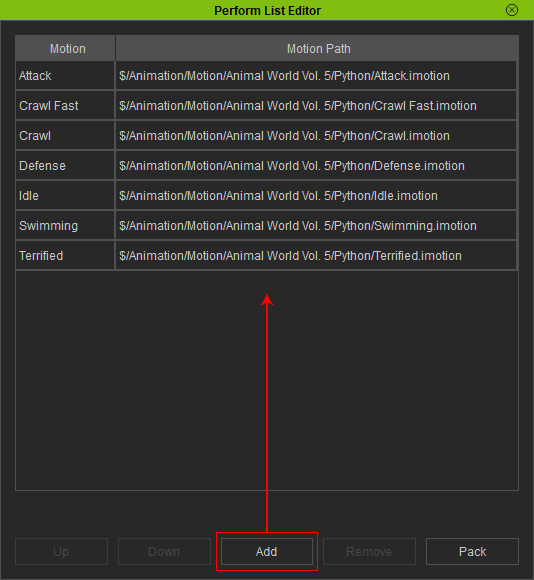
These motions will be integrated into the creature.
- Find the motions of the creature.
- Click the Edit in Character Creator button in the Modify panel.

- The creature and the motions integrated into it is sent to Character Creator.

Creature from 3D Tools
- Import any bone-skinned model in FBX format.
Or you can drag and drop the FBX file into Character Creator.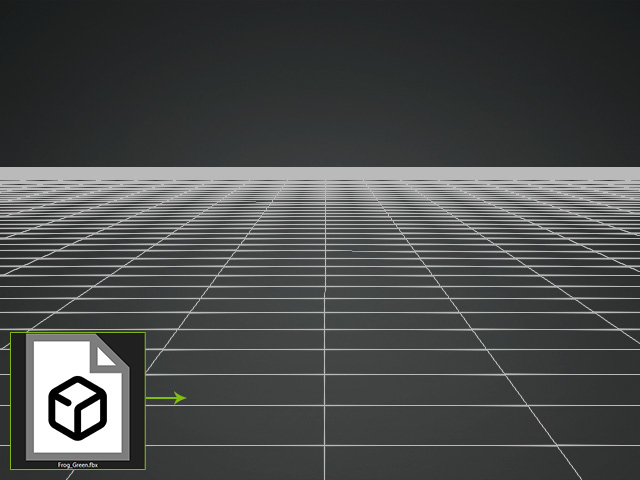
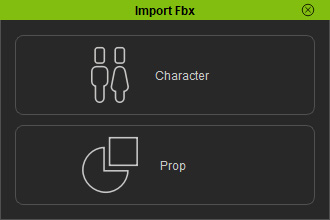
- Click the Character button of the Import Fbx panel.
- Choose the Creature button and click the Apply button.
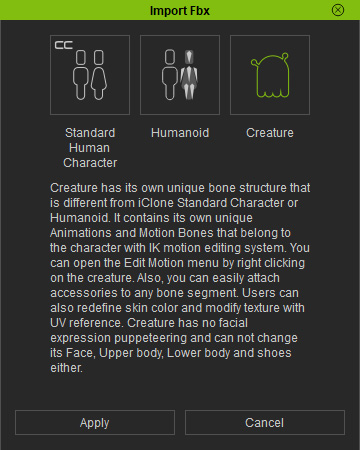
- As you can see the FBX file is converted to a new Creature character.
You can optionally modify the mesh of the newly-generated character. Please refer to Modifying Mesh section for more information. - Export the model as an avatar (.iAvatar).
