Quick Guide for Creating Character (New for v. 4.2)
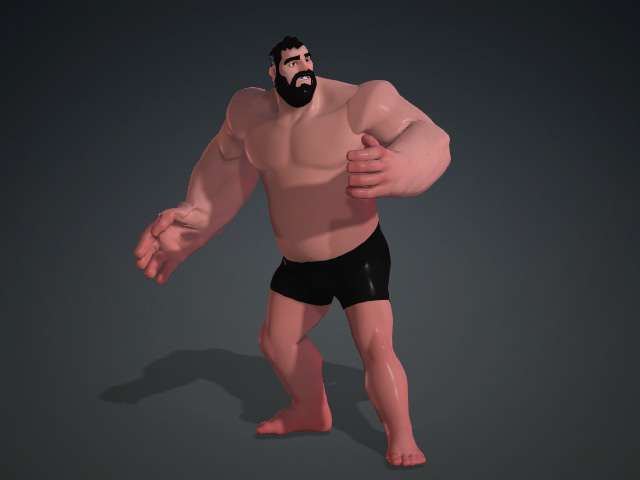
The process of taking a static model and converting it to an animate-able character is demonstrated below:
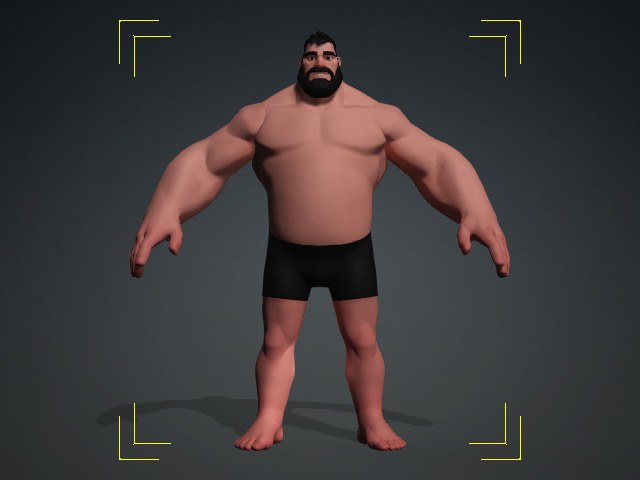
- Import a biped model in iAvatar, iProp, FBX or OBJ format.
- iAvatar: CC3+, Humanoid and Creature characters are all supported. It is highly recommended to set T- or A-pose for the characters.
- iProp: the props composed of one or multiple meshes are all supported.
- FBX: skinned or unskinned are both supported.
 Note:
Note:You can use the vertex colors of the model as reference for positioning the guides for body and fingers. Refer to the Using Vertex Color section for more information.
- Align the model to the center plane (YZ plane) to have the plane cut midway through the character.
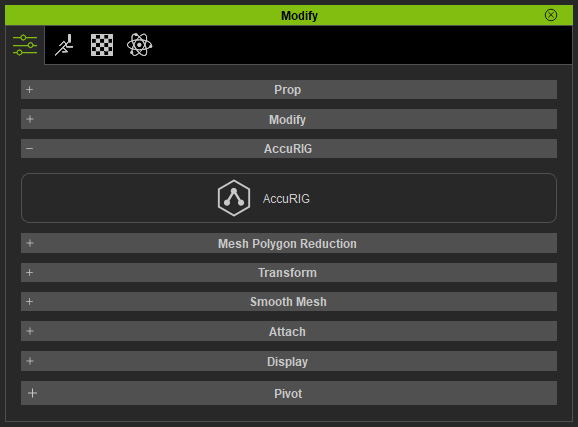
- Select the entire model and in the Modify panel, click the AccuRIG button in the AccuRIG section.
- Click the Create Guides button in the Skeleton and Bind Skin section. Also see Using Force Symmetry for Fully Symmetrical Models
for more information.
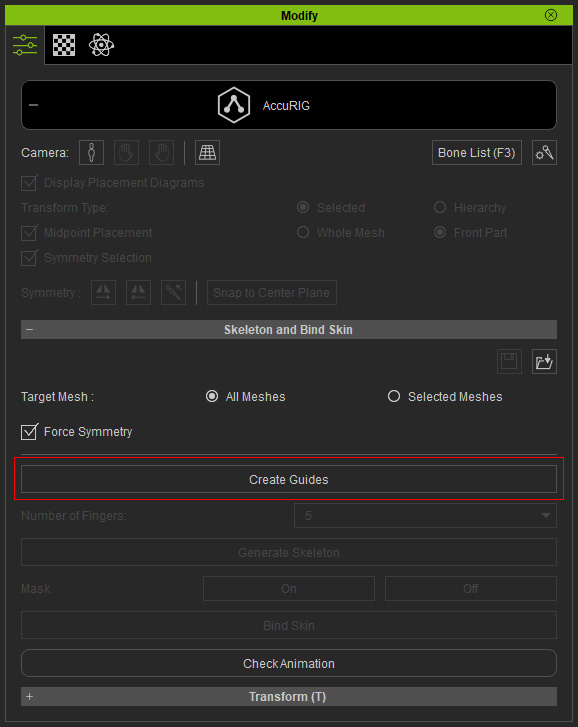
The guides will automatically relocate to the correct positions.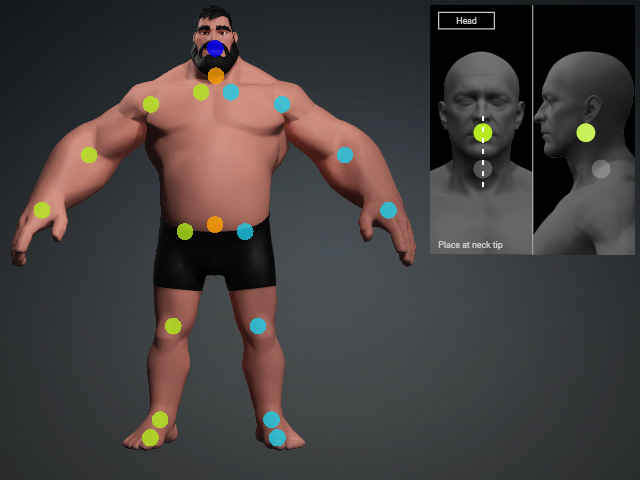
- Drag to reposition them if necessary, according to the
legends on right.
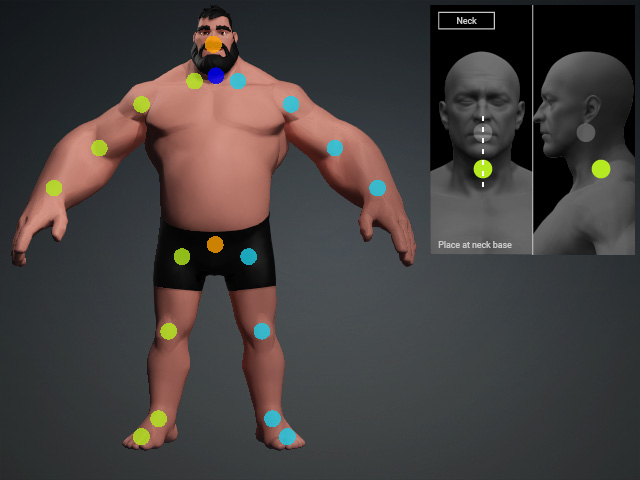
Also see: Snapping to Center Plane. - Change to the side view to adjust the Z-depth of the guides.
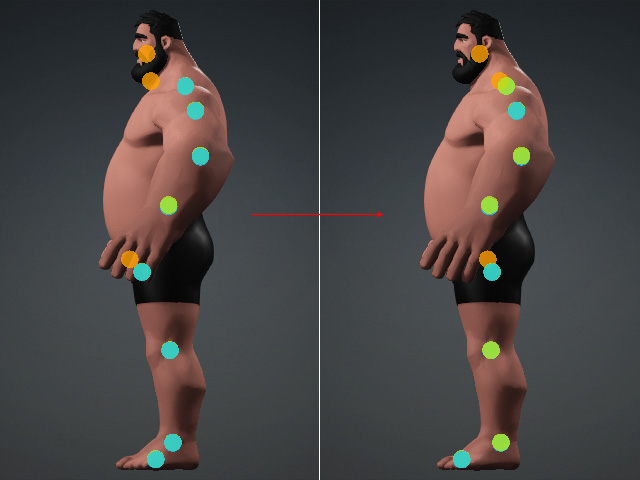
- Set the number of the fingers for the model.
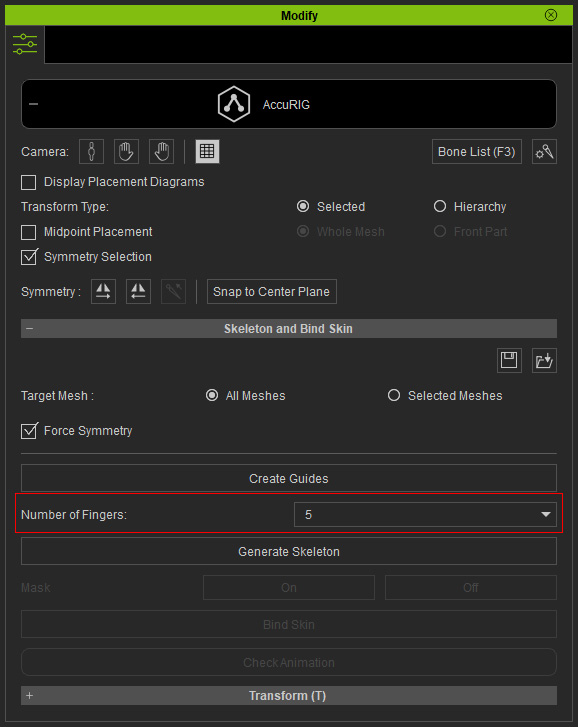
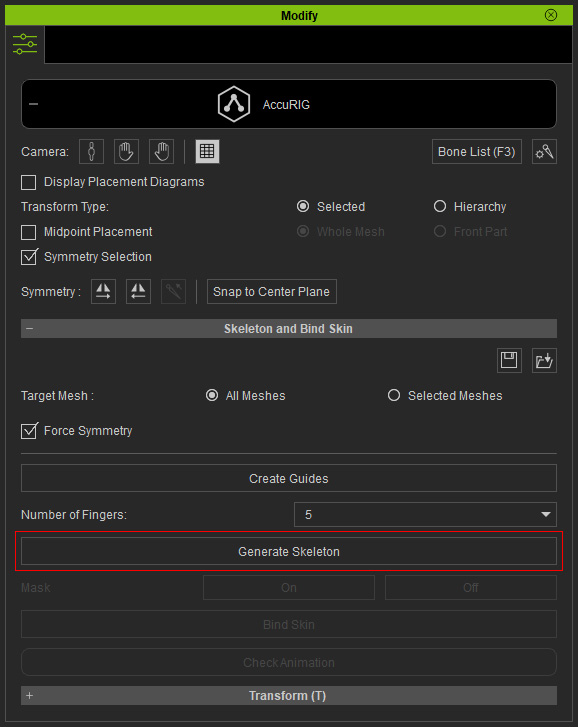
- Click the Generate Skeleton button to create skeleton by the positions of the guides.
- Skeleton for the body and the guides for the fingers will be generated.
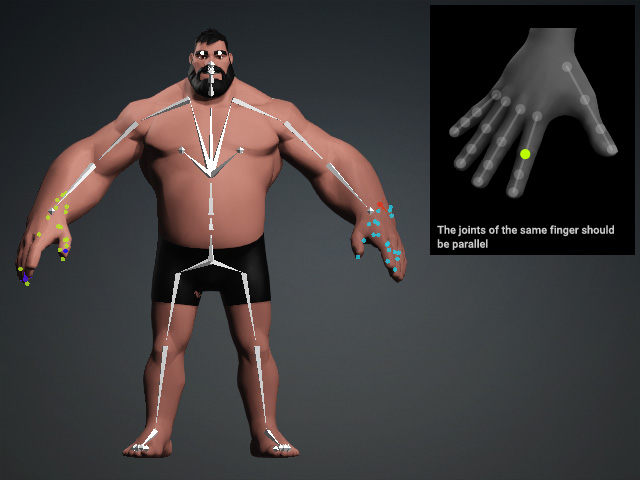
- Manually reposition the body bones and the finger guides if necessary.
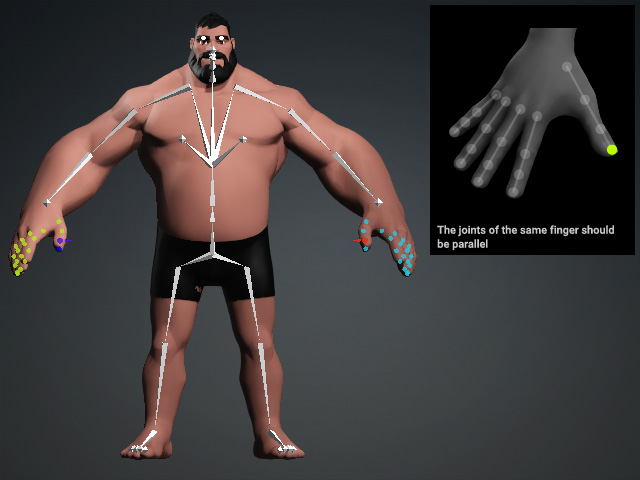
- Use the Mirror tools to quickly reposition the bilateral bones or finger guides.
- Make sure to correctly set the direction of the thumbs.
- Alternatively, you can allocate the facial bones.
AccuRIG bind skin feature only works for the body and head bones, the facial bones are not included.
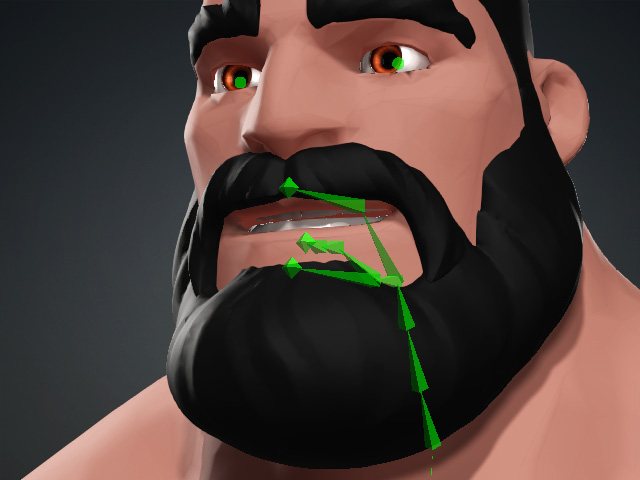
You need to manually bind skin for the eyeballs, tongues and jaws after exiting the AccuRIG mode and entering the Skin Weight mode. - Click the Bind Skin button.
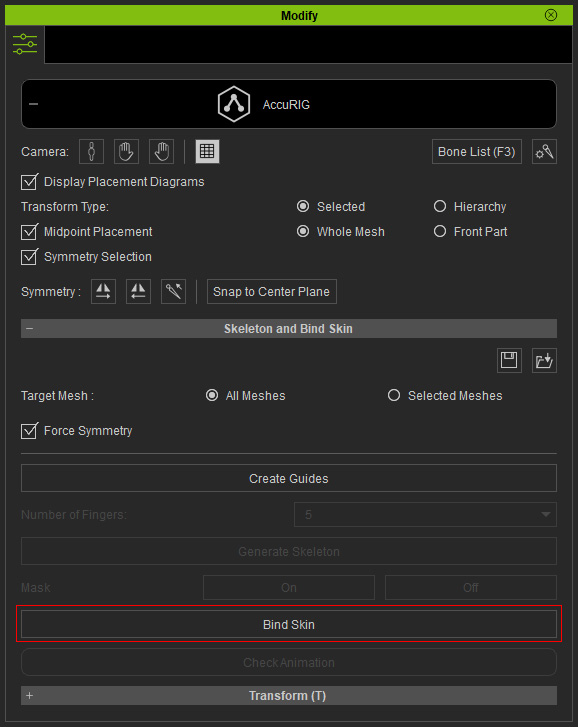
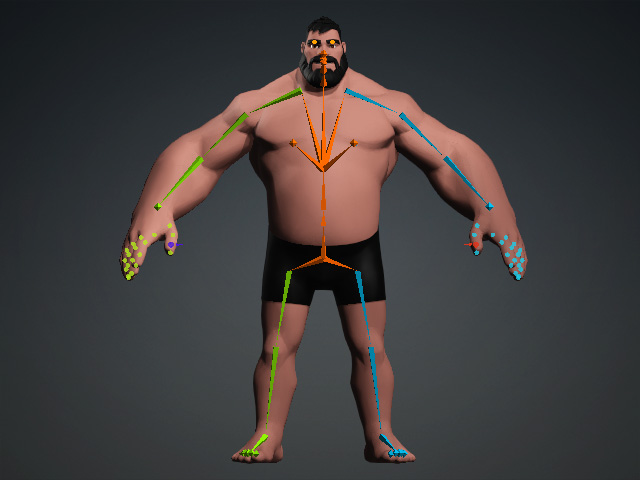
- The bone-skinned humanoid character is generated.
- Click the Check Animation button to temporarily enable the play bar.
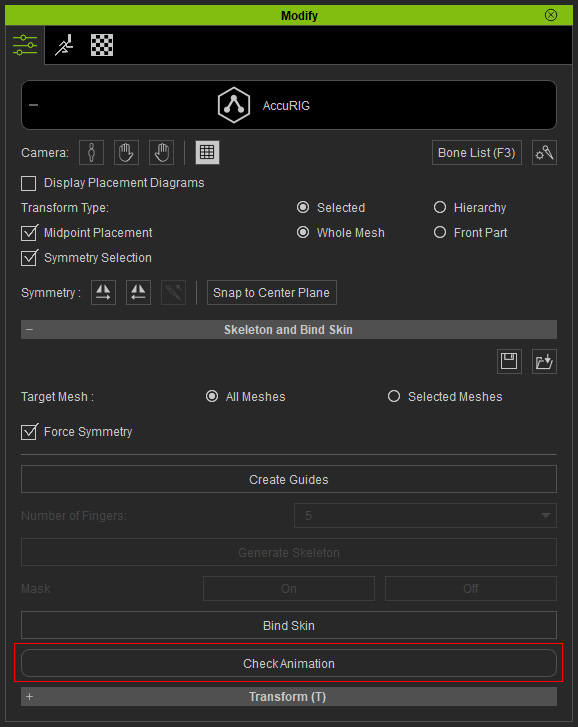
Apply different poses or motions to observe if the joints are placed properly.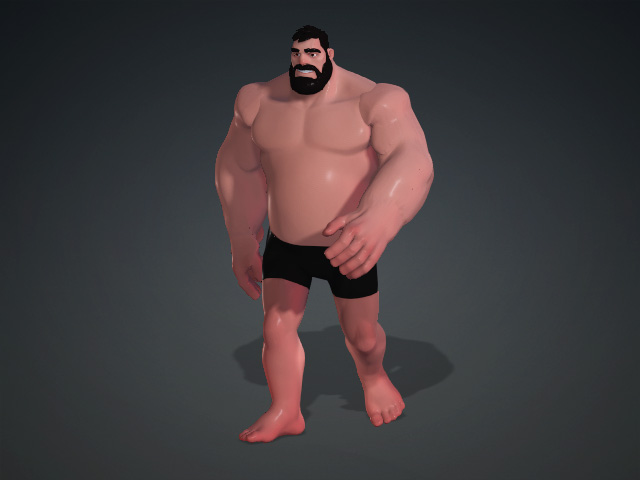
Repeat the previous steps for offsetting the bones. - Click the AccuRIG button again to exit this mode.
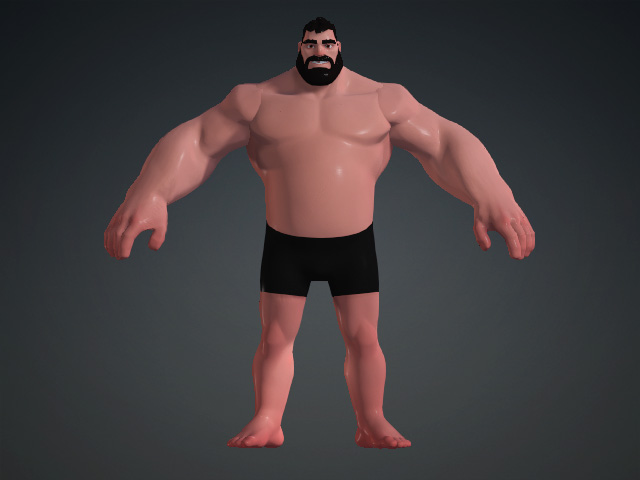
- Humanoid characters can be animated by applying templates. Set poses in
the Edit Pose panel or create motions with
puppetry and/or mocap in iClone.
