Blend Map Adjustments
Enabling the Cavity > Blend function during the ZBrush to Character Creator (CC) update will automatically generate a cavity map for your model’s head in CC. This enhances your base model’s facial cavity details and depth.
- In CC, select a CC3+ (or later) character for editing.
- Once the editing is complete, use the Face Tools plugin to GoZ the model to ZBrush.
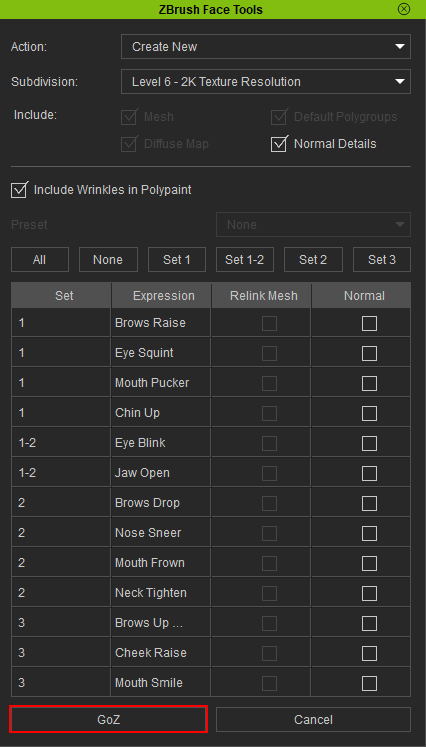
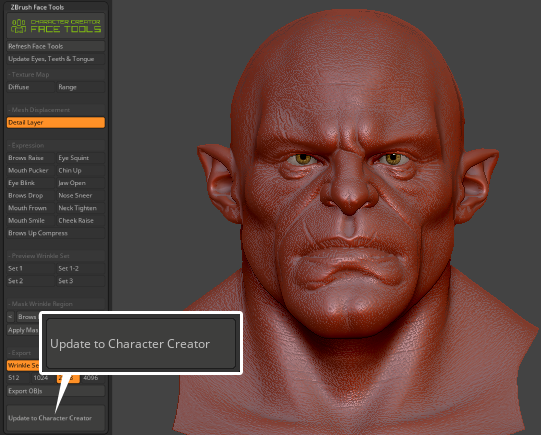
- In Zbrush, use the ZBrush Face Tools plugin to customize your character’s facial details and expressions.
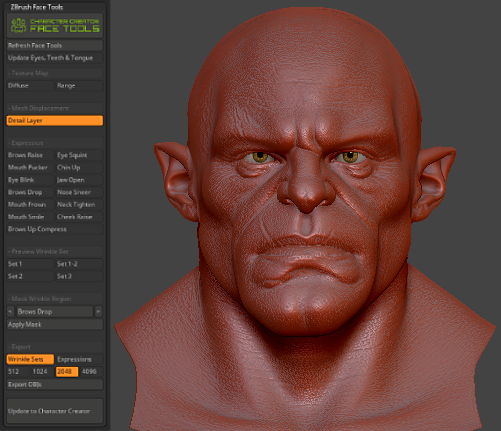
- Once you have finished editing the character model, click on the Update to Character Creator button.
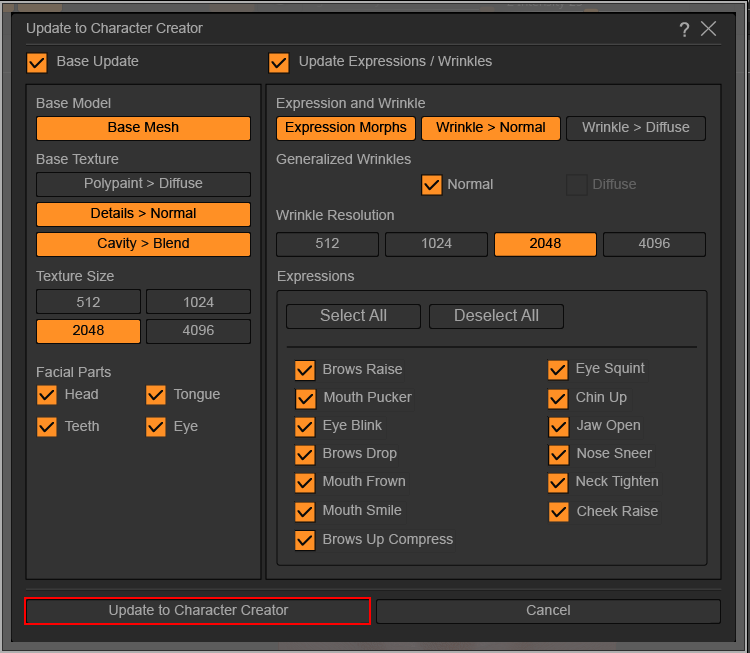
- In the subsequent Update to Character Creator dialog box, activate Cavity > Blend under Base Update.
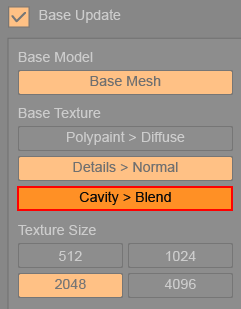
- After configuring the remaining settings, click on Update to Character Creator to update the CC character.
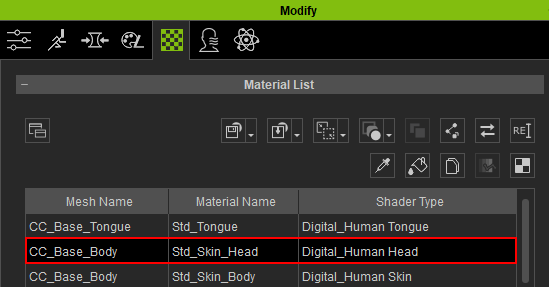
- In CC, select the ‘Std_Skin_Head’ material under Modify > Material > Material List.
The model will now include a blend map (under Texture Settings).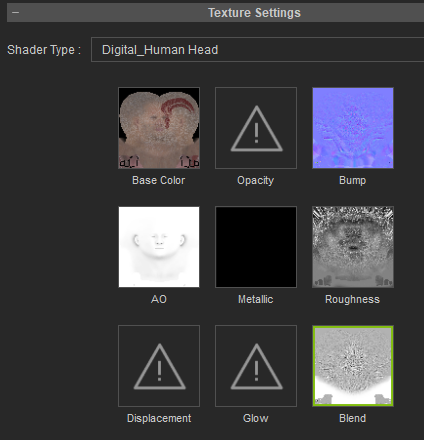
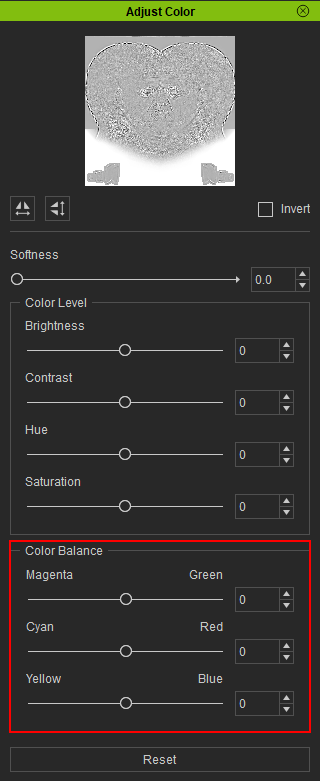
- To modify the blend map, select the Blend channel and click the Adjust Color button below.
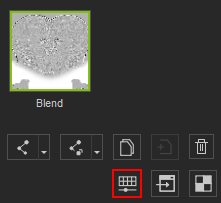
- In the Adjust Color panel, use the Color Balance settings to modify the blend effect.
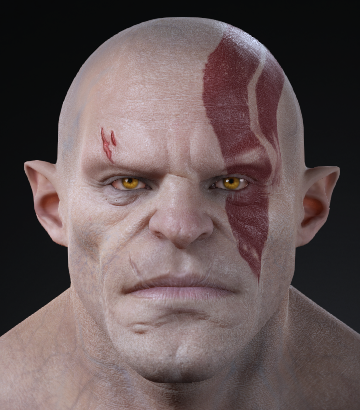
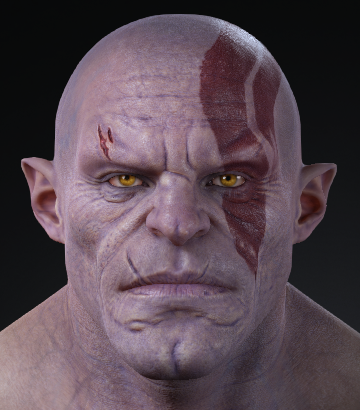
No blend map applied.
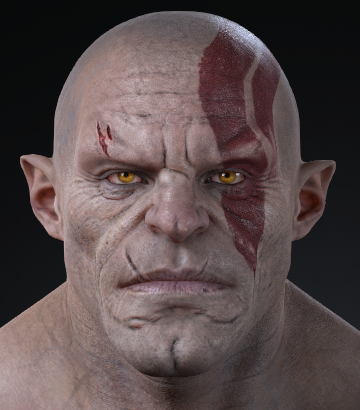
With a blend map applied.
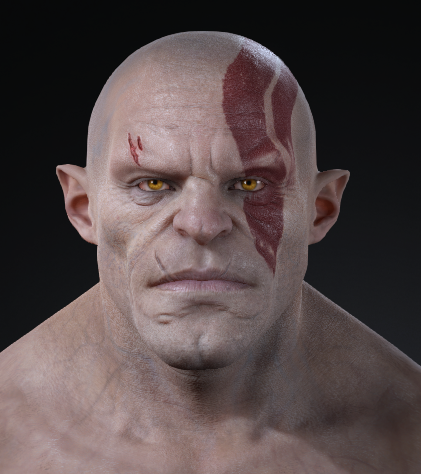
After the blend map has been color adjusted.