Creating AI Actor – Basic Mode: Actor Images (v1.1.1)
Upload one or more actor angle images to generate a 3-view AI Actor Sheet, then provide an appearance prompt to create a custom AI Actor.
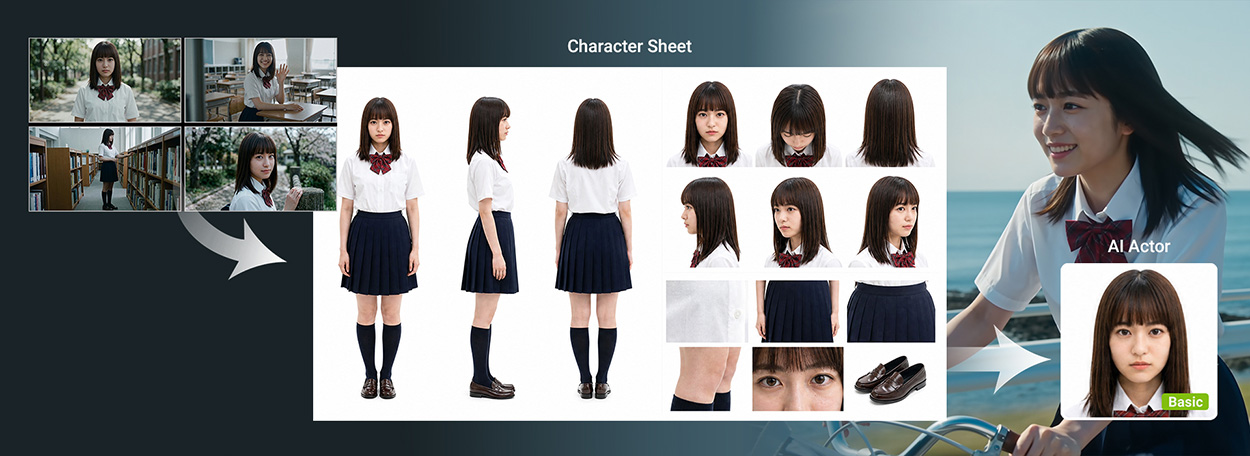
Required Elements
- Actor Images: Upload actor images to generate the AI Actor Sheet.
- Actor Settings: Specify the actor name, thumbnail, and appearance prompt.
Creation Workflow
Select Create Actor  from the left AI Toolbar, then complete the Load and Create steps under the Basic tab.
 Step 1. Uploading Actor Images
Provide actor reference images and specify the render style for generating the AI Actor Sheet.
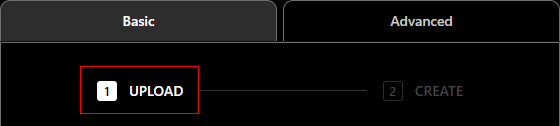
- Click 1 UPLOAD to open the upload settings.
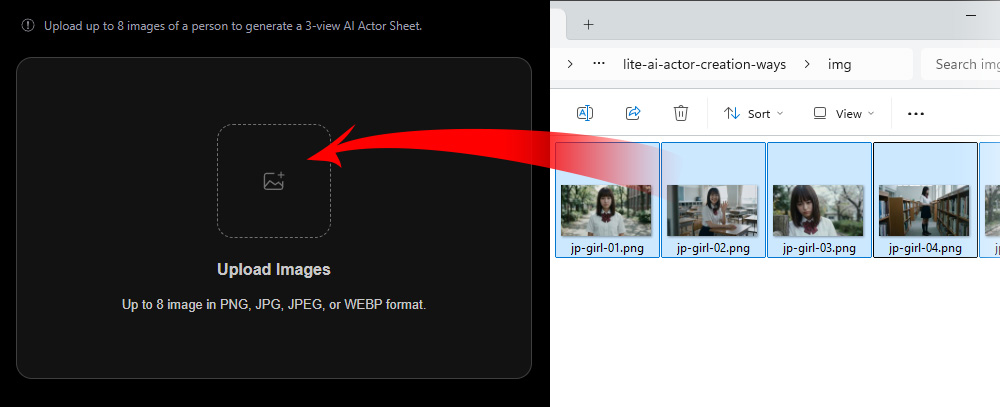
- Click the Image slot and browse to the folder containing the desired character-angle images.
Alternatively, drag and drop images from Windows File Explorer into the Image slot.
Supported formats include .png, .jpg, .jpeg, and .webp.
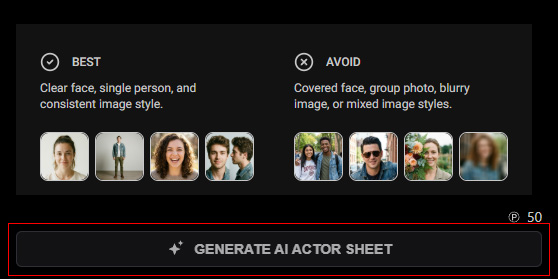
Refer to the recommended images at the bottom of the panel. Hover over a thumbnail to preview it.Recommended
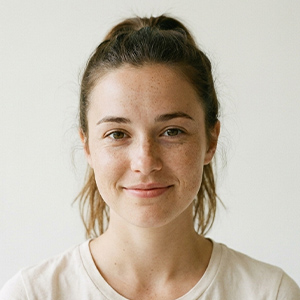

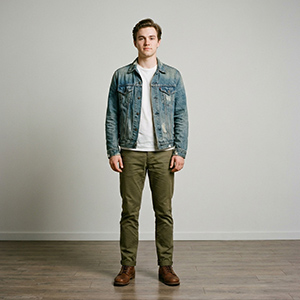
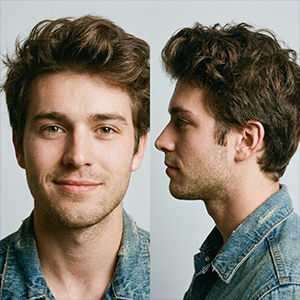
Clear front-facing view.
Clear front-facing view.
At least one full-body image of a single person.
Consistent image style.
Not Recommended
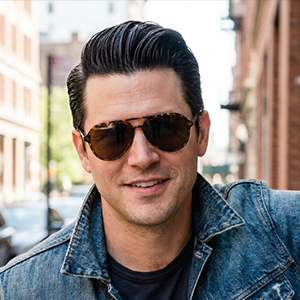


Face obscured by accessories.
Face obscured by objects.
Group photo.
Blurry image.
- Imported images are added to the angle slots.
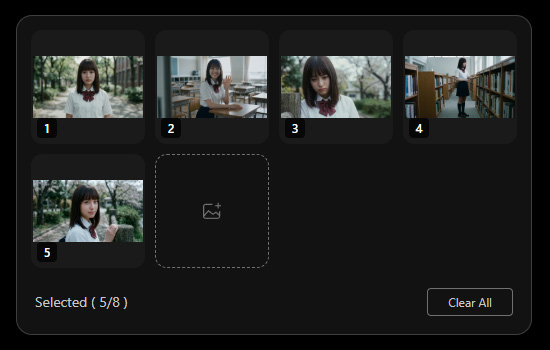
Hover over a thumbnail to preview it. Click Trash to remove an image, or Clear All to remove all imported images.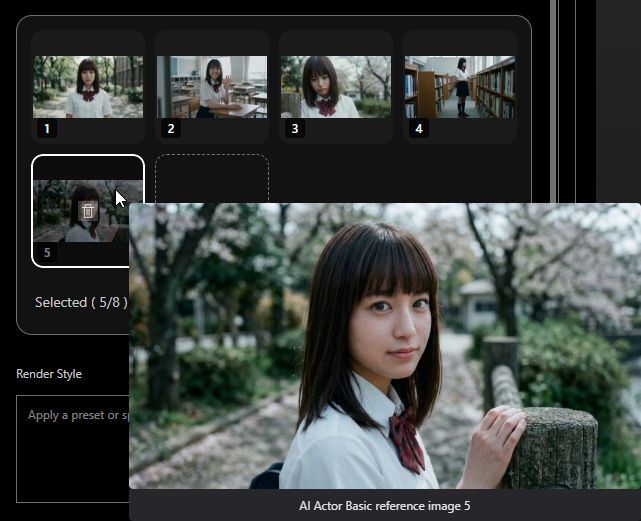
- Specify the render style for the AI Actor Sheet.
For a realistic, photo-like result, leave the Render Style prompt empty.
To apply a visual style, click Styles
 and select a preset.
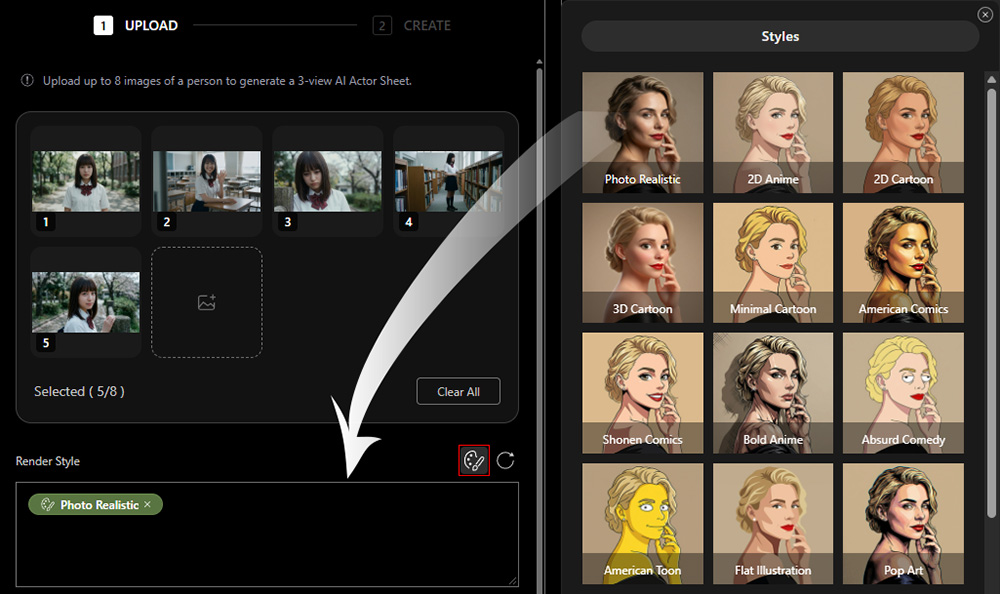
Click Preset Prompt to show or hide the preset prompt panel.
Click X on a prompt tag to remove a style, or click Reset Prompt to clear the prompt field.
- Click GENERATE AI ACTOR SHEET at the bottom to generate the 3-view AI Actor Sheet.
Check the task price displayed above the button before generating.
 Task Charging
Each submitted task uses available AI Points, Bonus Points, or DA Points. View your available points in the bottom-left corner of AI Studio, or click the ... button and select Account Settings to check your point balance.
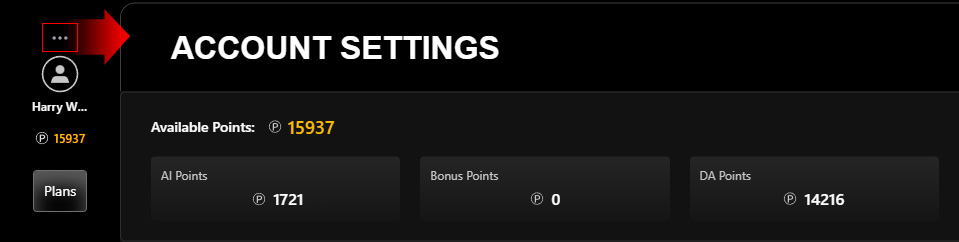
To obtain more credits, click Plans to subscribe to an AI Service Plan for additional AI Points or purchase DA Points to top up your account. - After generation, the AI Actor Sheet appears in AI Render View and the History panel on the right.
It is automatically transferred to Step 2. Creating AI Actor.
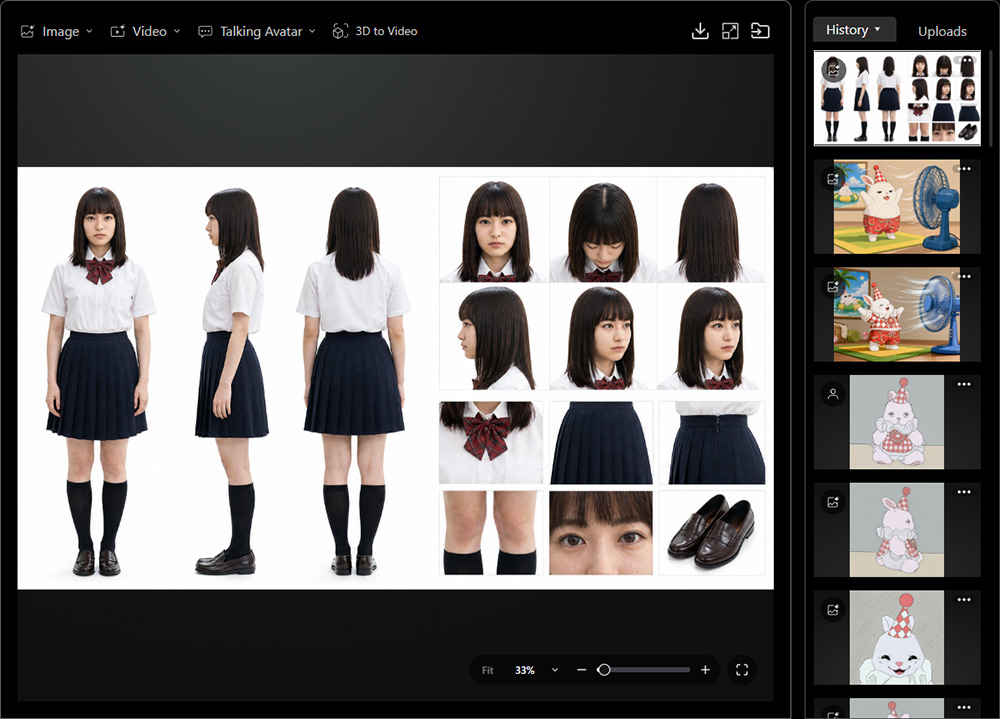
Step 2. Creating AI ActorReview the AI Actor Sheet and specify the actor name, thumbnail, and appearance prompt.
- Click 2 CREATE to open the creation settings.
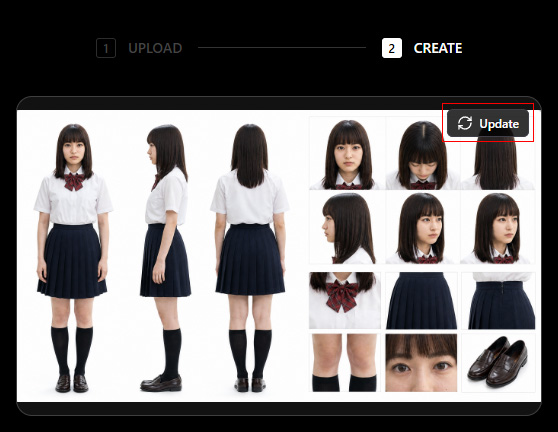
- Review the AI Actor Sheet generated in Step 1.
If needed, edit it using the Image Editing tool in AI Studio or an external image editor.
Then, drag the modified sheet from the History panel to replace the current image, or click Update in the upper-right corner to load it into AI Studio.
- The first image imported in Basic Mode is used as the AI Actor's thumbnail by default.
Hover over it to preview.
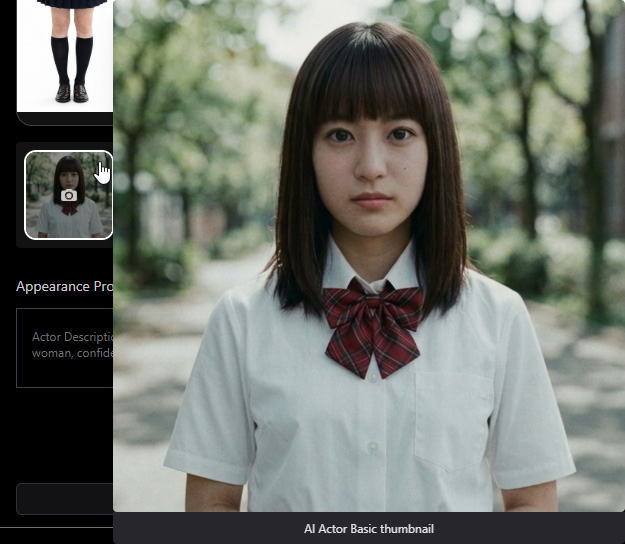
Click the thumbnail to select another image, or drag an image from the History panel or Windows File Explorer to replace it. Supported formats include .png, .jpg, .jpeg, and .webp.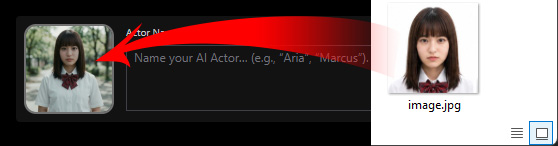
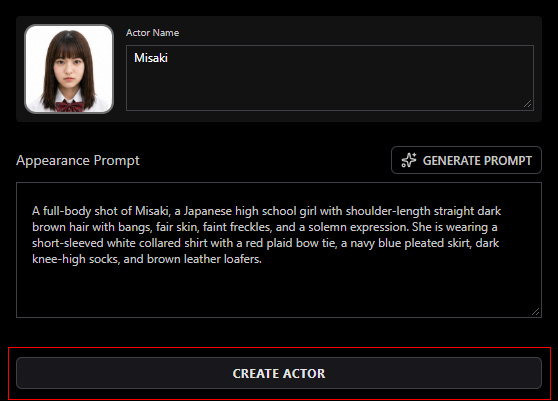
The image is resized to 720 pixels and cropped to a 1:1 aspect ratio. - Enter the AI Actor's name and appearance prompt.
Click GENERATE PROMPT to generate an appearance description based on the AI Actor Sheet.
Drag the bottom-right corner to expand the text field for longer descriptions.
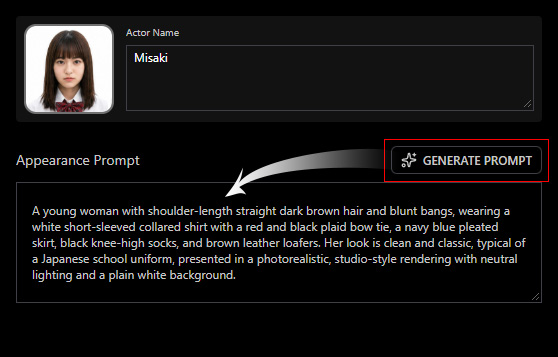
For optimized AI generation results, refer to Defining AI Actor Appearance to refine the prompt with key characteristics such as gender, skin tone, accessories, clothing, and other distinctive visual features. - Make sure the actor name and appearance prompt are provided, then click CREATE ACTOR to create the AI Actor using the AI Actor Sheet, thumbnail, name, and appearance prompt.
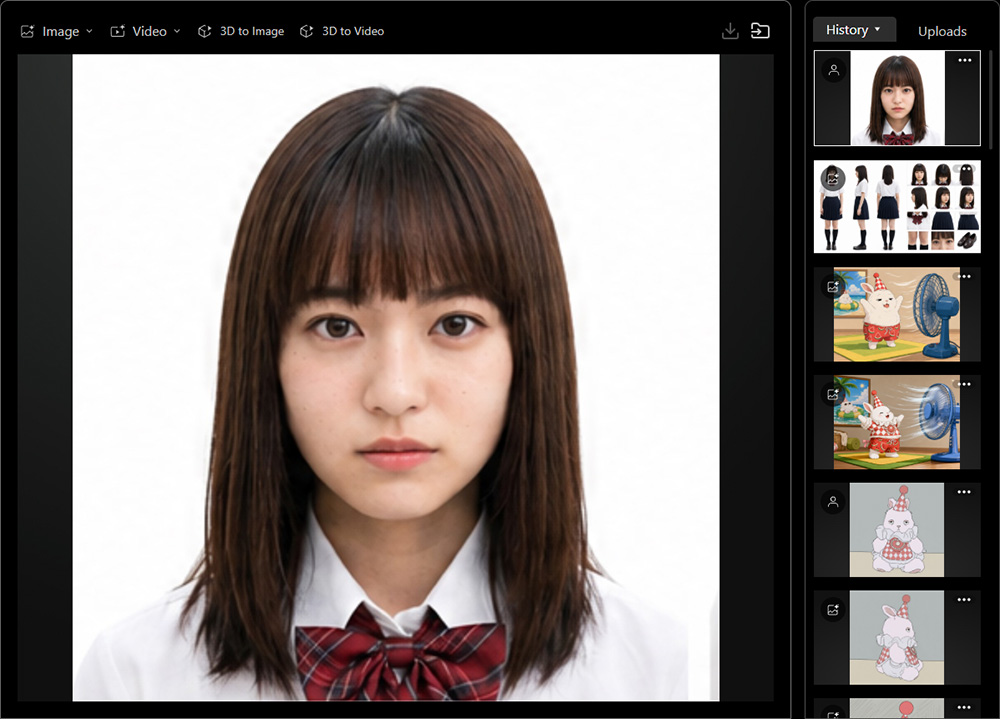
- After creation, the AI Actor appears in AI Render View and added to the History panel on the right.
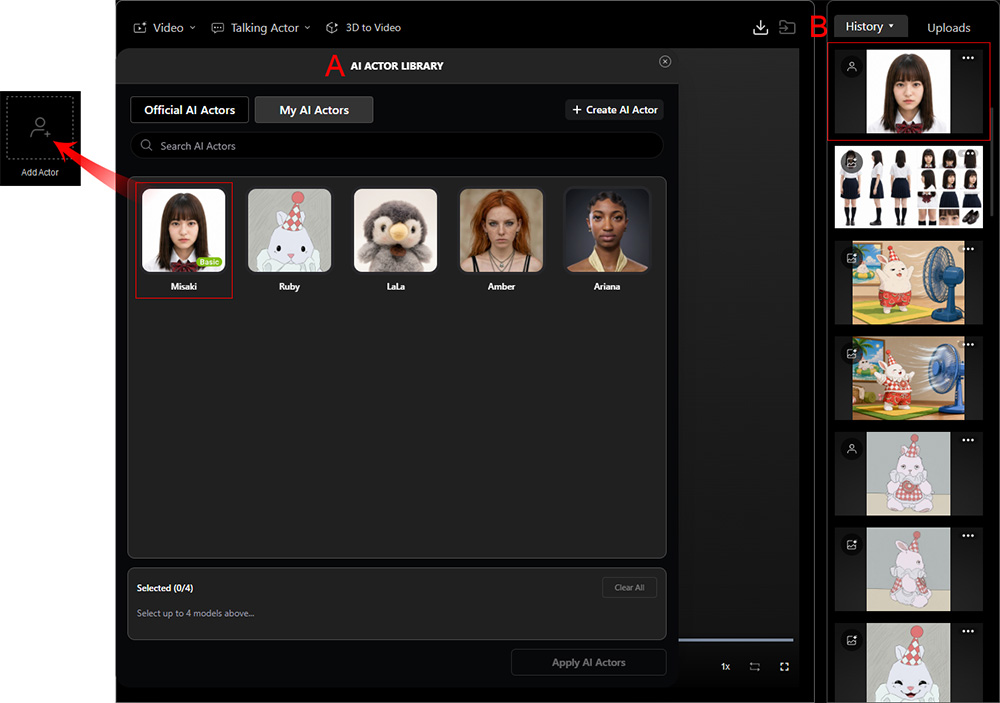
AI Actor Library
The newly created AI Actor appears in the My AI Actors tab of the AI Actor Library (A) and in the History panel (B) on the right.
It is marked by the AI Actor icon  in the top-left corner of the thumbnail for easy identification.
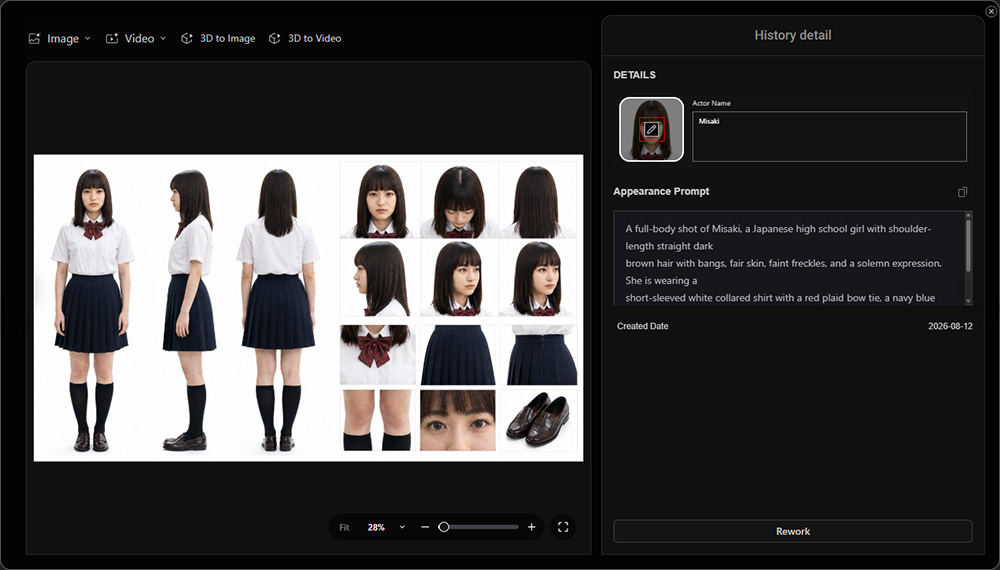
Changing AI Actor Thumbnail (v1.1.1)Click ... > View Details for the generated AI Actor in the History panel on the right, or click the AI Actor's History item on the full History page to open the History Detail pop-up window.
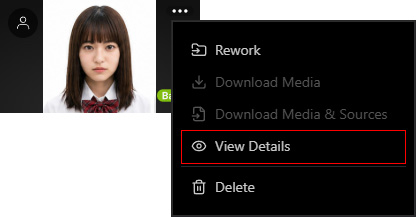
Click Change Thumbnail on the actor thumbnail, then browse for and select an image to replace the current thumbnail.