Capturing a Frame (v1.1)
You can capture the current frame from an AI-generated video as the Start Frame for creating videos with a consistent style, or save any frame to the library for follow-up actions. Captured frames can:
- Extend a video seamlessly: Capture a frame and use it as the Start Frame for the next video.
- Fix issues in the middle of a video: Capture two frames separately as First Frame and Image references to regenerate the affected section.
For example, consider the following generated video:

Once the video is generated through the Video Gen or 3D to Video workflow, you can capture a frame from it in two ways:
- From the AI Render View: Play the video or drag the playhead to the desired time frame, then click Capture Frame on the Playbar in the AI Render View.
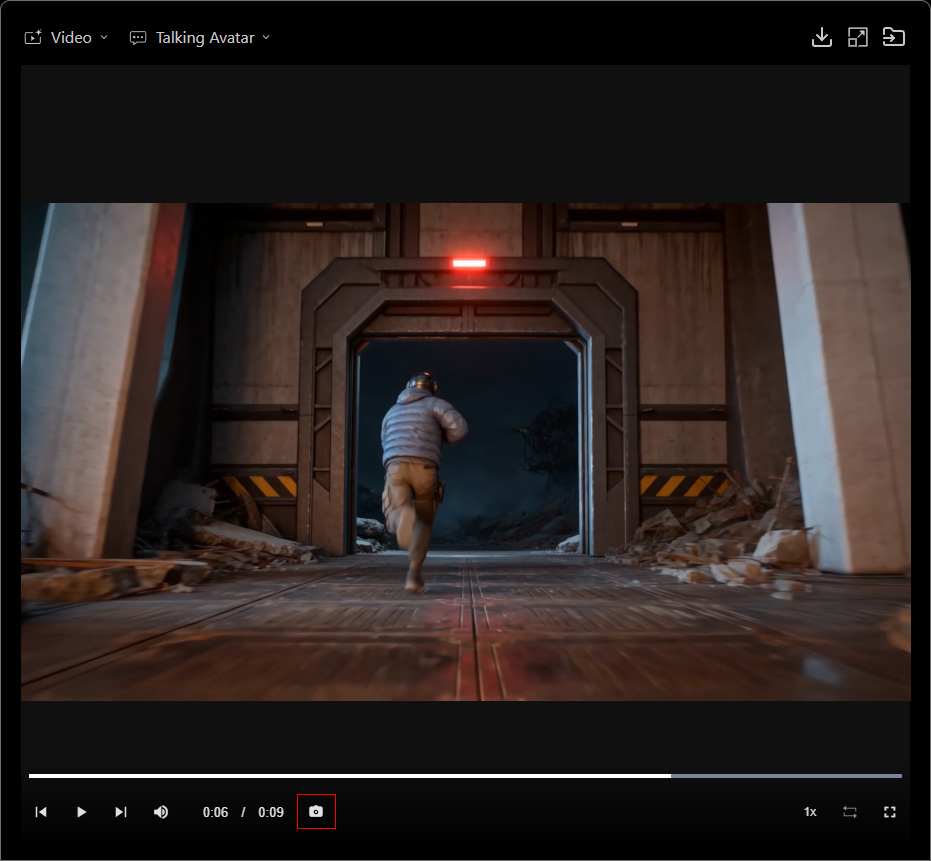
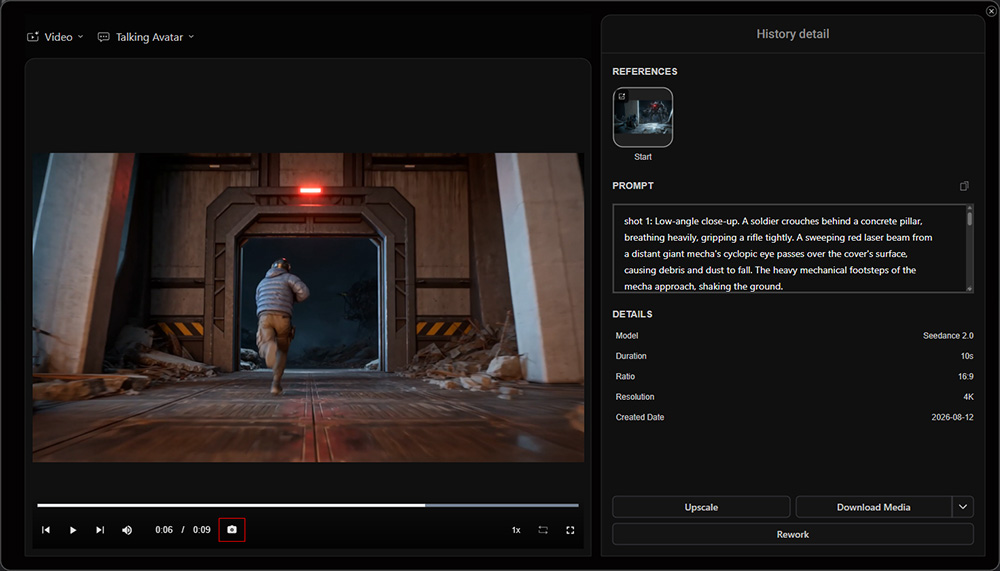
- From the Full History page: Open the video item on the Full History page to display its pop-up window.
Play the video or drag the playhead to the desired time frame, then click Capture Frame on the Playbar.
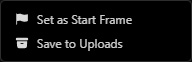
Save as Start Frame
Sends the captured frame to the Video Gen workflow as the Start Frame for creating a new video.
The captured frame retains the original video resolution.
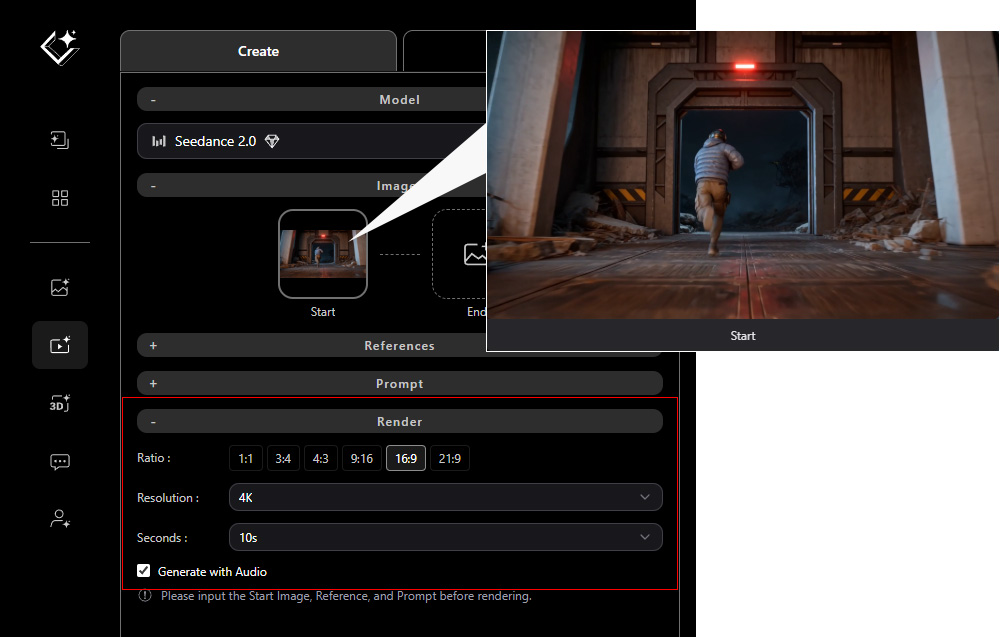
Select an AI model according to AI Model Selection for Video Generation, add optional references and a prompt, and configure the render settings in the corresponding sections.
Then, click GENERATE to create the new video.
Save to Uploads
Saves the captured frame to the Uploads library under the Uploads tab in the History panel on the right, for follow-up actions, such as Image Editing, Talking Actors, and 3D to Video, through the Quick Access Menu.
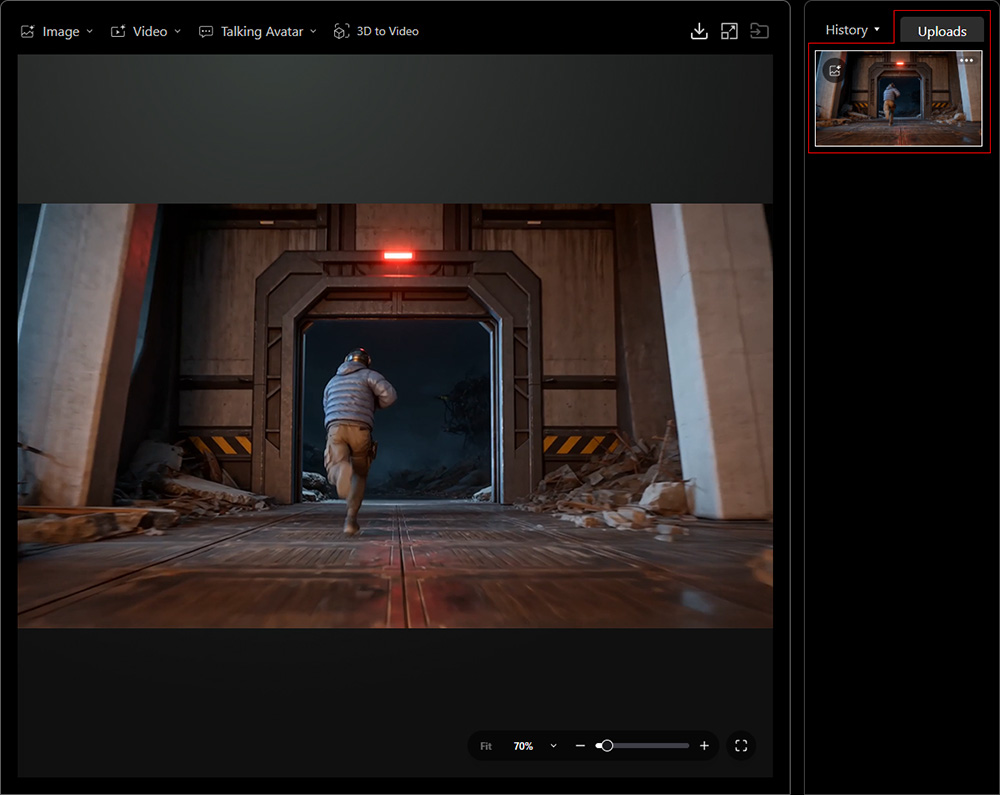
You can manage Uploads items using the commands in the ... context menu:
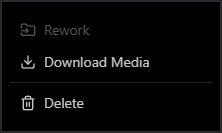
| Command | Description |
Download Media | Downloads the selected Uploads item to the directory specified on the Account Settings page, using the Media_yyyymmdd_hhmmss naming format. |
Delete | Deletes the selected Uploads item. |
