Editing Videos — Swapping Actors
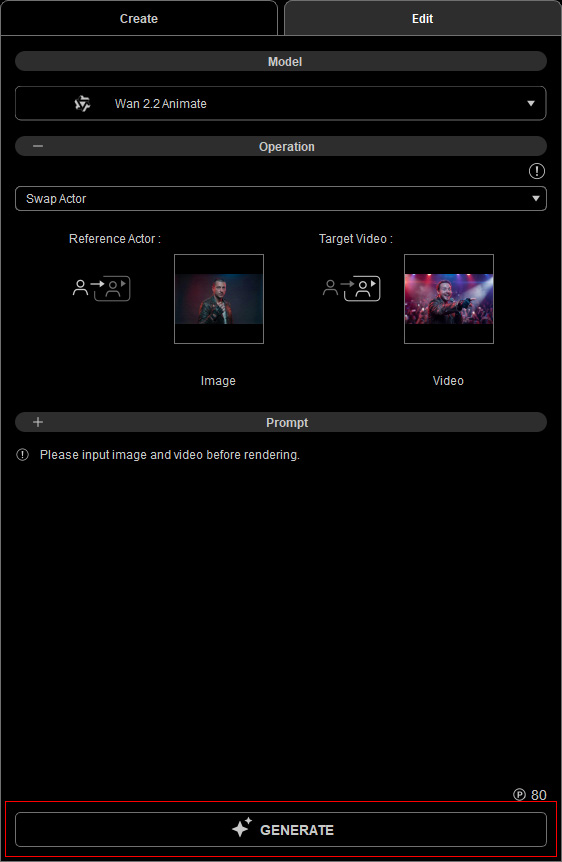
The Video Gen tool swaps the actor in a target video with one from a reference image, transferring the target animation to the desired actor.
Required Elements
- Image: Reference image of the target actor. Supported formats: PNG, JPG, JPEG, and WebP.
- Video: Video containing the target animation. Supported formats: MP4 and MOV.
AI Settings
Select the Video Gen  Tool from the left AI Toolbar and complete the tasks in each section under the Edit tab.
You can collapse or expand a section by clicking its caption.
Tool from the left AI Toolbar and complete the tasks in each section under the Edit tab.
You can collapse or expand a section by clicking its caption.
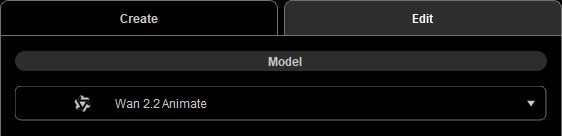
Select an AI model from the Model drop-down.
The currently available model is Wan 2.2 Animate.
 Adding Media
For optimal swapping results, ensure that the Image and Video inputs have consistent sizes.
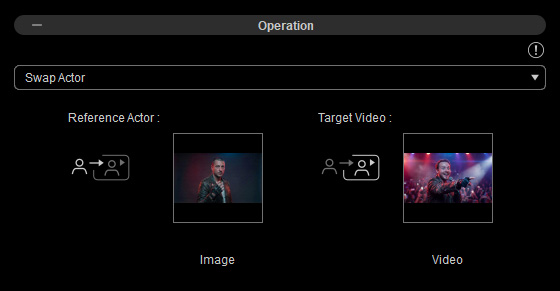
- In the Operation section, choose Swap Actor from the available video editing operations.
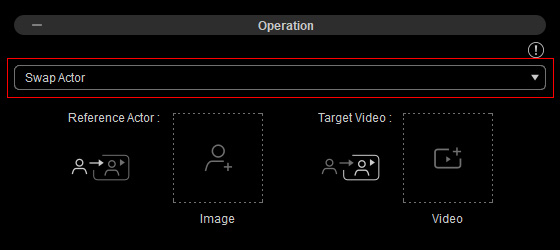
- Click the Image slot to browse and upload a reference image (.png, .jpg, .jpeg, or webp) containing a single actor for the video animation.
You can also drag an image directly from the History panel on the right or from Windows File Explorer.
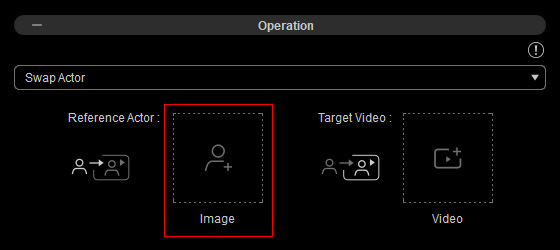
- The image will be inserted into the Image slot.
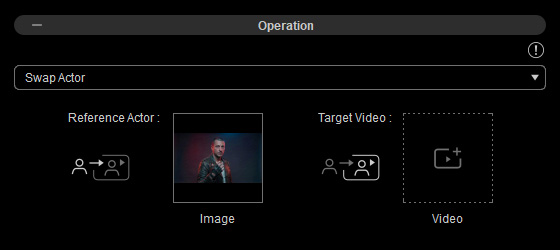
Hover over the image thumbnail to view an enlarged version, or click the Trash button to remove the current input.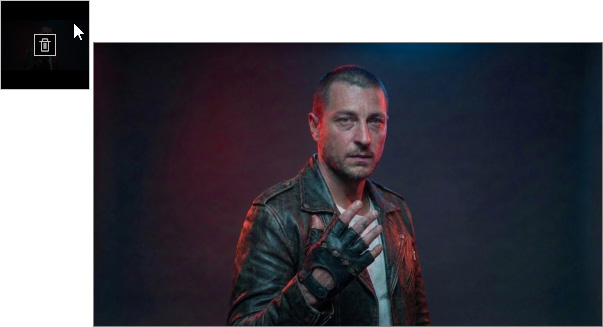
- Click the Video slot to browse and upload a target video (.mp4 or .mov) containing a single actor’s motion.
You can also drag a video directly from the History panel on the right.
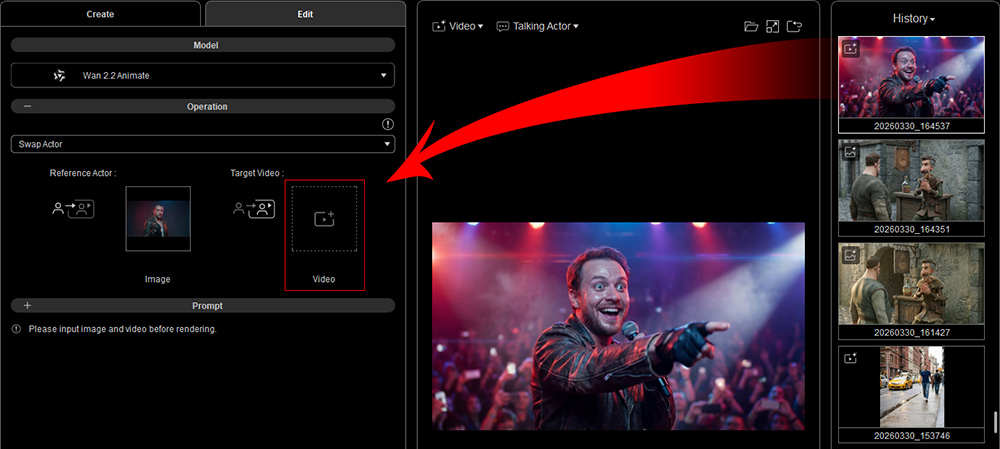
- The video will be inserted into the Video slot.
Hover over the video thumbnail to view an enlarged version, or click the Trash button to remove the current input.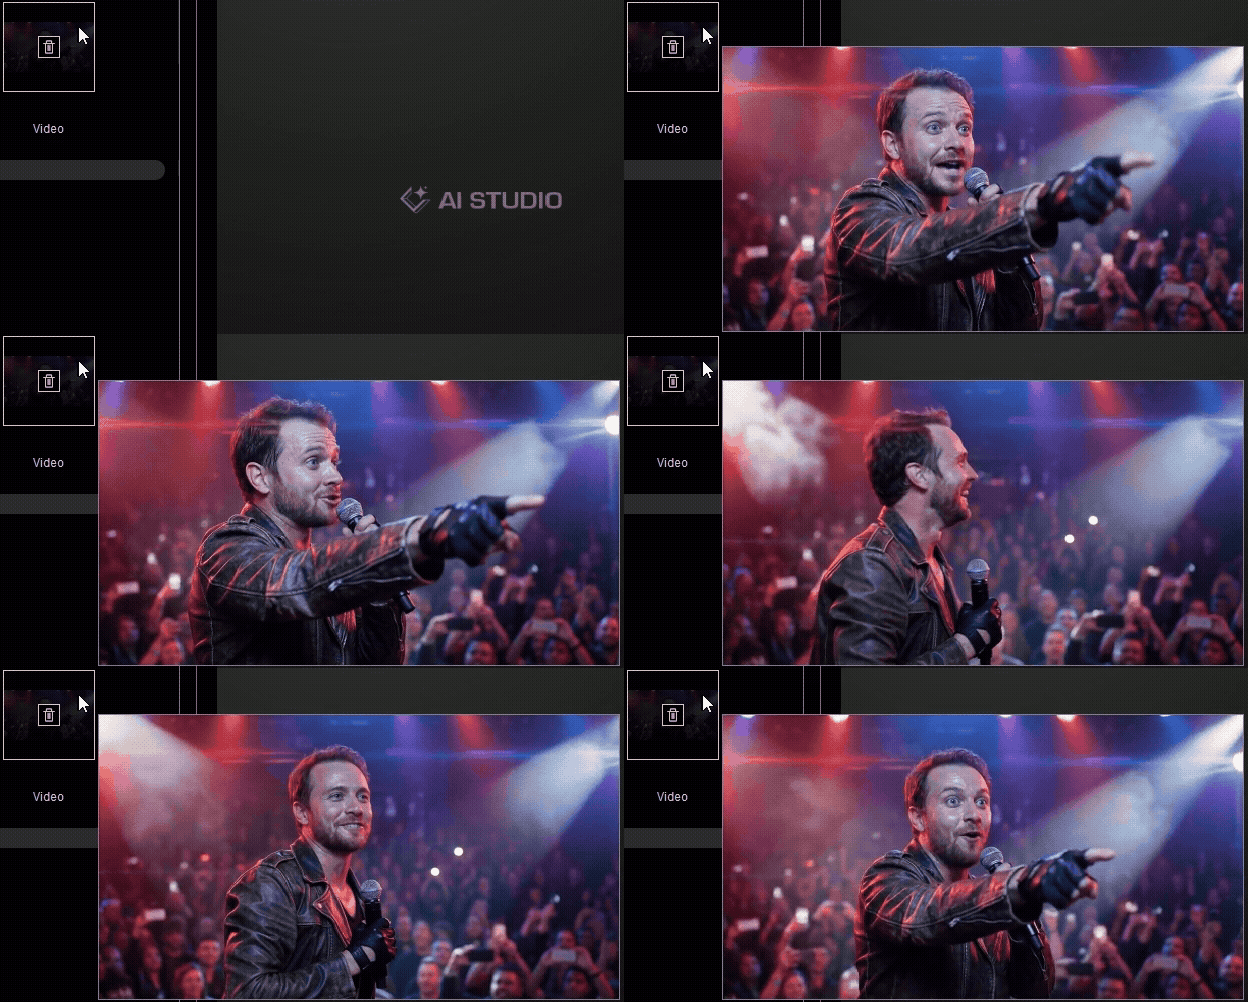
The GIF preview does not support audio playback, so the voice in the video input cannot be heard.
Entering Prompt (Optional)
Enter prompt descriptions for the target actor in the Prompt section.
For example, "He talks on stage".
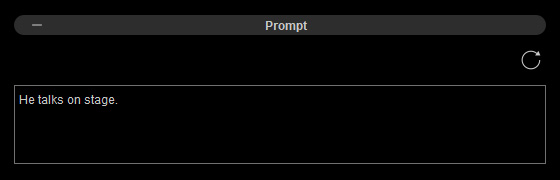
Click the Reset Prompt button to clear the prompt field and start over if needed.
Rendering
The output video is limited to 720p resolution and 10 seconds in duration.
Hover over the exclamation mark  icon in the Operation section to view additional operational notes.

Task Charging
Each submitted task uses available AI Points, Bonus Points, or DA Points.
View your available points in the bottom-left corner of AI Studio, or click the ... button and select Account Settings to check your point balance.
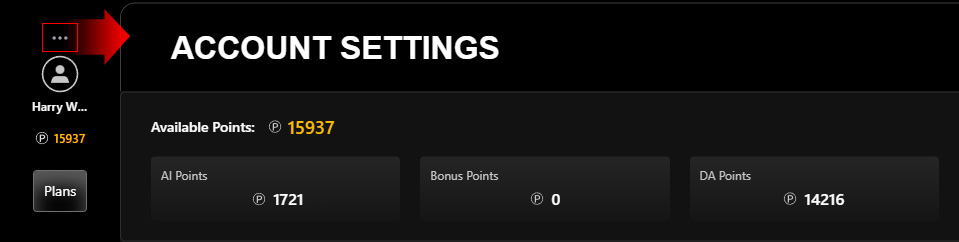
To obtain more credits, click Plans to subscribe to an AI Service Plan for additional AI Points or purchase DA Points to top up your account.
Ensure both an image and a video are provided to enable the GENERATE button.
Note the task price displayed above the button before clicking.
Track progress on the AI Render View or via the new entry in History on the right.
When the submission completes successfully, the AI-generated video will appear.
Click Play to play the video, Loop to repeat it, or drag the playhead to a specific point.
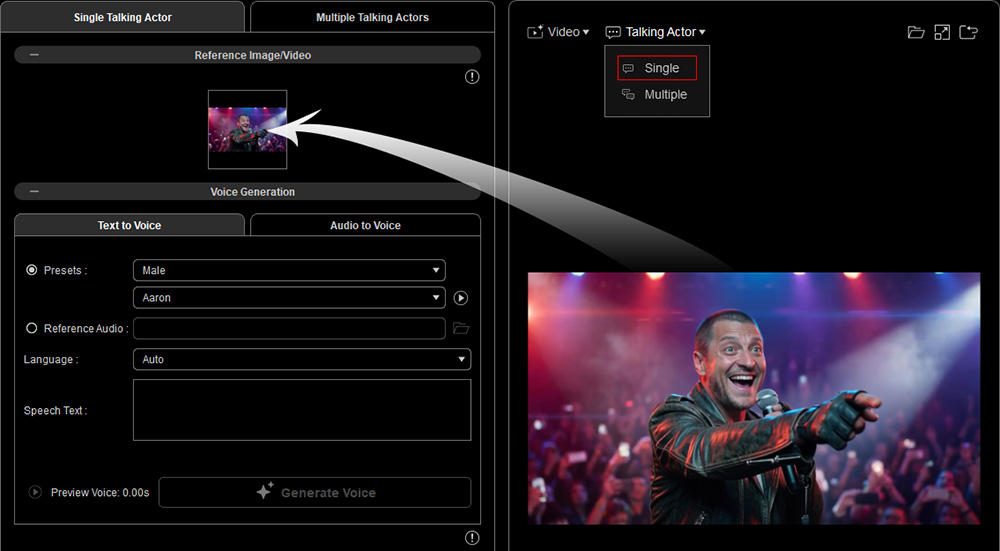
If the video has no voice audio or you want to replace the script, use the Talking Actor options in the Quick Access Menu above the AI Render View to load the video as a reference for talking animation.