The Basic Workflow of Using Constraint
In iClone's physics system, the Dynamic and Frozen rigid body objects drop or drops after being hit (respectively) by the effect of the gravity.
However, if you want to limit the dropping behavior to a certain range, then the Constraint feature can assist you in achieving this purpose.
View the Video
Setting Constraint to a Physics Object
-
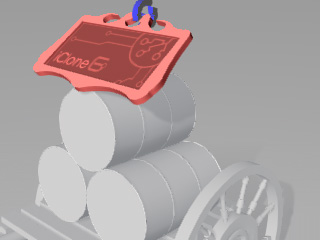
Apply a prop

- Open the Modify >> Physics tab and set it as a Dynamic or Frozen Rigid Body.
-
Click the Add Constraint button in the Constraint
section.
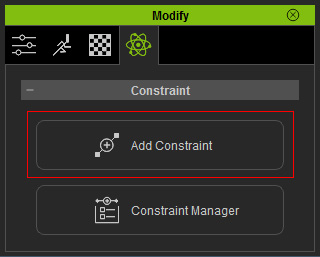
-
The Add Constraint panel will show with default constraints templates.

-
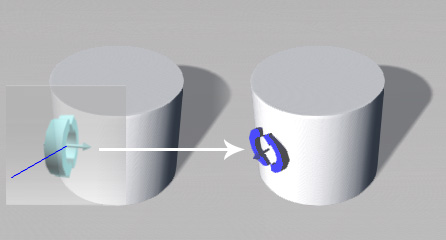
Drag the desired template onto the physics prop.
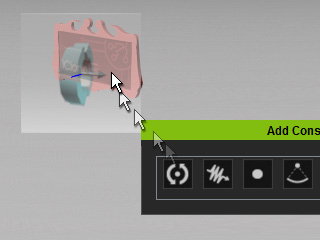
 Note:
Note:-
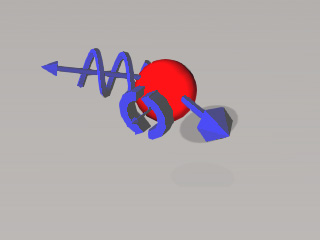
Please note that the blue line (object's normal line) indicates the direction of the
constraint template.

-
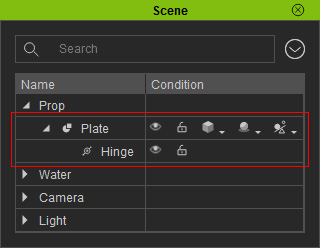
The constraint will be the sub-node of the target object. You may observe the hierarchy
via the Scene Manager.
-
You are free to drag and drop different constraints to a single rigid body.
- If you drag and drop a constraint to a regular prop, then the prop will be automatically turned to Dynamic rigid body.
-
Please note that the blue line (object's normal line) indicates the direction of the
constraint template.
-
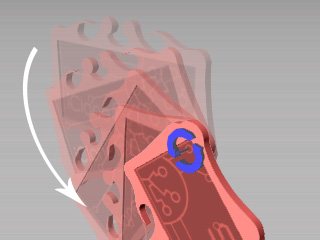
The constraint will then hang the rigid body where it is.


The non-constrained rigid body drops to the floor.
The constrained rigid body remain where it is as you play back.
-
Select the constraint and then transform (move or rotate) it to make sure the rigid body
will react correctly in accordance with the direction of the constraint.

Move the constraint.
The rigid body generates physics animations according to the new position of the constraint.
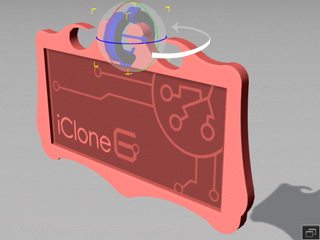

Rotate the constraint.
The rigid body generates physics animations according to the new angle of the constraint when it is hit by other rigid body.
- In the Constraint section, you may connect the constraint to the world or another target physics object by clicking the Pick Target
-
 or World
  buttons.
Please refer to the Setting Connection Relationship section for more information.
buttons.
Please refer to the Setting Connection Relationship section for more information.
-
The Limits section will show settings that are related
to the current constraint type.

- Hinge
- Slider
- Spring
- Point to Point
- Cone Twist
- Please refer to the Setting Constraint Limits section for more information.
- Play back the project, the constrained rigid body will hang there and react when it is hit by other physics objects instead of dropping according to its default setting.