


Mapping Facial Bones
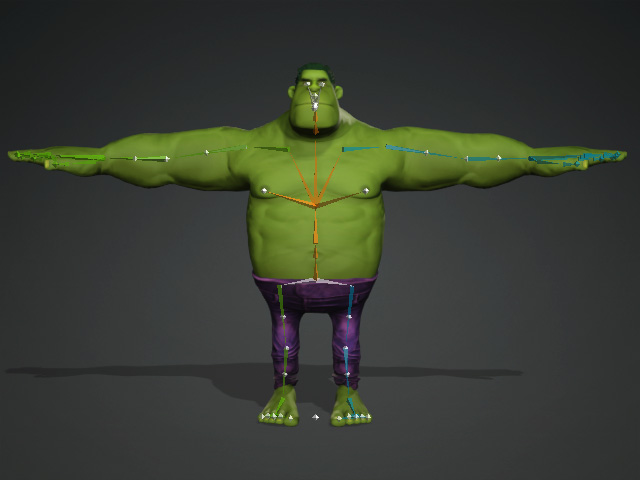
In addition to the body motions, a Humanoid character now can also talk (with lip-sync data) and act out bone-based facial expressions. To start defining the parameters for your character's facial animation, you first need to designate the facial bones of the character and give it a correct hierarchy grouping, then map facial bones to the eyes. After this, your character will be able to animate its eyes easily.
Characters with more facial bones other than the bones mentioned above, allow for more complex and detailed facial expressions after being converted to iClone.
-
Go through the
characterization procedure
and enable the Active checkbox.
-
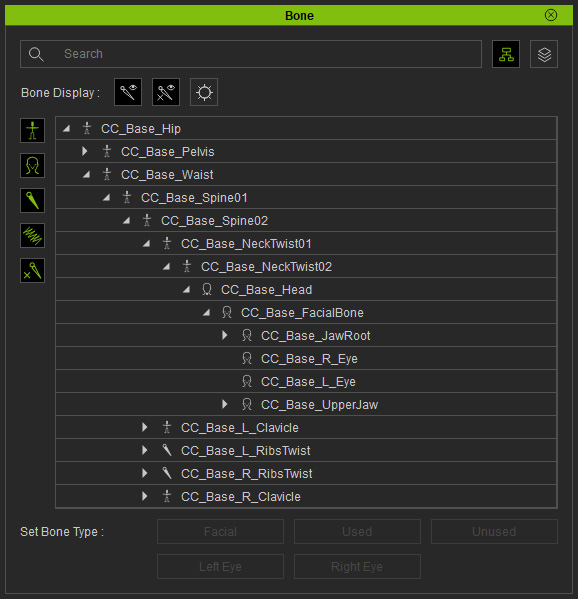
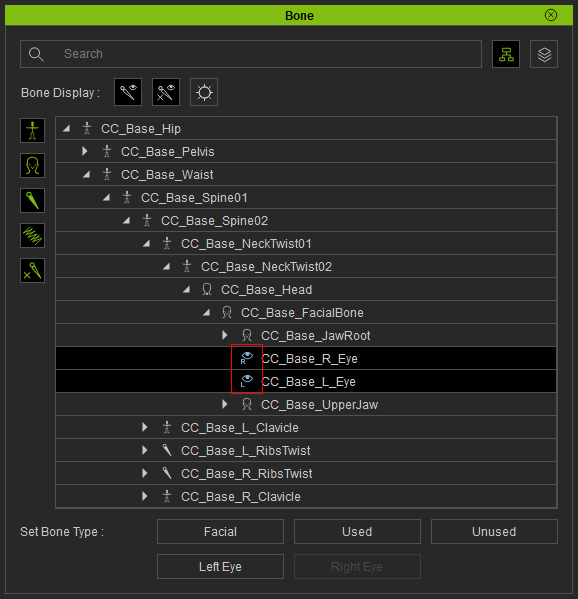
Open Bone List panel (F3).
-
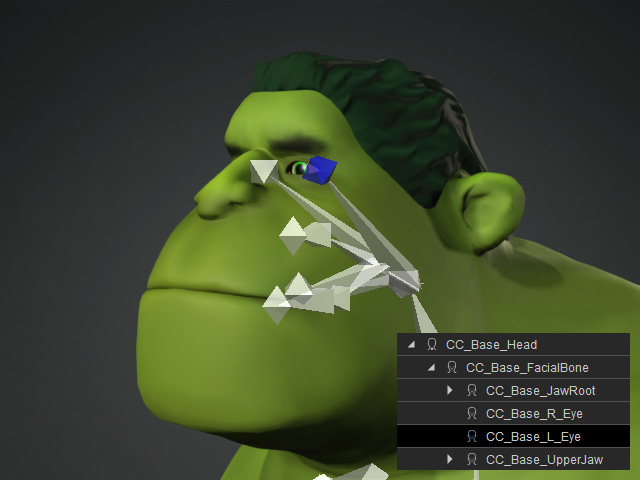
Select the left eye bone from the tree-view of the Bone List or from the 3D viewport.
-
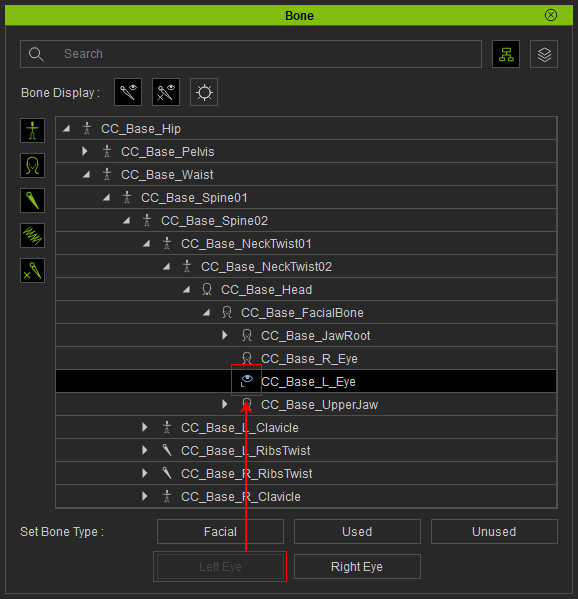
Click the Left Eye button in order to map the selected bone to the
left eye.
-
Repeat the same steps for the right eye by clicking the Right Eye button.
 Note
Note- After setting the eye bones, you can set the rotation limits for the eyes in the Expression Editor.
- If you find the mapping is incorrect, then click the Facial button to move the bone node back to under the face node.
Mapping Facial Bones
Bones under the head bone that are set to Used or Unused need to be setto Facial to allow for expressions.
- Select the used or unused bones under the head bone.
- Open the Bone List manager (F3).
- Click the Facial button.
- Enter the Skin Weights mode to manually perform skin-bone weights to the meshes.
- Exit the Skin Weights mode and start the Facial Profile Editor for customizing facial expressions.
