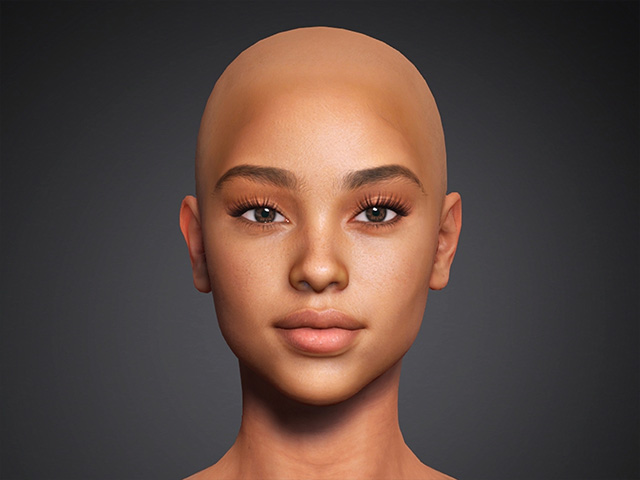
Quick Guide for Generating a 3D Head by Image Mode
It takes a few simple steps to quickly generate a custom 3D Head model using Image mode.
- Make sure you are in Image Mode, indicated by the green highlight. If not, click Image to switch modes.
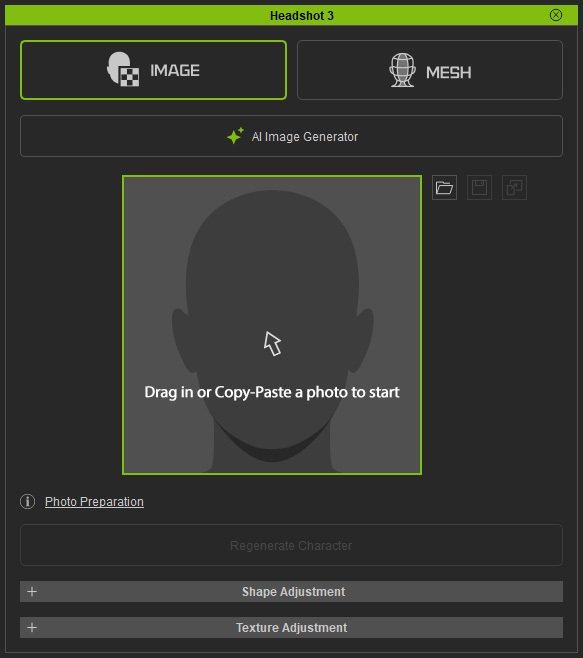
 Note:
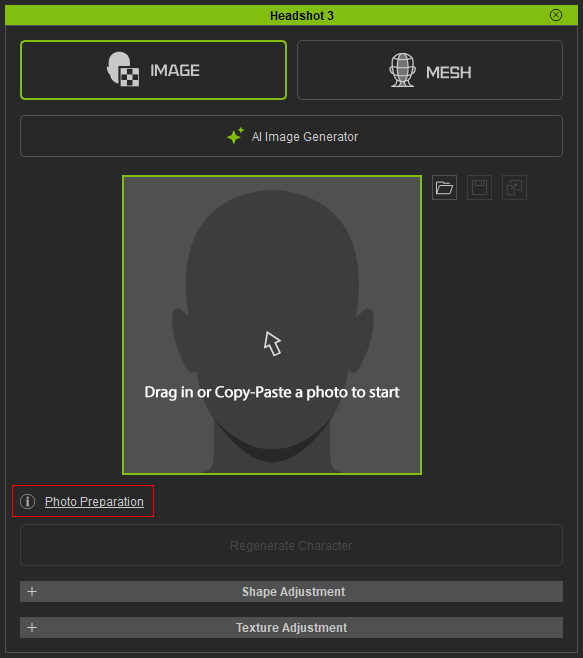
A good source image is key to achieving high-quality generation results. Clicking the Photo Preparation button in the corner opens the Source Photo Guide in the online manual.
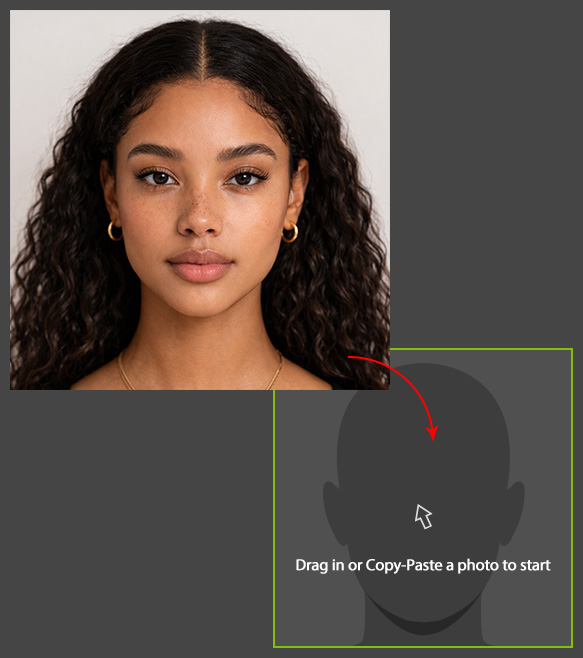
- Load an image by dragging the image onto the head icon. The Generate Character panel will appear.
 Note:
Go to AI Image Generator if the front image is missing or are unfit for Character Generation. Please refer to page Head Source Photo Guide for more details on source photo regulations.
- Optionally load a side image (either side is acceptable) of the character (by double-click or drag and drop).
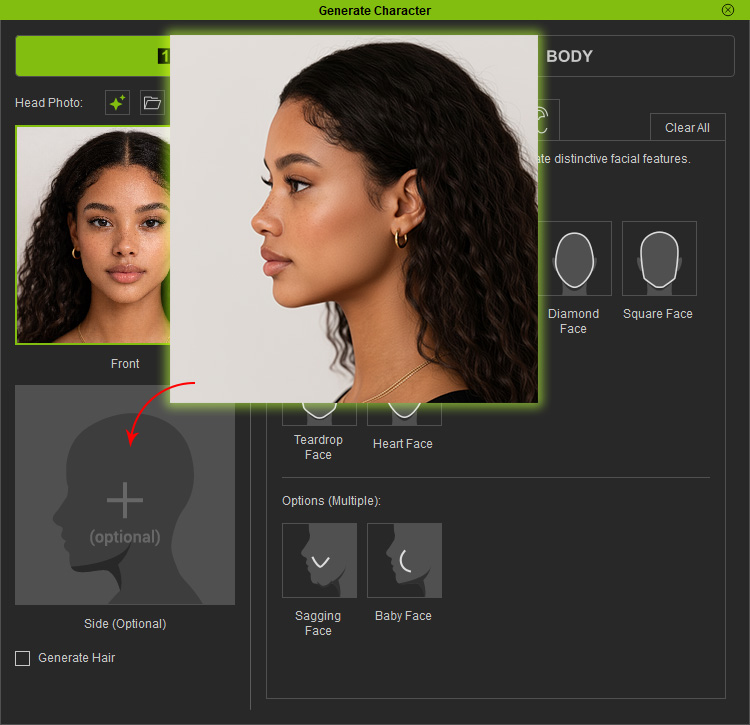 Note:
- This image is optional in the current process as it won’t affect the auto generation result and can be used for Refine Face (Side) after character generation.
- Go to AI Image Generator if a proper Side Image is missing.
- Browse through each tab of Facial presets and pick the features that fit your character (Some allow single selection, others allow multiple selections), please refer to the page Preset Morphs for more information.
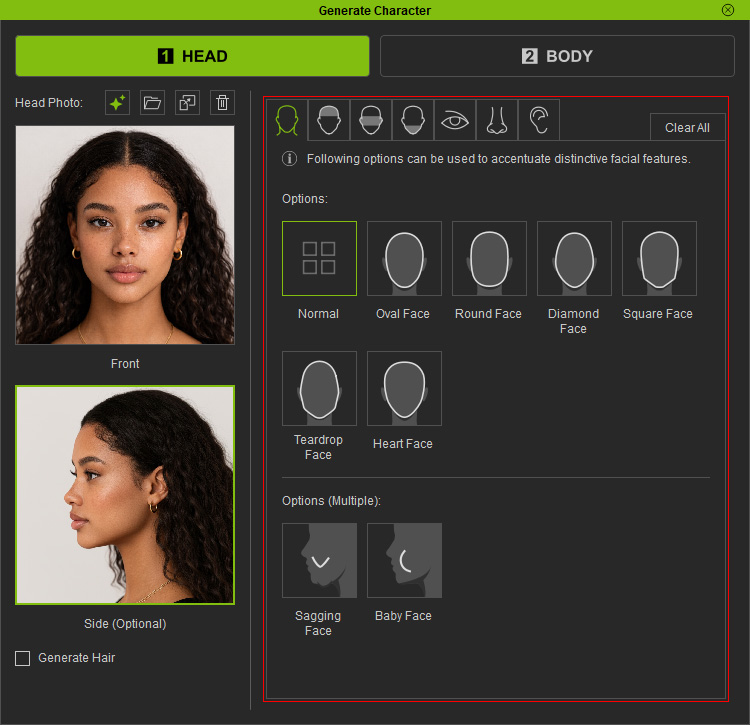
In this case, the chosen preset are shown below: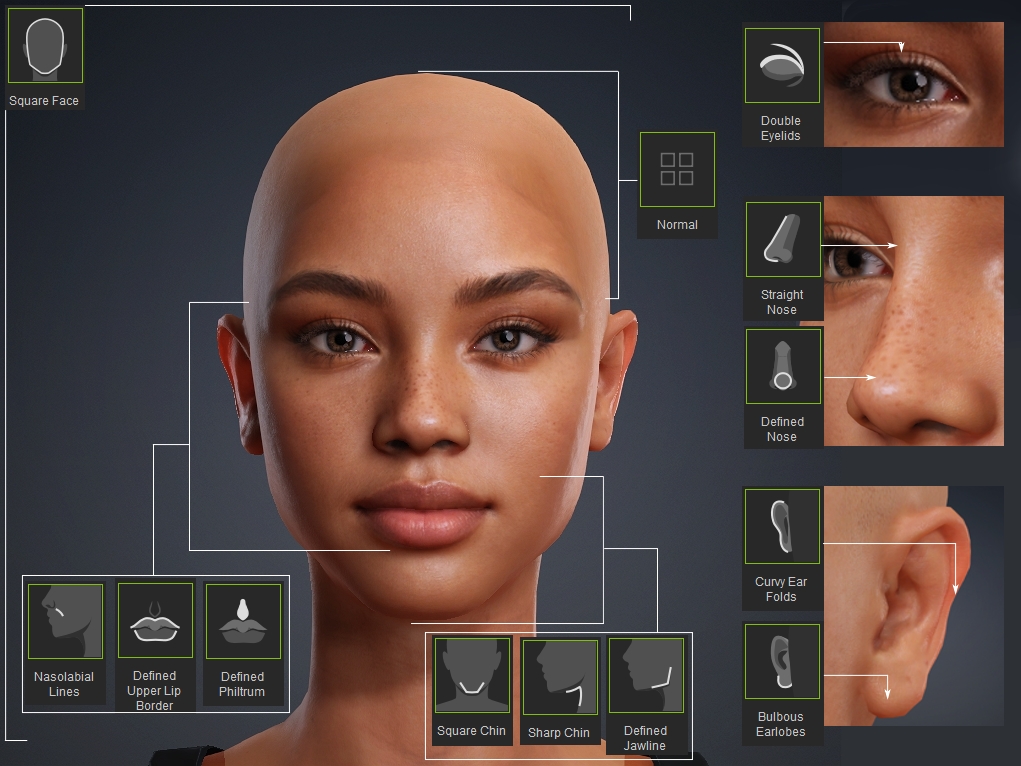
- Enable the Generate Hair checkbox to generate low-poly hair based on the front-face image. This is useful for characters viewed from a distance.
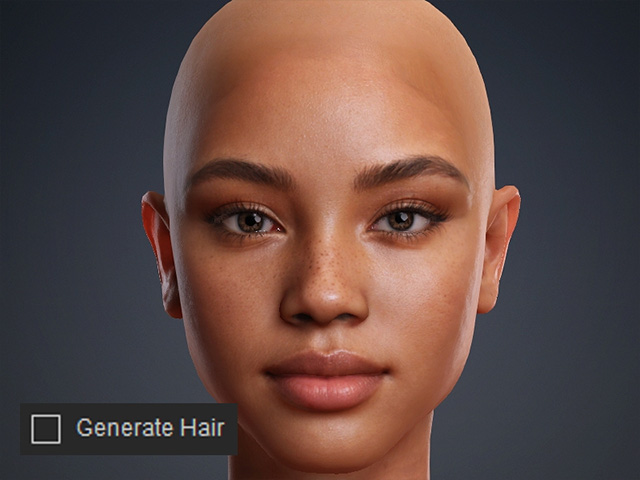
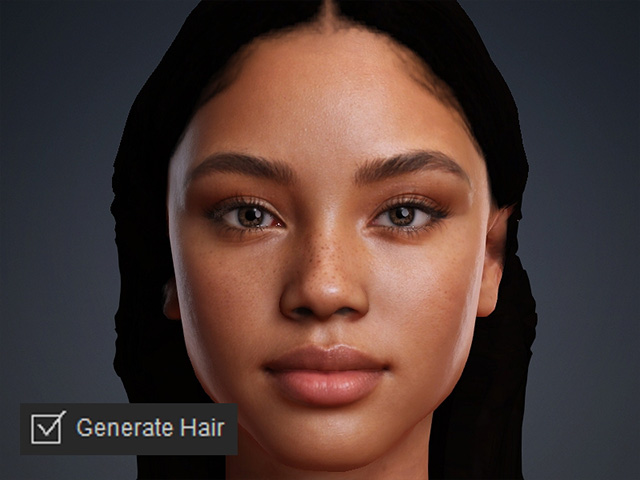
Generate Hair = off (Default)
Generate Hair = on
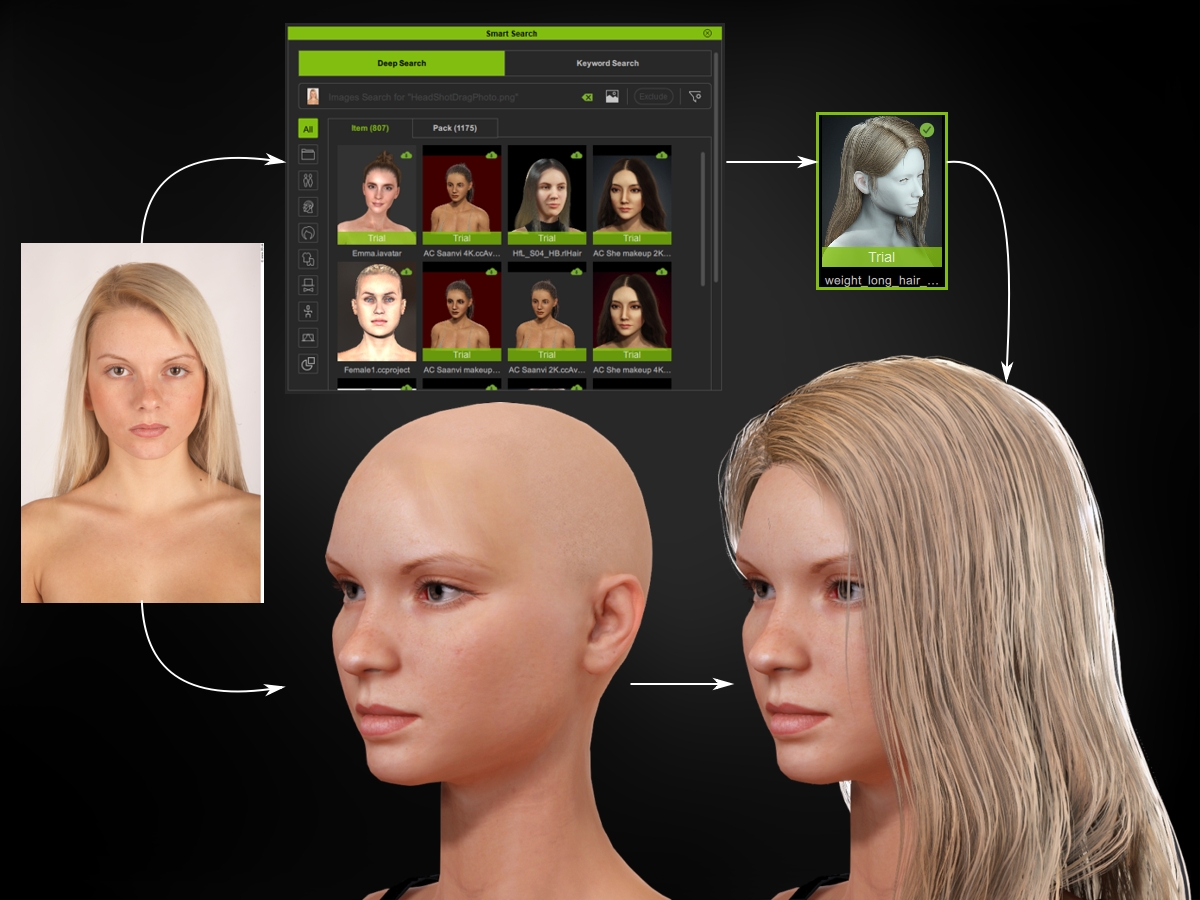
Note:You can apply a higher quality hair matching the source image, please refer to Using Smart Search hair.
- Alternatively, to apply a higher quality hair matching the source image, please refer to Applying High Quality Hair.
- Switch to Body Tab, choose one of the following methods to generate the body:
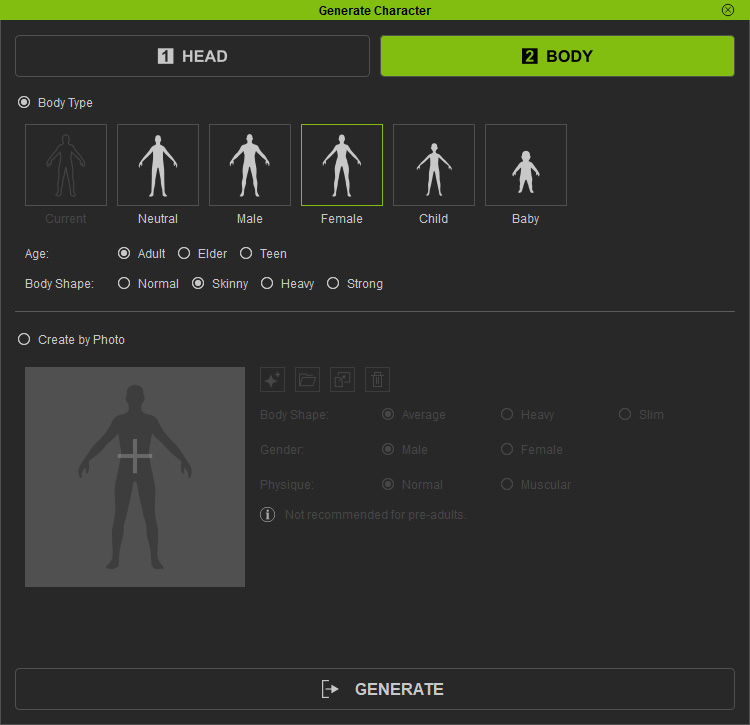
- Body Type: Choose from 5 distinct body type presets, each offering multiple body shapes and age variations for finer adjustment, or select Current to inherit the current body in the scene.
In this case, Female Body Type is selected, with Age set to Adult and Body Shape set to Skinny.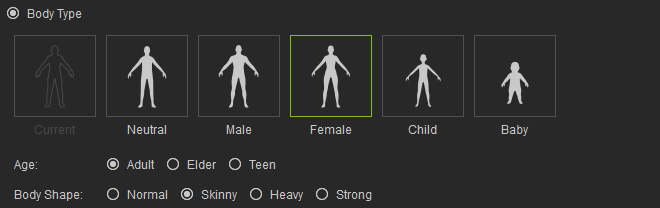
- Create by Photo: Used when you have a preferred body that better matches your character. A full-body photo is required. You can adjust three attributes to refine the generated result.
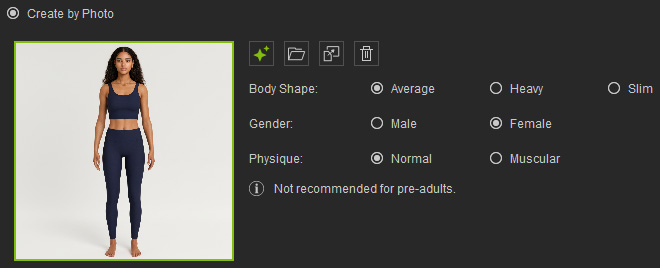
Note:If you wish to use the Create by Photo function without a proper full body image, make use of the AI Image Generator to generate a body photo for your character.
- Body Type: Choose from 5 distinct body type presets, each offering multiple body shapes and age variations for finer adjustment, or select Current to inherit the current body in the scene.
- Press Generate and wait for the process to finish, you will get a character with the generated 3D head connected seamlessly with its body.
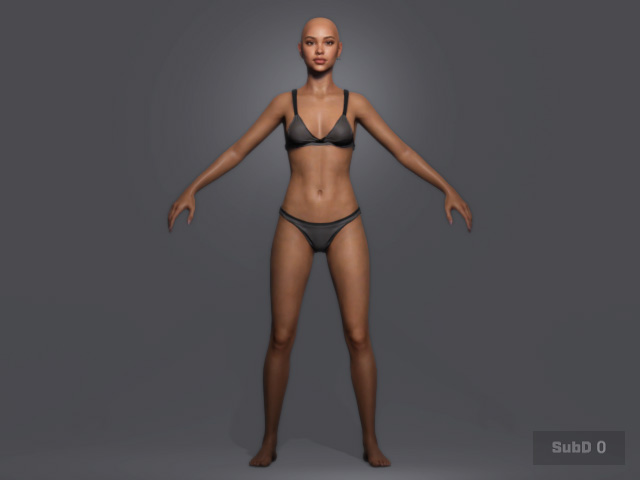
- Refine the generated character with the Shape Adjustment and Texture Adjustment settings to achieve a perfect match to your source photo.