Character Creator Base Character Workflow
Using the CC3+ base character model is the quickest way to leverage the Face Tools plugin. Follow the steps below to customize your character’s facial design.
All CC3+ characters come pre-equipped with facial and body rigging, comprehensive texture maps, and compatibility with most features in Character Creator (CC).
- In CC, select any CC3+ character model.
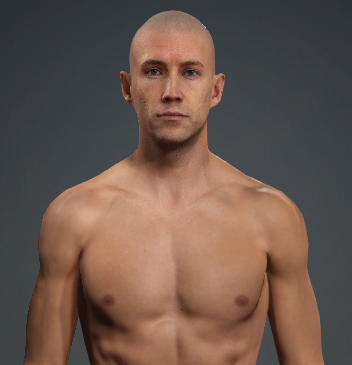
Click Modify > Morph and adjust the character’s shape and size.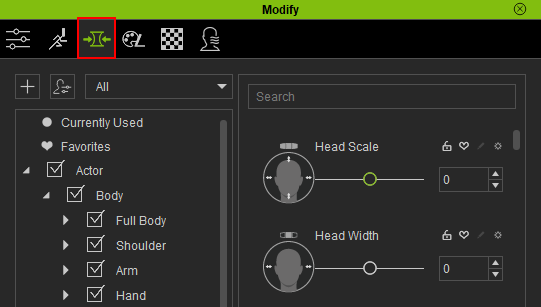
The morph result in CC: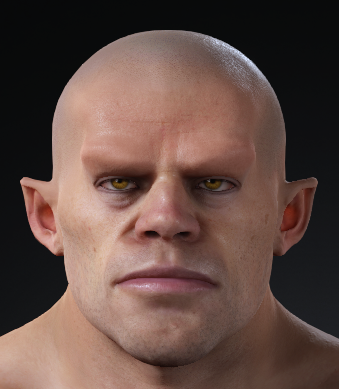
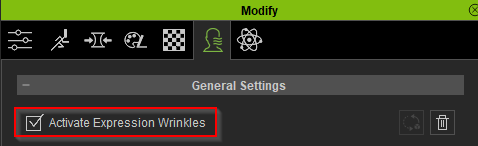
- After the morphing process is completed, go to Modify > Expression Wrinkles > General Settings and enable the Activate Expressions Wrinkles.
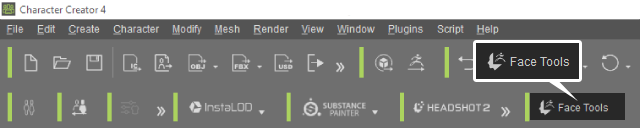
- After completing the base model design, click the Face Tools button in the top toolbar.
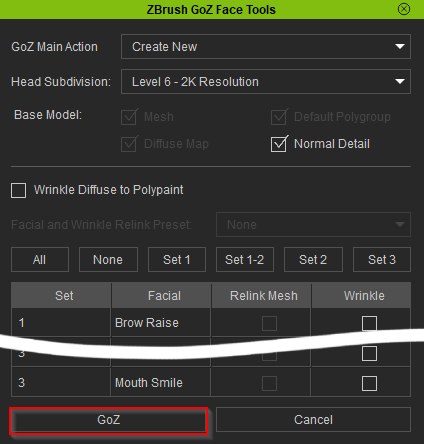
The ZBrush GoZ Face Tools dialog box will appear.
- For the Action field, opt for Create New if this character model is being dispatched to ZBrush for the first time.

-
Select the highest subdivision and texture resolution for your character model in ZBrush.

- Activate the Include Wrinkle in Polypaint option.

 Note:
Note:
Enabling Include Wrinkle in Polypaint ensures that the polypaint for each of the 13 expressions in ZBrush will be converted to CC diffuse maps.
-
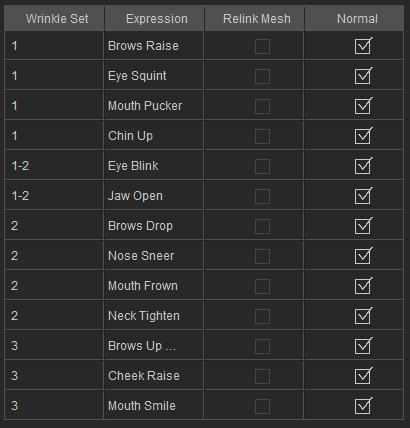
Enable the desired wrinkles under the Normal column.
- Click the GoZ button near the bottom of the dialog box to send your character to ZBrush.
-
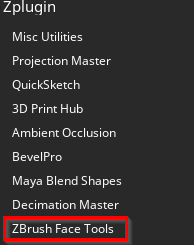
In ZBrush, go to Zplugin > ZBrush Face Tools to access the plugin.
The ZBrush Face Tools panel: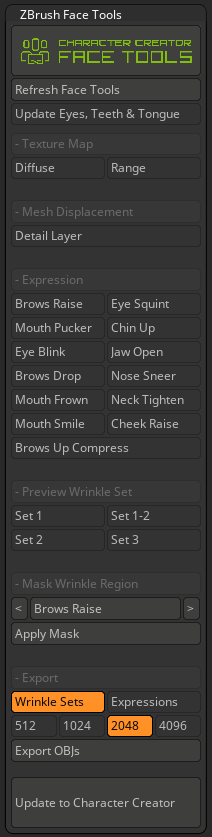
-
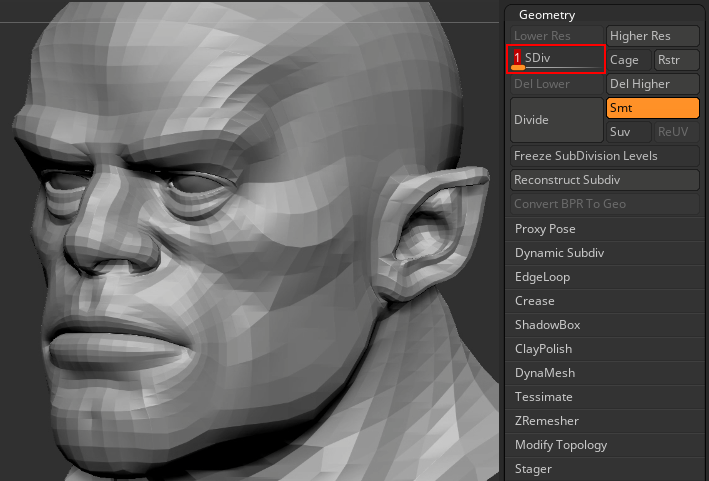
To ensure precise editing of your base mesh, set your SDiv level to 1.
- Utilize the Range map to accurately sculpt neutral wrinkles and expressions into your base mesh.

-
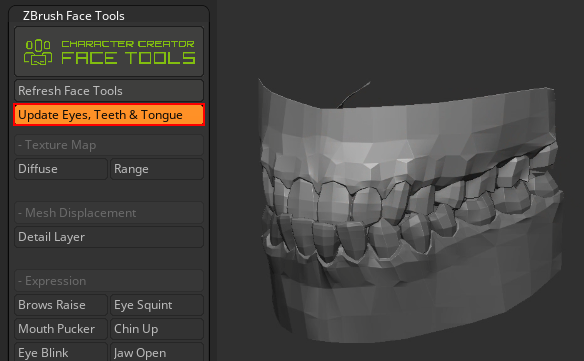
Enable Update Eyes, Teeth & Tongue.
-
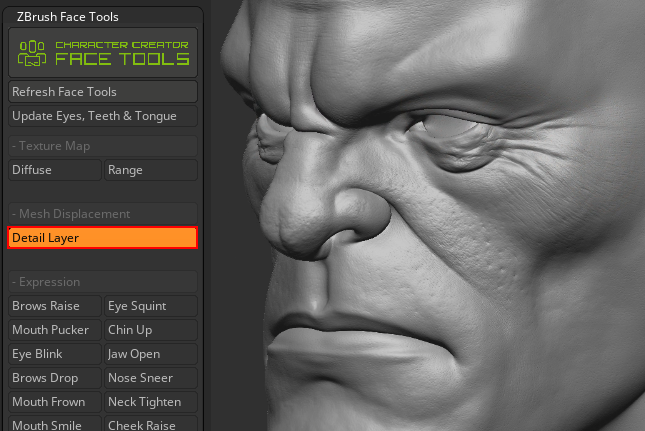
Enable the Detail Layer to edit your base model’s skin details.
-
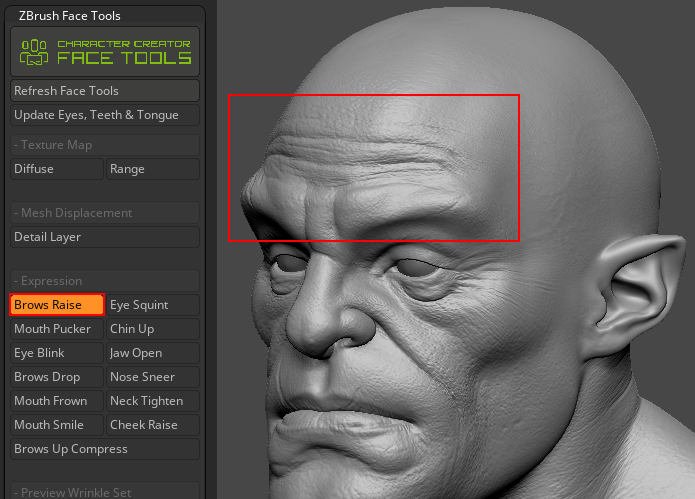
It is recommended to change the SDiv level to 6 or higher, and then choose the expressions you wish to edit from the Expression section.
 Note:
Note:
Employ the Mask Wrinkle Region feature to mask specific areas while editing your expression wrinkles.
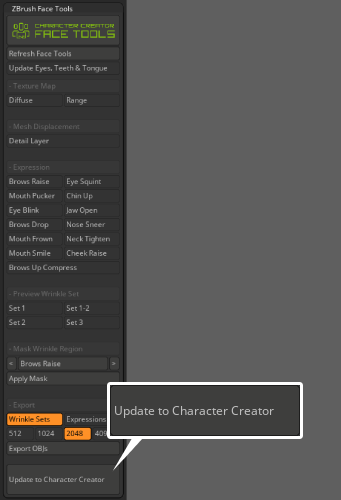
- Once you’ve completed your adjustments, click the Update to Character Creator button to update your model to CC.
-
If you want to update the base model settings, activate the Base Update option. To update your model’s wrinkles and expressions, activate the Update Expressions / Wrinkles setting.
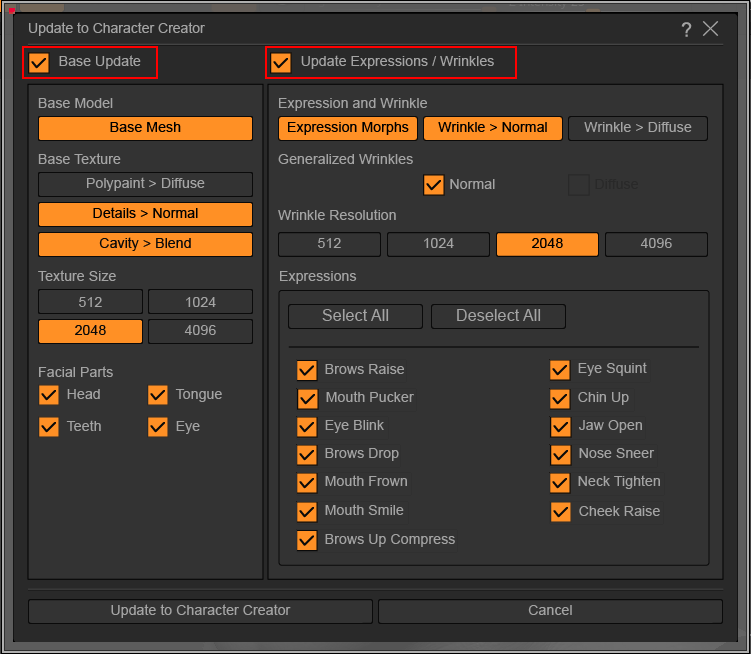
- Click the Update to Character Creator button to initialize the update process to CC.
-
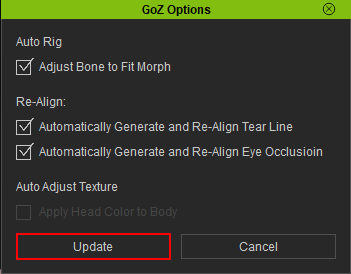
In CC, the GoZ Options dialog box will appear, leave the setting as default and click Update.
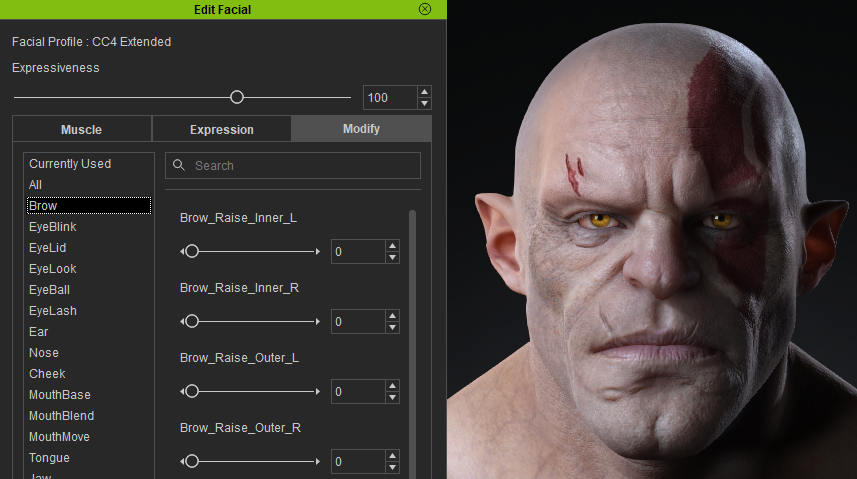
- Click on Modify > Motion Pose > Motion > Edit Facial.
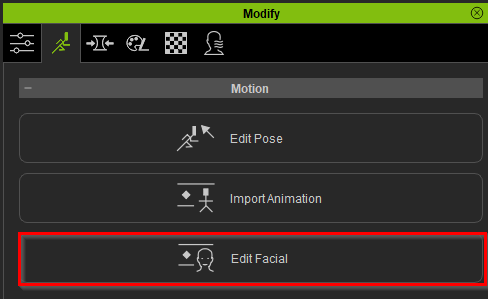
- Within the Edit Facial control panel, navigate to any of the three options in the menu bar to test your character's edited facial expressions to ensure compatibility and identify potential issues.
- Facial expression increased to 150:
.png)
- Facial expression decreased to 0:
- Facial expression increased to 150:
