Editing Images — Removing (v1.1)
The Image Gen tool uses AI to edit images by removing unwanted elements.
Required Elements
- Reference (v1.01): 1 AI Actor or 1 reference image only. Supported image formats: PNG, JPG, JPEG, and WebP.
- Prompt: Enter custom prompts manually, or apply preset prompts if you’re unsure where to start.
AI Settings
Select the Image Gen  tool from the left AI Toolbar and complete the tasks in each section under the Edit tab.
You can collapse or expand a section by clicking its caption.
tool from the left AI Toolbar and complete the tasks in each section under the Edit tab.
You can collapse or expand a section by clicking its caption.
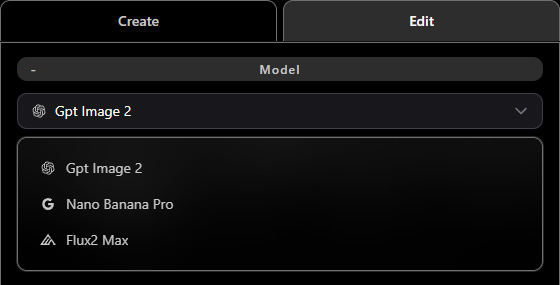
Refer to AI Model Selection for Image Generation to choose a model from the Model drop-down list.
Available options include Flux 2 Max, Nano Banana Pro, and Gpt Image 2.
 Adding References
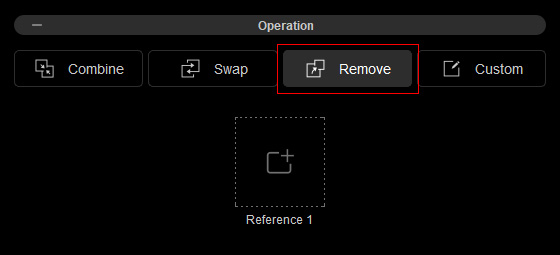
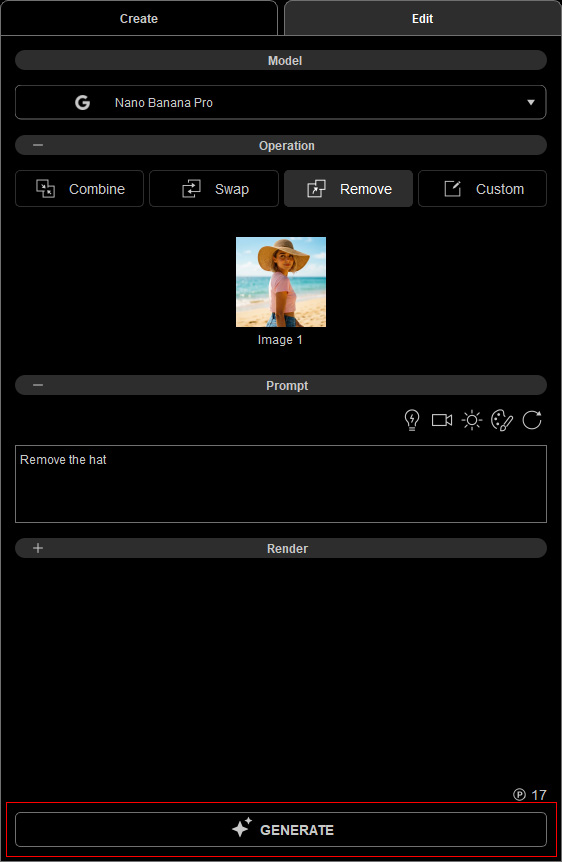
- Click the Remove button in the Operation section.
-
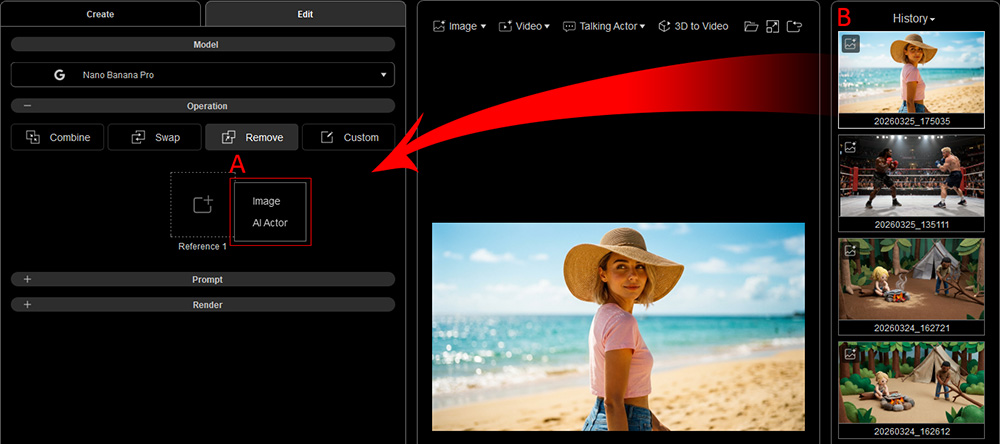
Click the Reference 1 slot and select Image (A) to browse and upload a target image (.png, .jpg, .jpeg, or .webp) for removing elements.
You can also drag and drop an image from the History panel on the right (B) or directly from Windows File Explorer.
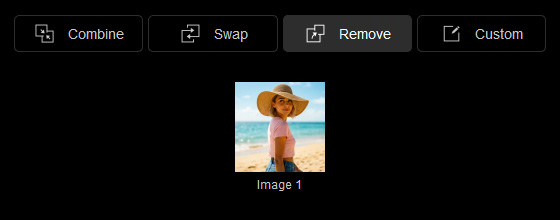
- The image will be inserted into the Reference slot.
You can hover over the thumbnail to view an enlarged version.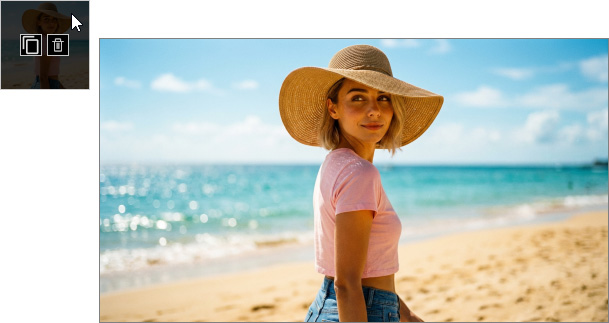
If needed, drag and drop a new image or click the Trash button on the thumbnail to remove and replace an image.
Entering Prompt
Enter prompt descriptions in the Prompt section to remove image elements.
You can enter a custom prompt and use a Large Language Model (LLM), such as ChatGPT, to refine it for better image generation with the selected AI model.
Alternatively, apply preset prompts to quickly add ideas for backgrounds, scenery, locations, camera techniques, lighting, and render styles.
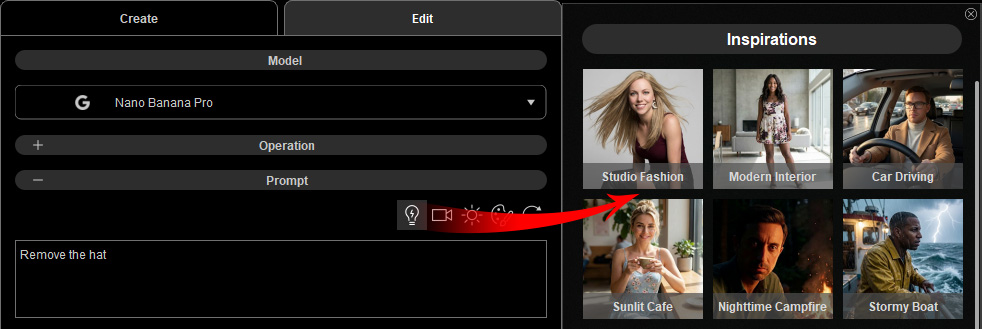
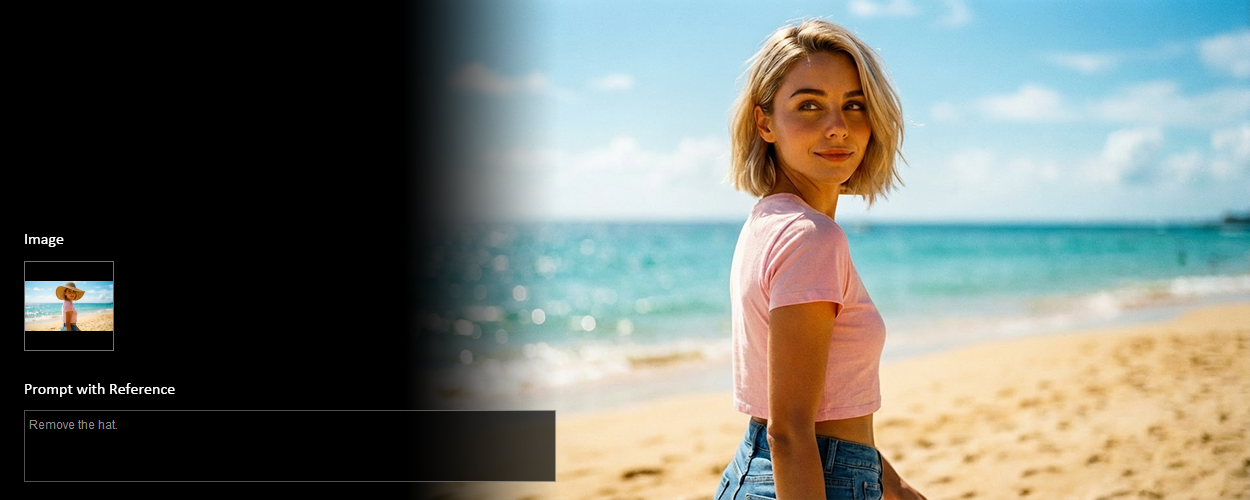
For example, "Remove the hat".
Drag the bottom-right corner to expand the text field for longer descriptions.
Click the Reset Prompt  button to clear all your input and start over if needed.
Rendering (v1.1)
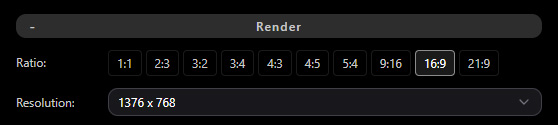
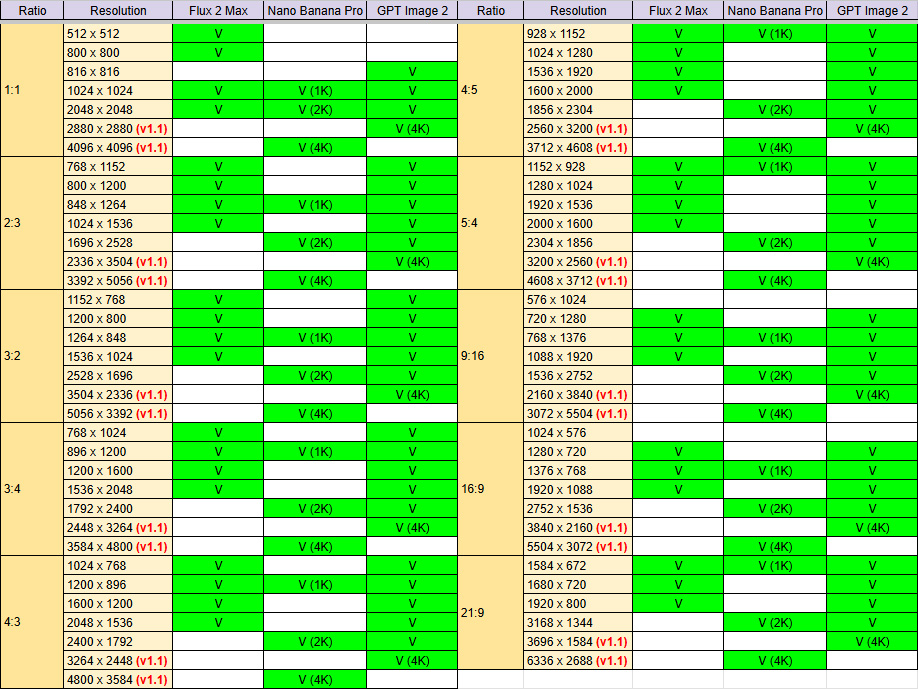
Set the image ratio and resolution using the Ratio and Resolution drop-down lists in the Render section.
Supported options may vary slightly by AI model, as shown below.
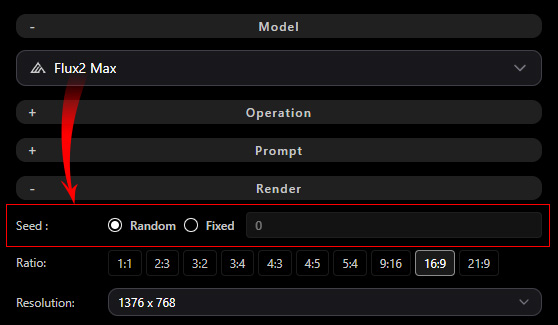
For Flux 2 Max RenderingThe additional Randomize or Fixed Seed option is available when using the Flux 2 Max model, allowing you to control or vary the generation seed for AI rendering results.
Task Charging
Each submitted task uses available AI Points, Bonus Points, or DA Points.
View your available points in the bottom-left corner of AI Studio, or click the ... button and select Account Settings to check your point balance.
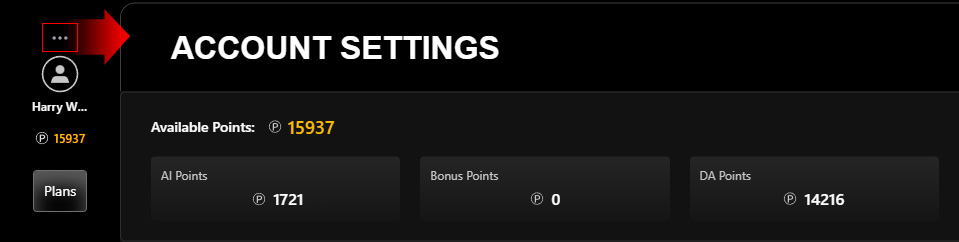
To obtain more credits, click Plans to subscribe to an AI Service Plan for additional AI Points or purchase DA Points to top up your account.
Ensure both a reference and a prompt are provided to enable the GENERATE button.
Note the task price displayed above the button before clicking.
Track progress on the AI Render View or via the new entry in History on the right.
When the submission completes successfully, the AI-generated image will appear.
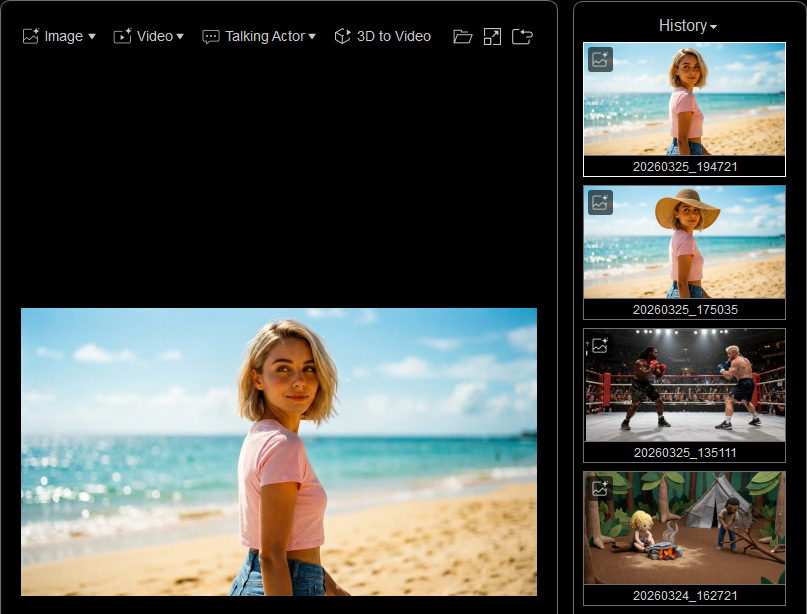
Next, use the Video or Talking Actor options in the Quick Access Menu at the top of the AI Render View to load the generated image as a reference for creating a video or talking animation.