Generating AI-Based Decal Images
With AI assistance, you can use text-to-image prompts to create custom typography, lettering, and unique illustrations from scratch.
You can also select the final material finish for decals (such as embroidery, soft rubber, metallic print, etc.) and automatically generate the corresponding PBR maps.
See also: Tutorial - Generate Decal with Ai Generation in FashionGen
- Ensure that ComfyUI with the required AI models are installed and that FashionGen is successfully connected to ComfyUI to enable AI Generation features.
- Launch the AI Generation panel and select the Decal tab.
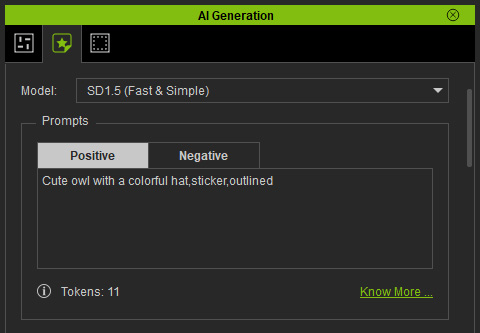
- Select the desired text-to-image AI model from the drop-down list. Prompt guidelines vary by model:

- Stable Diffusion 1.5 (SD1.5): Best for keywords or short descriptions; parentheses strengthen key terms.
- Stable Diffusion XL (SDXL): Best for simple descriptions; use parentheses to emphasize keywords.
- Qwen: No description limits; more detailed prompts yield results closer to your intent.
- Write prompts for AI Decal generation.
- Positive Prompt: Enter a description of the decal you want to generate, based on the selected AI model.
For example, A detailed, mono-line orange 1930s rubber hose cartoon illustration print, featuring anthropomorphic breakfast items (fried egg, toast, bacon) walking in a line, with script custom text "THE COFFEE CLUB" above, simple distressed texture, front view, tan paper background, retro cafe advertising graphic style.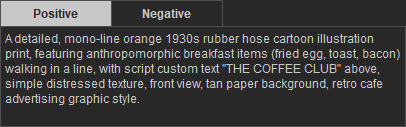
- Negative Prompt: Enter the details you want to exclude from the generated image.
This field is pre-filled with commonly-used exclusions, so you may leave it as is.
Default terms: error, blurry, jpeg artifacts, cropped, worst quality, low quality, normal quality, jpeg artifacts, signature, watermark, username, outline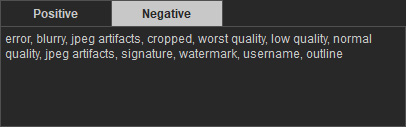
- Positive Prompt: Enter a description of the decal you want to generate, based on the selected AI model.
- Load reference images to guide and control the texture style (available for SD1.5 and SDXL; not supported by Qwen).
- Adjust the AI generation parameters in the Sampler section as needed.
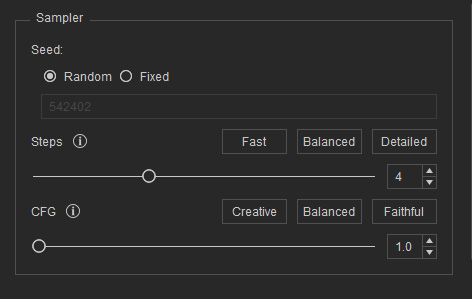
- Steps: Controls how many iterations the AI runs to generate an image.
You can drag the slider or click one of the 3 preset buttons: Fast, Balanced, and Detailed.
These presets correspond to the following step counts:
Higher step counts can produce more detail but take longer to process.Fast
Balanced
Detailed
Steps - SD1.5 / SDXL
20
40
60
Steps - Qwen
2
4
10
- CFG: Controls how strictly the AI follows your prompt.
You can drag the slider or click one of the 3 preset buttons: Creative, Balanced, and Faithful.
These presets correspond to the following CFG values:
Higher CFG means tighter adherence; lower CFG gives the AI more creative flexibility.Creative
Balanced
Faithful
CFG - SD1.5
3.0
6.0
7.0
CFG - SDXL
2.0
4.0
7.0
CFG - Qwen
1.0
3.0
4.0
- Steps: Controls how many iterations the AI runs to generate an image.
You can drag the slider or click one of the 3 preset buttons: Fast, Balanced, and Detailed.
These presets correspond to the following step counts:
- Click Generate Decal button at the bottom of the panel.
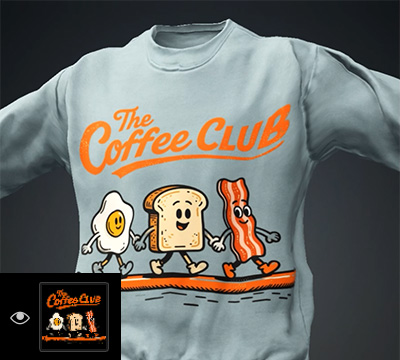
Once generated, the decal is automatically applied to the clothing.
Use the Layer Transform tools in the Texture Editor to adjust the size, position, and orientation as needed.
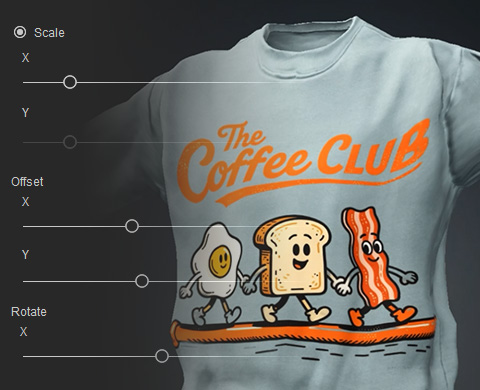
The output image is also saved in the Custom library of the Content Manager for future regeneration.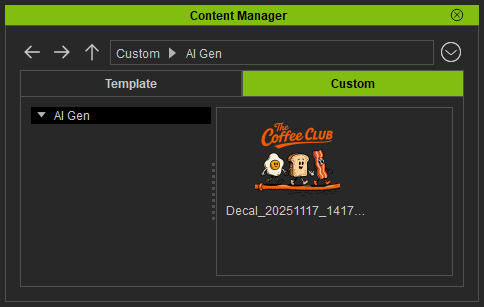
- A new image layer for the generated decal will appear in the Layer Manager.
Use the eye icon to show or hide the layer and compare the before-and-after results.
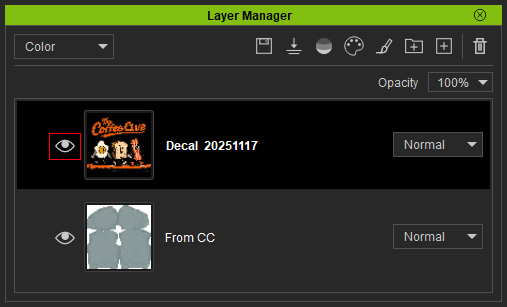
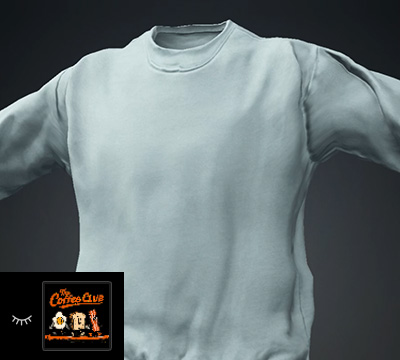
Original clothing.
After applying the generated decal.
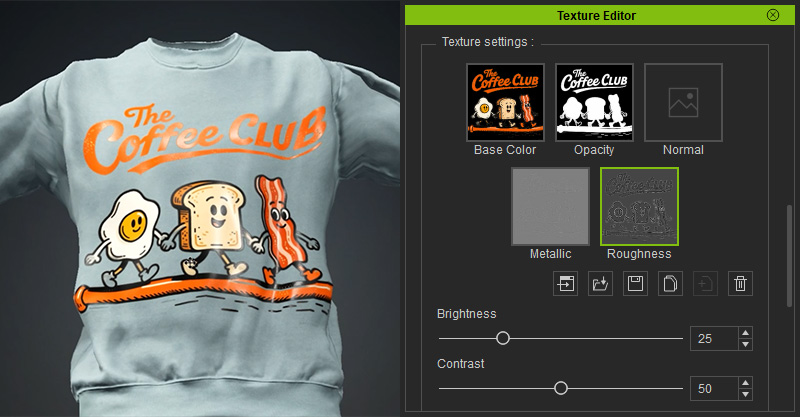
- Generate the PBR map and adjust the Roughness sliders to simulate realistic surface reflections.
Rotate the camera to observe the material effects under different lighting angles.
- Send the AI-generated result to CC and save it in the Custom library of the Content Manager.