Launching FashionGen
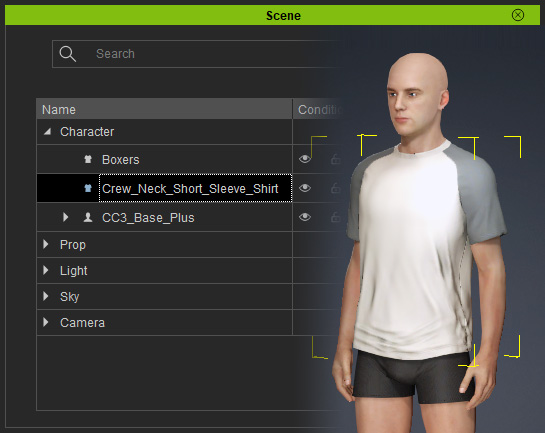
Select the target clothing item (ccCloth, ccShoes, or ccGloves) you want to edit in FashionGen from the scene or the Scene Manager. You can then launch the FashionGen plugin from either the main menu or the dedicated toolbar in Character Creator.
Main Menu
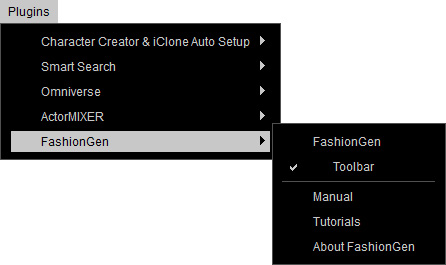
Go to Plugins > FashionGen on the main menu. The FashionGen menu contains the following commands:
Command | Description |
FashionGen | Launches the FashionGen dialog. |
Toolbar | Toggles the FashionGen toolbar. |
Manual | Accesses the online manual. |
Tutorials | Accesses the tutorial videos. |
About FashionGen | Shows the product information for the FashionGen plugin. |
Toolbar
- Click on the icon to launch the FashionGen dialog.
FashionGen Dialog
The FashionGen dialog links Character Creator and FashionGen for dual-direction data transfer, sending the selected clothing item for texture generation and receiving the modified item.
* Important: Keep this dialog window open to stay connected to FashionGen.
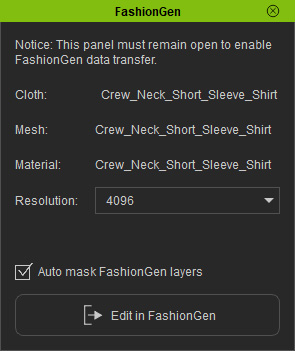
FashionGen supports editing only one mesh and one material at a time.
Items containing multiple meshes or materials cannot be transferred to FashionGen.
The dialog displays the selected item's name, mesh name, and material name, and provides the initial settings for image resolution and the color masking in FashionGen.
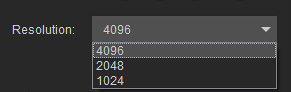
- You can specify a lower image resolution when loading the item in FashionGen to improve performance.
For a 4K item, the available options are 4096, 2048, and 1024.
- The Auto mask FashionGen layers option is enabled by default, automatically transferring color masks from the available Color ID map to the FashionGen layers.
Click the Edit in FashionGen button to have the FashionGen panel appear.
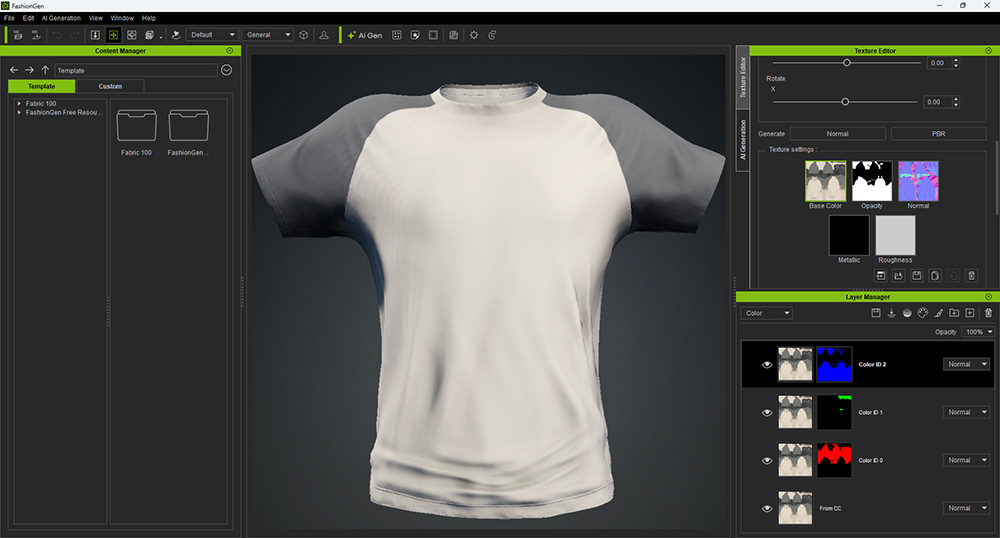
The base texture from Character Creator is displayed in the Layer Manager, with its editable properties expanded in the Texture Editor. You can now use the texture generation tools to refine this item. Refer to the following sections for an introduction to the user interface:
