Editing Videos — References (v1.1.1)
Edit original videos using reference media and text prompts. Use AI Actors, images, videos, and audio to maintain consistent character appearance, voice, motion, and environment across shots, dialogue, and camera angles.
Required Elements
- Source Video: Input the original video to edit.
- Reference (Optional): Add AI Actors, images, videos, or audio as references.
- Prompt: Enter a custom prompt or apply preset prompts for quick setup.
AI Settings
Select the Video Gen  tool from the left AI Toolbar and complete the tasks in each section under the Edit tab.
You can collapse or expand a section by clicking its caption.
tool from the left AI Toolbar and complete the tasks in each section under the Edit tab.
You can collapse or expand a section by clicking its caption.
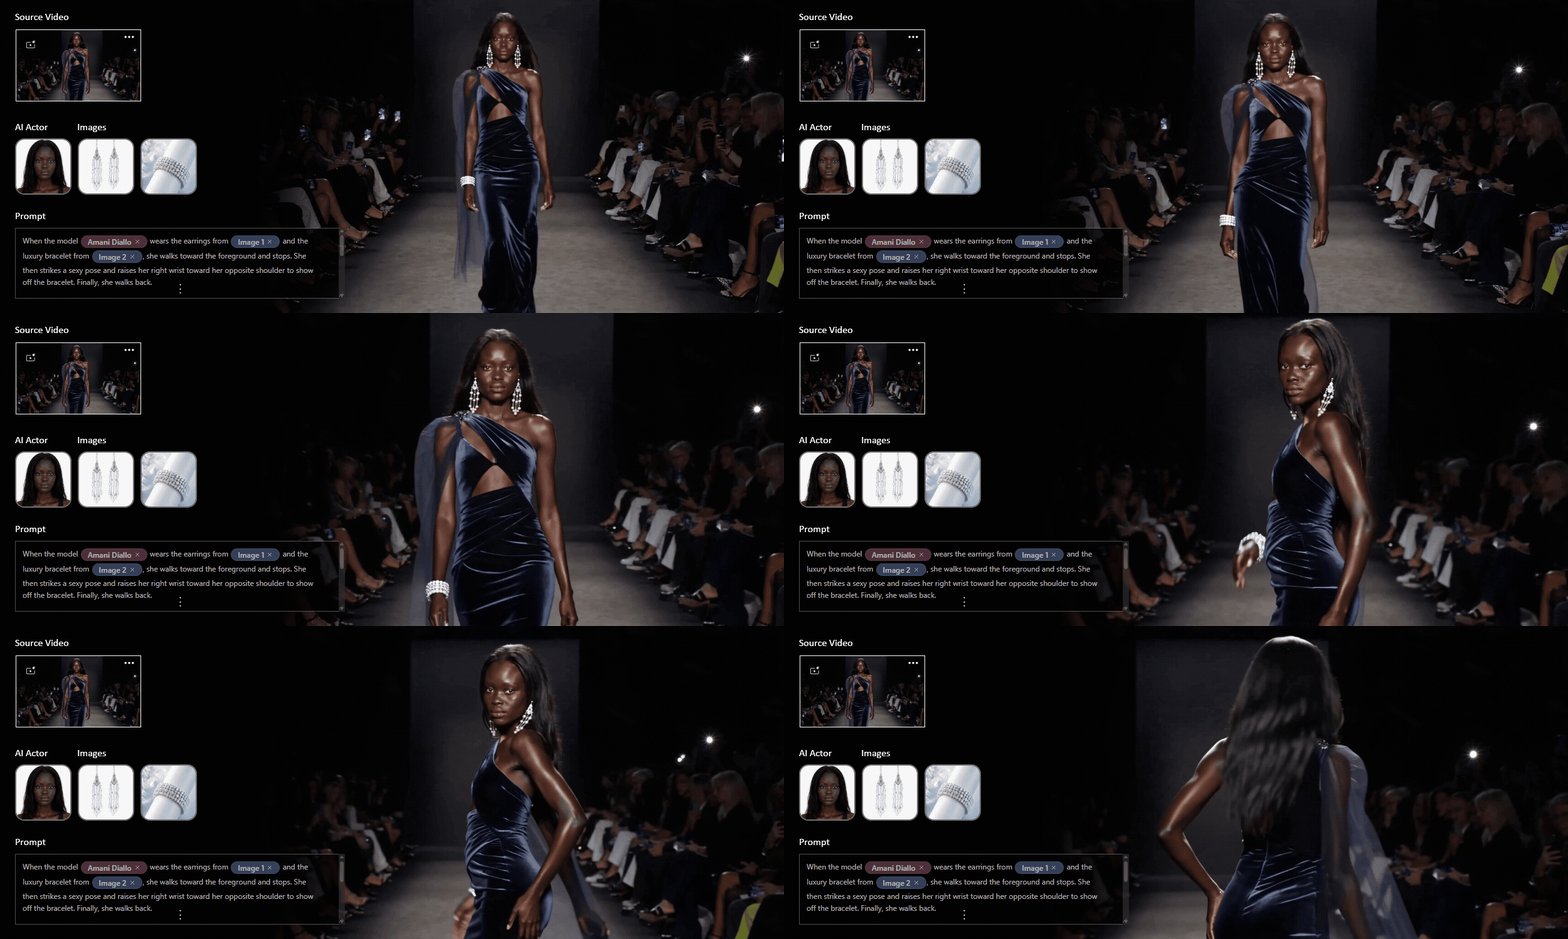
From the Model drop-down list, select a video editing model: Seedance 2.0 Mini, Seedance 2.0, or Seedance 2.5.
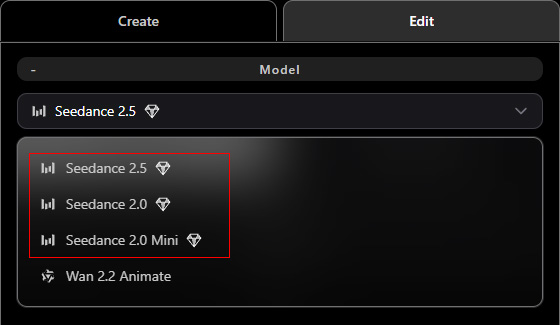
AI models marked with a diamond icon require an AI Service subscription.
Click Upgrade at the bottom to subscribe and access AI settings.
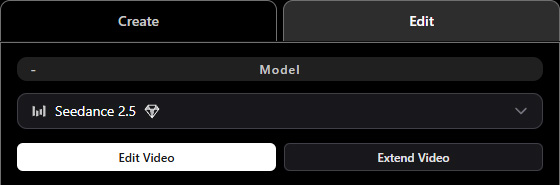
Click the Edit Video and configure the following settings.
 Inputting Source Video
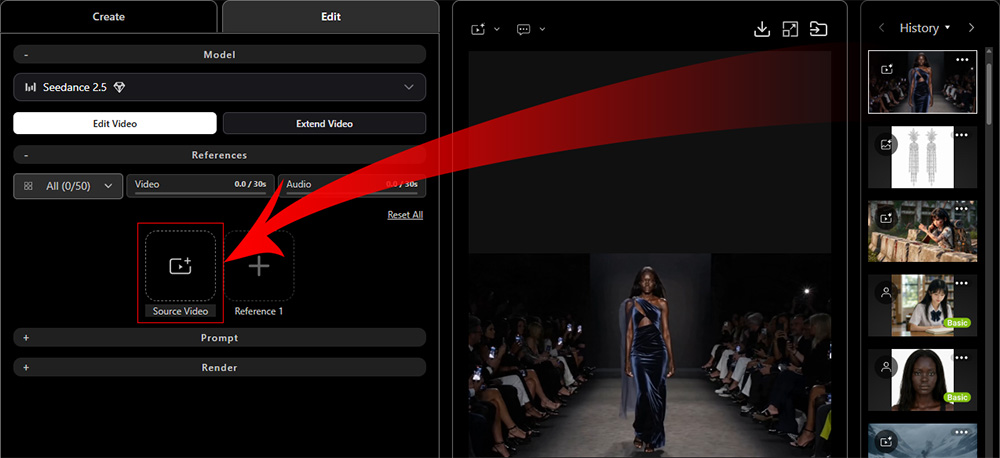
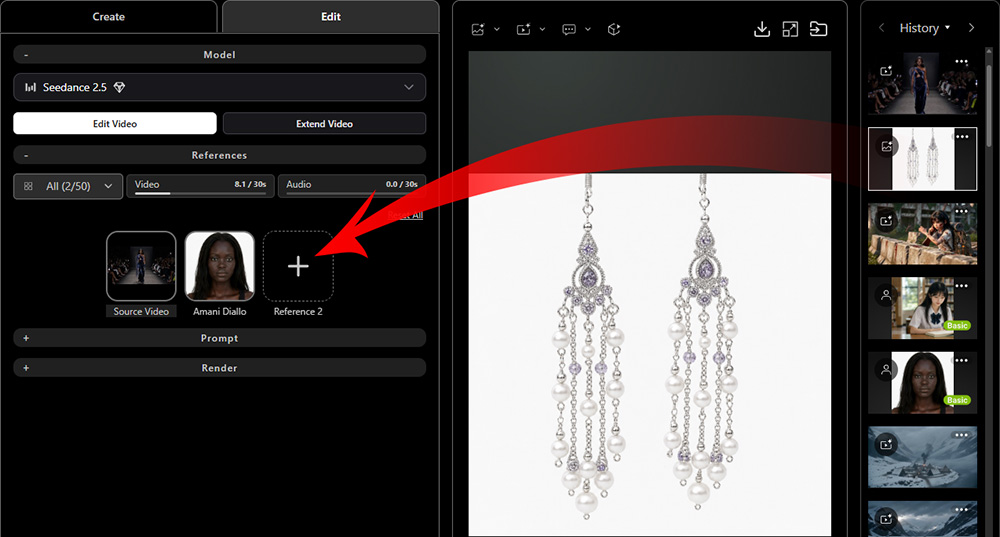
In the References section, click the Source Video slot to load the original video (.mp4 or .mov), or drag it directly from the History panel on the right.
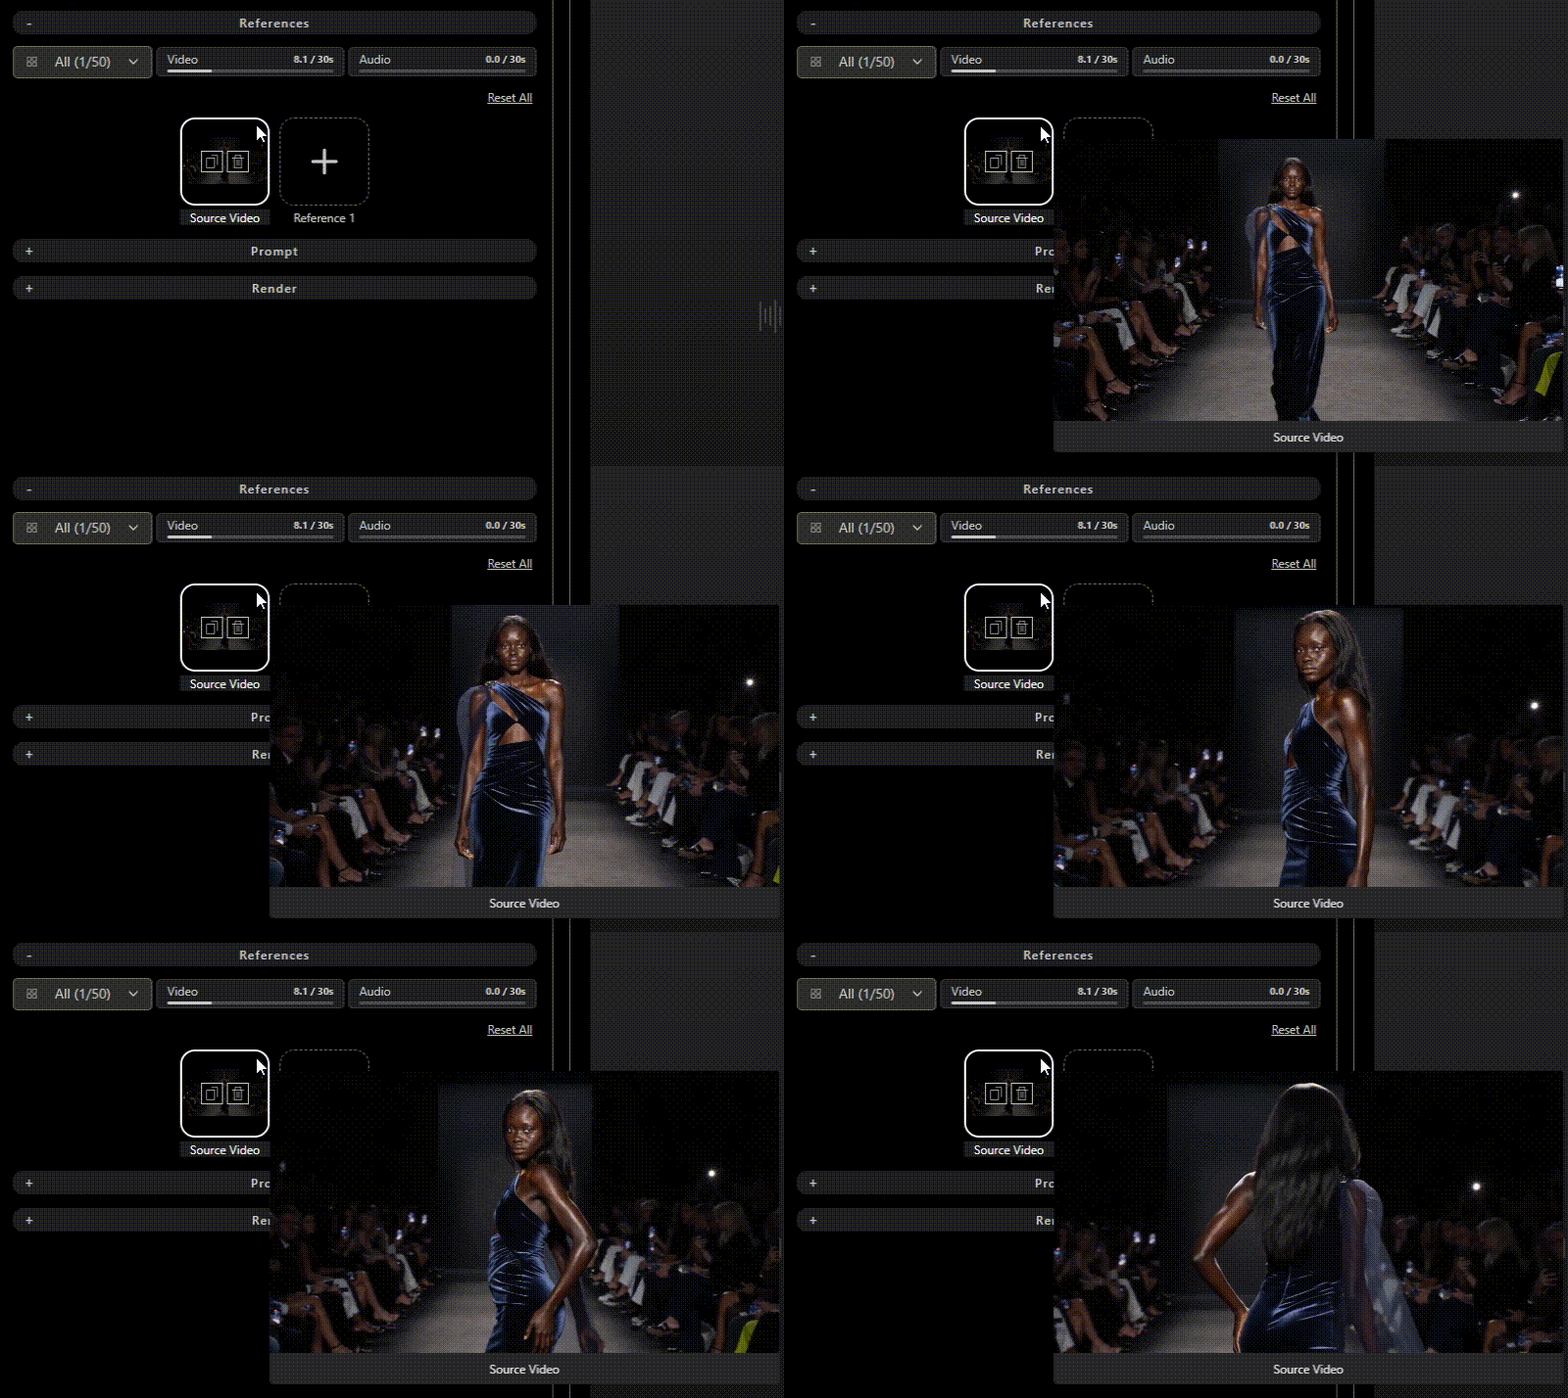
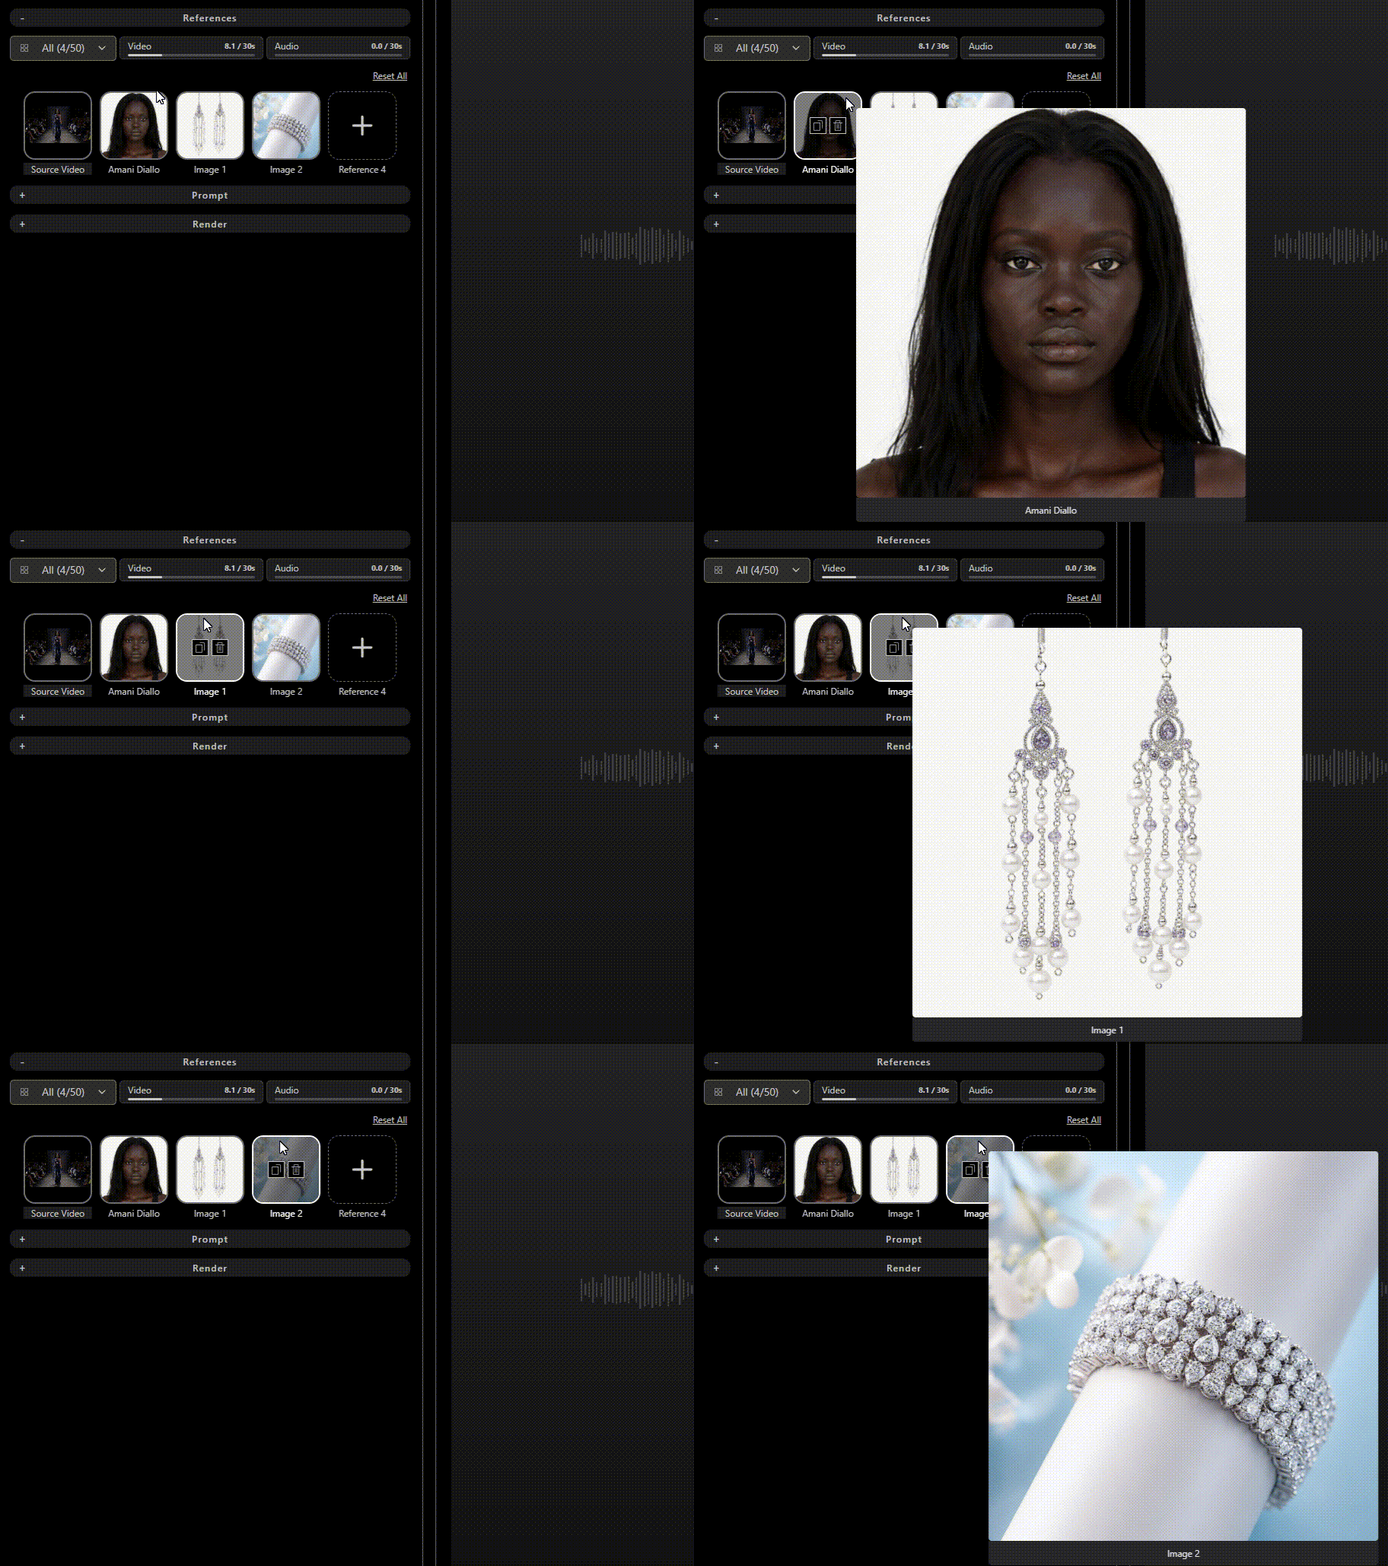
Hover over the video thumbnail to view an enlarged preview.
Adding References (Optional)
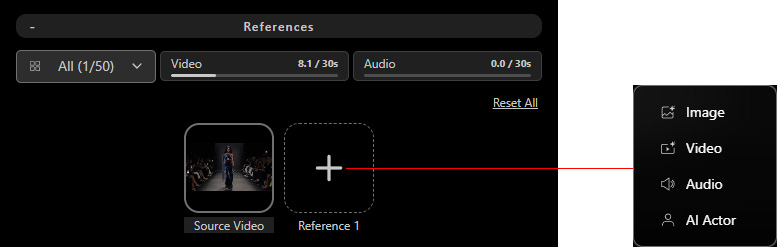
After the original video is loaded in, click a Reference slot next to it to add inputs that guide video editing and improve consistency in actors or environments.
Supported reference types include AI Actors, images, videos, and audio.
Before adding references, check the requirements for each media type, including format, aspect ratio, resolution, file size, and duration, as shown below.
If a reference does not meet the requirements, a compatibility warning dialog will identify the issue preventing the upload.
AI Model | Seedance 2.0 & 2.0 Mini | Seedance 2.5 | ||||||
| Requirements | AI Actor | Image | Video | Audio | AI Actor | Image | Video | Audio |
Max number | Up to 7 | Up to 9
| Up to 3 | Up to 3 | Up to 10 | Up to 30
| Up to 10 | Up to 10 |
Formats | iModel | PNG, JPG, JPEG, WebP | MP4, MOV | MP3, WAV | iModel | PNG, JPG, JPEG, WebP, BMP, GIF | MP4, MOV | MP3, WAV |
Aspect ratio | -- | 0.4–2.5 | 0.4–2.5 | -- | -- | 0.4–2.5 | 0.4–2.5 | -- |
Width / Height | 300–6,000 px | 300–6,000 px | -- | 300–6,000 px | 300–6,000 px | -- | ||
File size | 30 MB max per image
| 50 MB max per video
| 15 MB max per audio
| 30 MB max per image
| 200 MB max per video | 15 MB max per audio | ||
Duration | -- | 2–15 sec | 2–15 sec | -- | 4–30 sec | 2–30 sec | ||
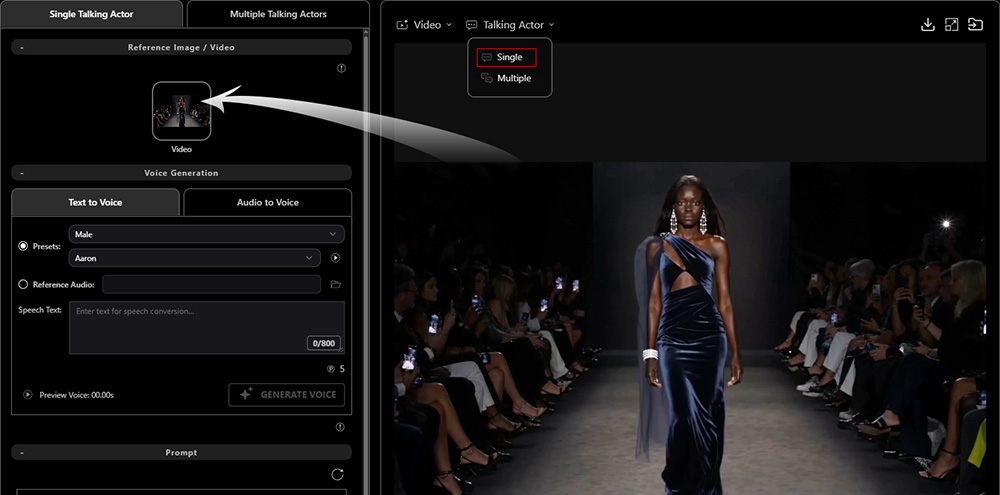
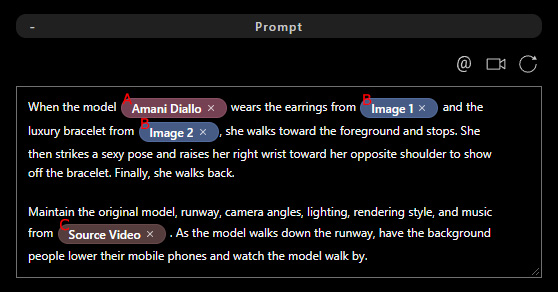
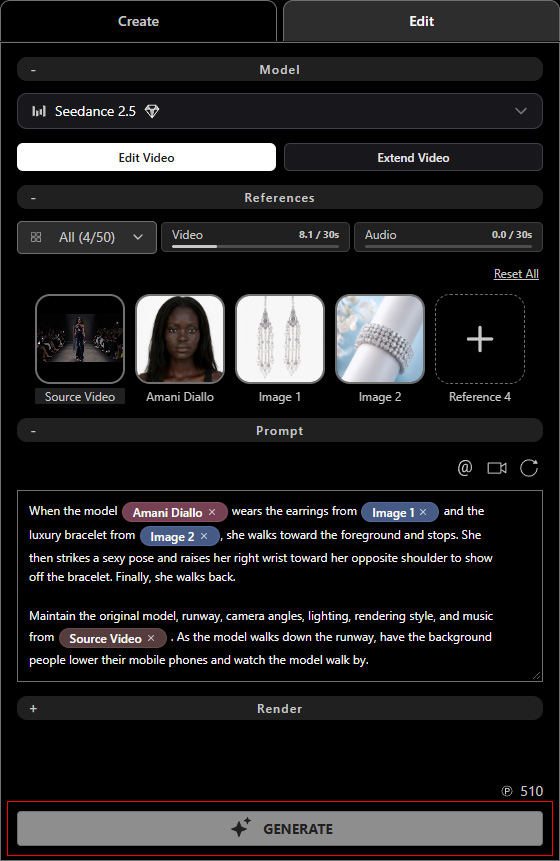
AI Actors and images share a combined limit. For example, you can use 5 AI Actors and 4 images, or 2 AI Actors and 7 images. If the original video shows a model walking on a runway, you can create a custom AI Actor based on the model, add reference images of luxury earrings and a bracelet for the model to showcase, and preserve the original environment, background people, and music.
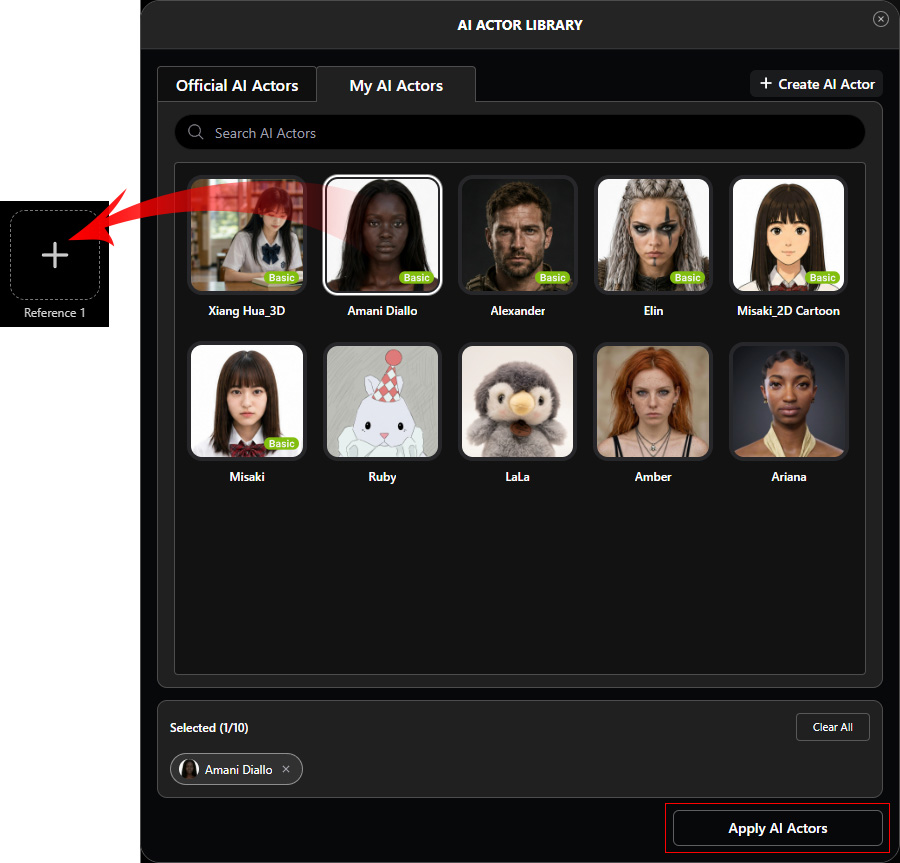
- AI ActorAfter creating custom AI Actors, you can apply them from the AI Actor Library to maintain consistent character appearances in generated videos. Click the Reference slot and select AI Actor. Choose one or more custom actors from the AI Actor Library, then click Apply AI Actors.
- ImageClick the Reference slot and select Image to upload an image to add to the video, such as an accessory. Alternatively, drag an image from the History panel on the right or Windows File Explorer.
- VideoSelect Video and upload a video reference to replace the original video's character motion, voice, visual style, composition, or background music.
- AudioSelect Audio and upload audio to add or replace the original video's character dialogue or background music.
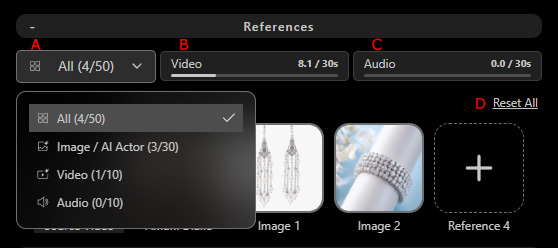
- Reference Filter: Filters references by All, Image, Video, or Audio, and displays the input count for each type.
- Video Duration: Displays the total duration of the input video, including the Source Video, and the maximum duration supported by the selected AI model.
- Audio Duration: Displays the current audio input duration and the maximum duration supported by the selected AI model.
- Reset All: Removes all reference inputs, including Source Video.
 Entering Prompt
Each reference is represented by a label tag in the Prompt field for quick editing and reference assignment.
Click the Reset Prompt button to clear the prompt field and start over if needed.
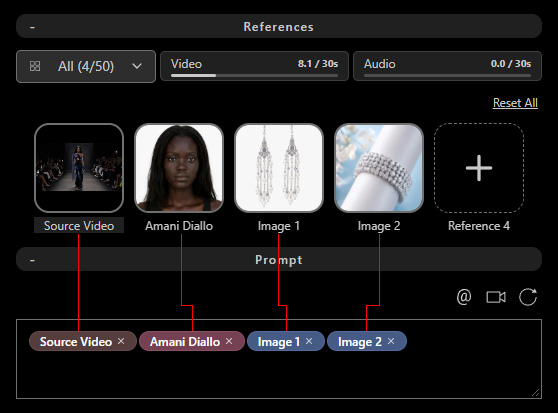
- Drag the tag to reposition it within the prompt.
- Click Copy on a reference thumbnail to insert its tag into the prompt.
Alternatively, click Add Reference @ or type @ to select a reference tag from the context menu.
Use the Image, Video, Audio, and AI Actor filters to show only references of the selected media type.

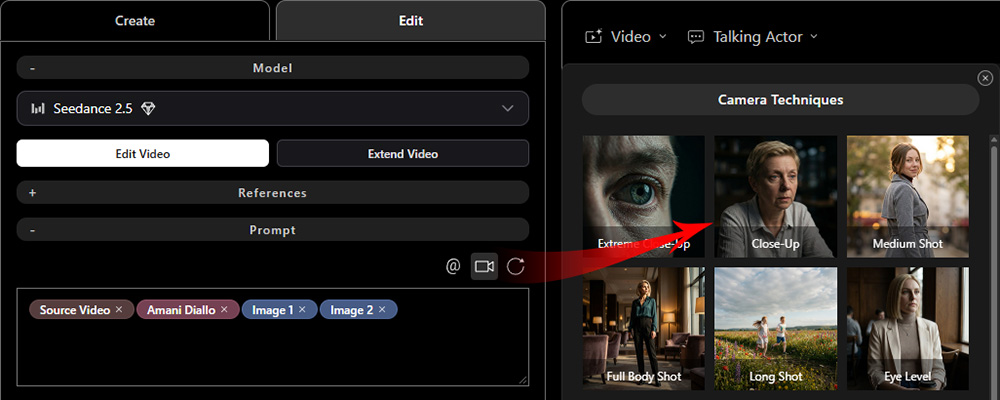
Maintain the original model, runway, camera angles, lighting, rendering style, and music from Source Video. As the model walks down the runway, have the background people lower their mobile phones and watch the model walk by.". |
|
 Rendering
Set the video output options in the Render section, including resolution and audio settings.
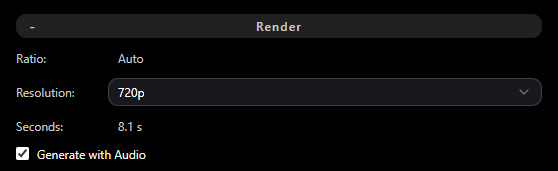
- Ratio: Automatically maintains the original aspect ratio of the source video.
- Resolution: Select the desired video resolution from the options supported by the selected AI model.
The output is generated at the selected resolution while automatically maintaining the source video's aspect ratio.
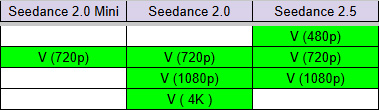
- Seconds: Under Edit Video, the video duration is fixed to the duration of the original video.
- Generate with Audio: Choose whether to include audio generated from the prompt in the video. Enable this option before generation to add background audio. Additional charges may apply.
Task Charging
Each submitted task uses available AI Points, Bonus Points, or DA Points.
View your available points in the bottom-left corner of AI Studio, or click the ... button and select Account Settings to check your point balance.
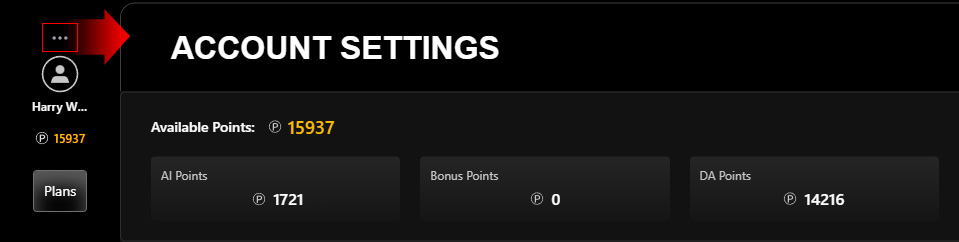
To obtain more credits, click Plans to subscribe to an AI Service Plan for additional AI Points or purchase DA Points to top up your account.
Provide both the source video and a text prompt to enable the GENERATE button.
Check the task price displayed above the button before proceeding.
Track progress on the AI Render View or via the new entry in History on the right.
When the submission completes successfully, the AI-generated video will appear.
Click Play to play the video, Loop to repeat it, or drag the playhead to a specific point.
Next, select Video or Talking Actor from the Quick Access Menu at the top of AI Render View to edit the video or add dialogue to the character as needed.